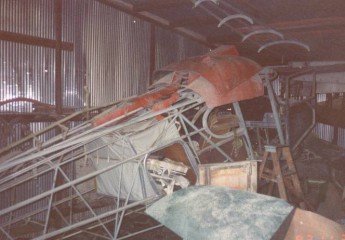
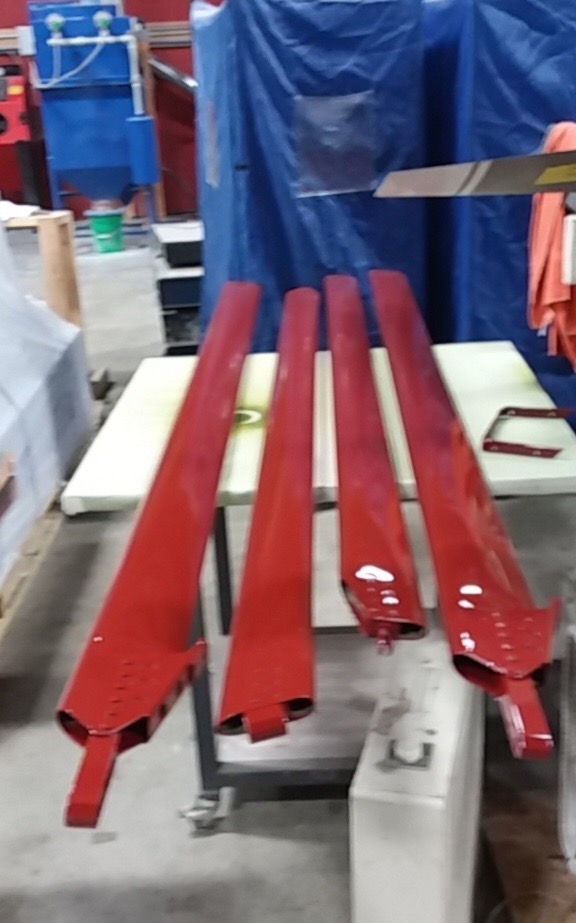
Finish Tapes
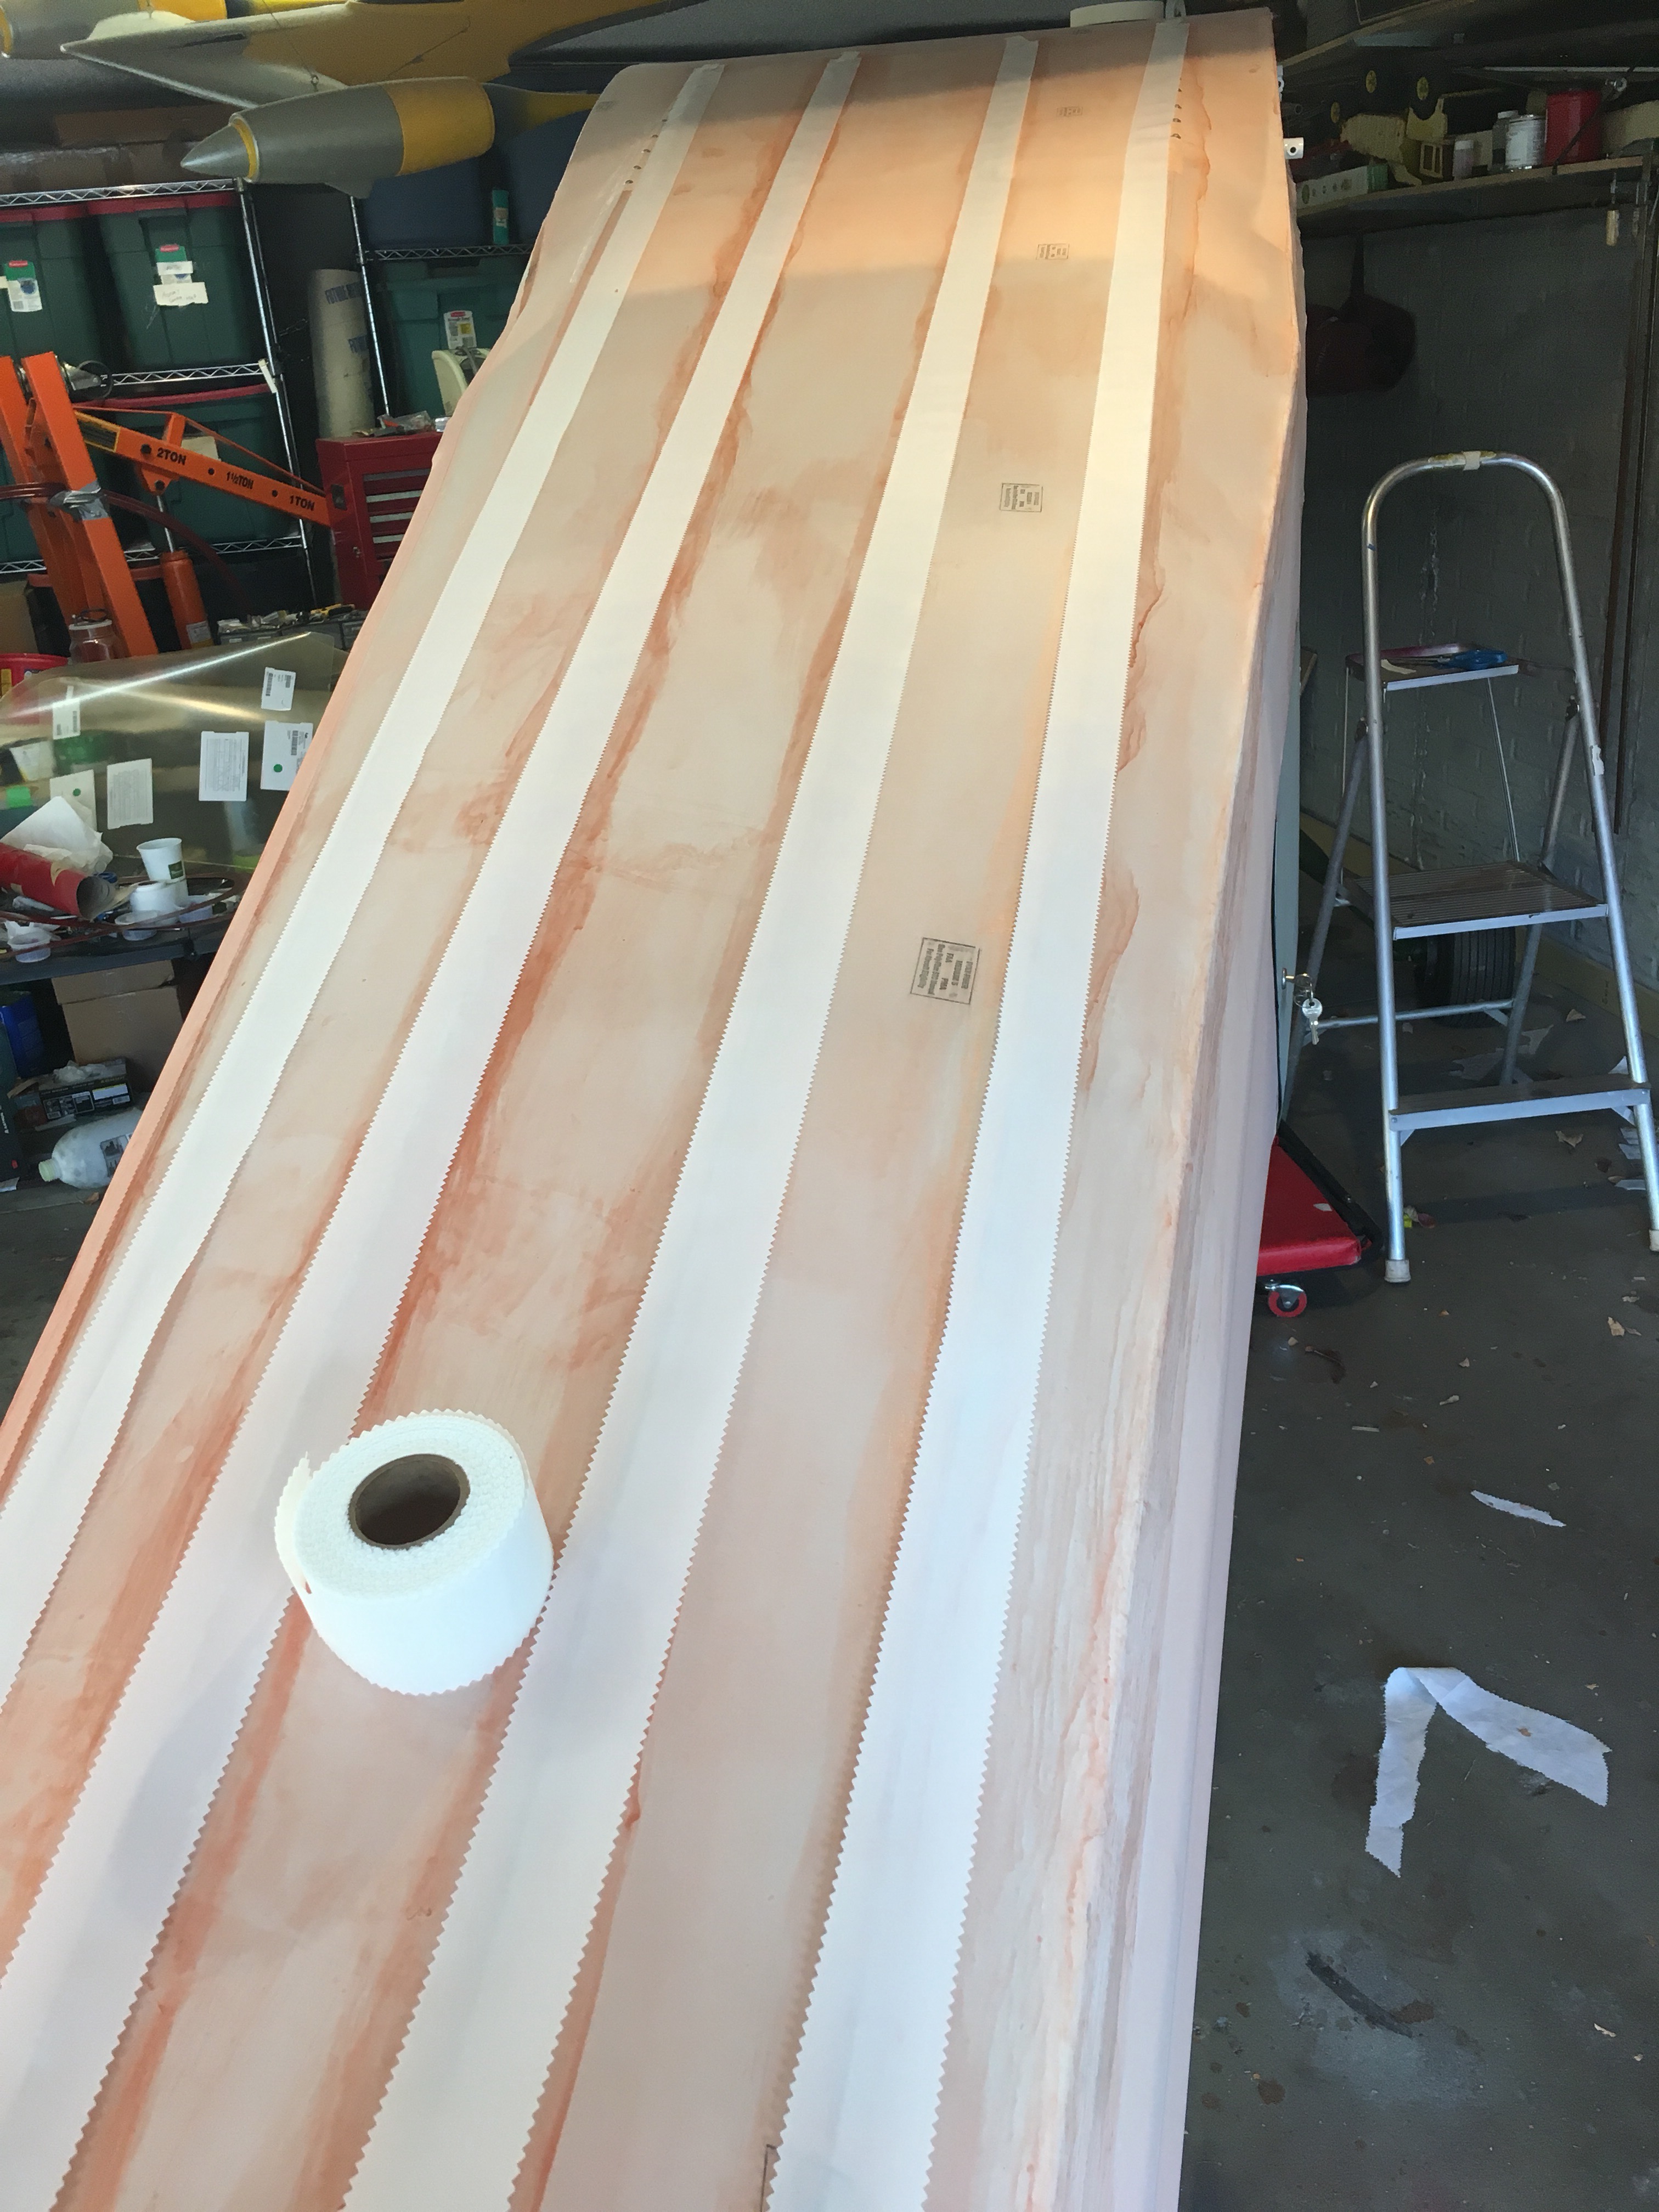
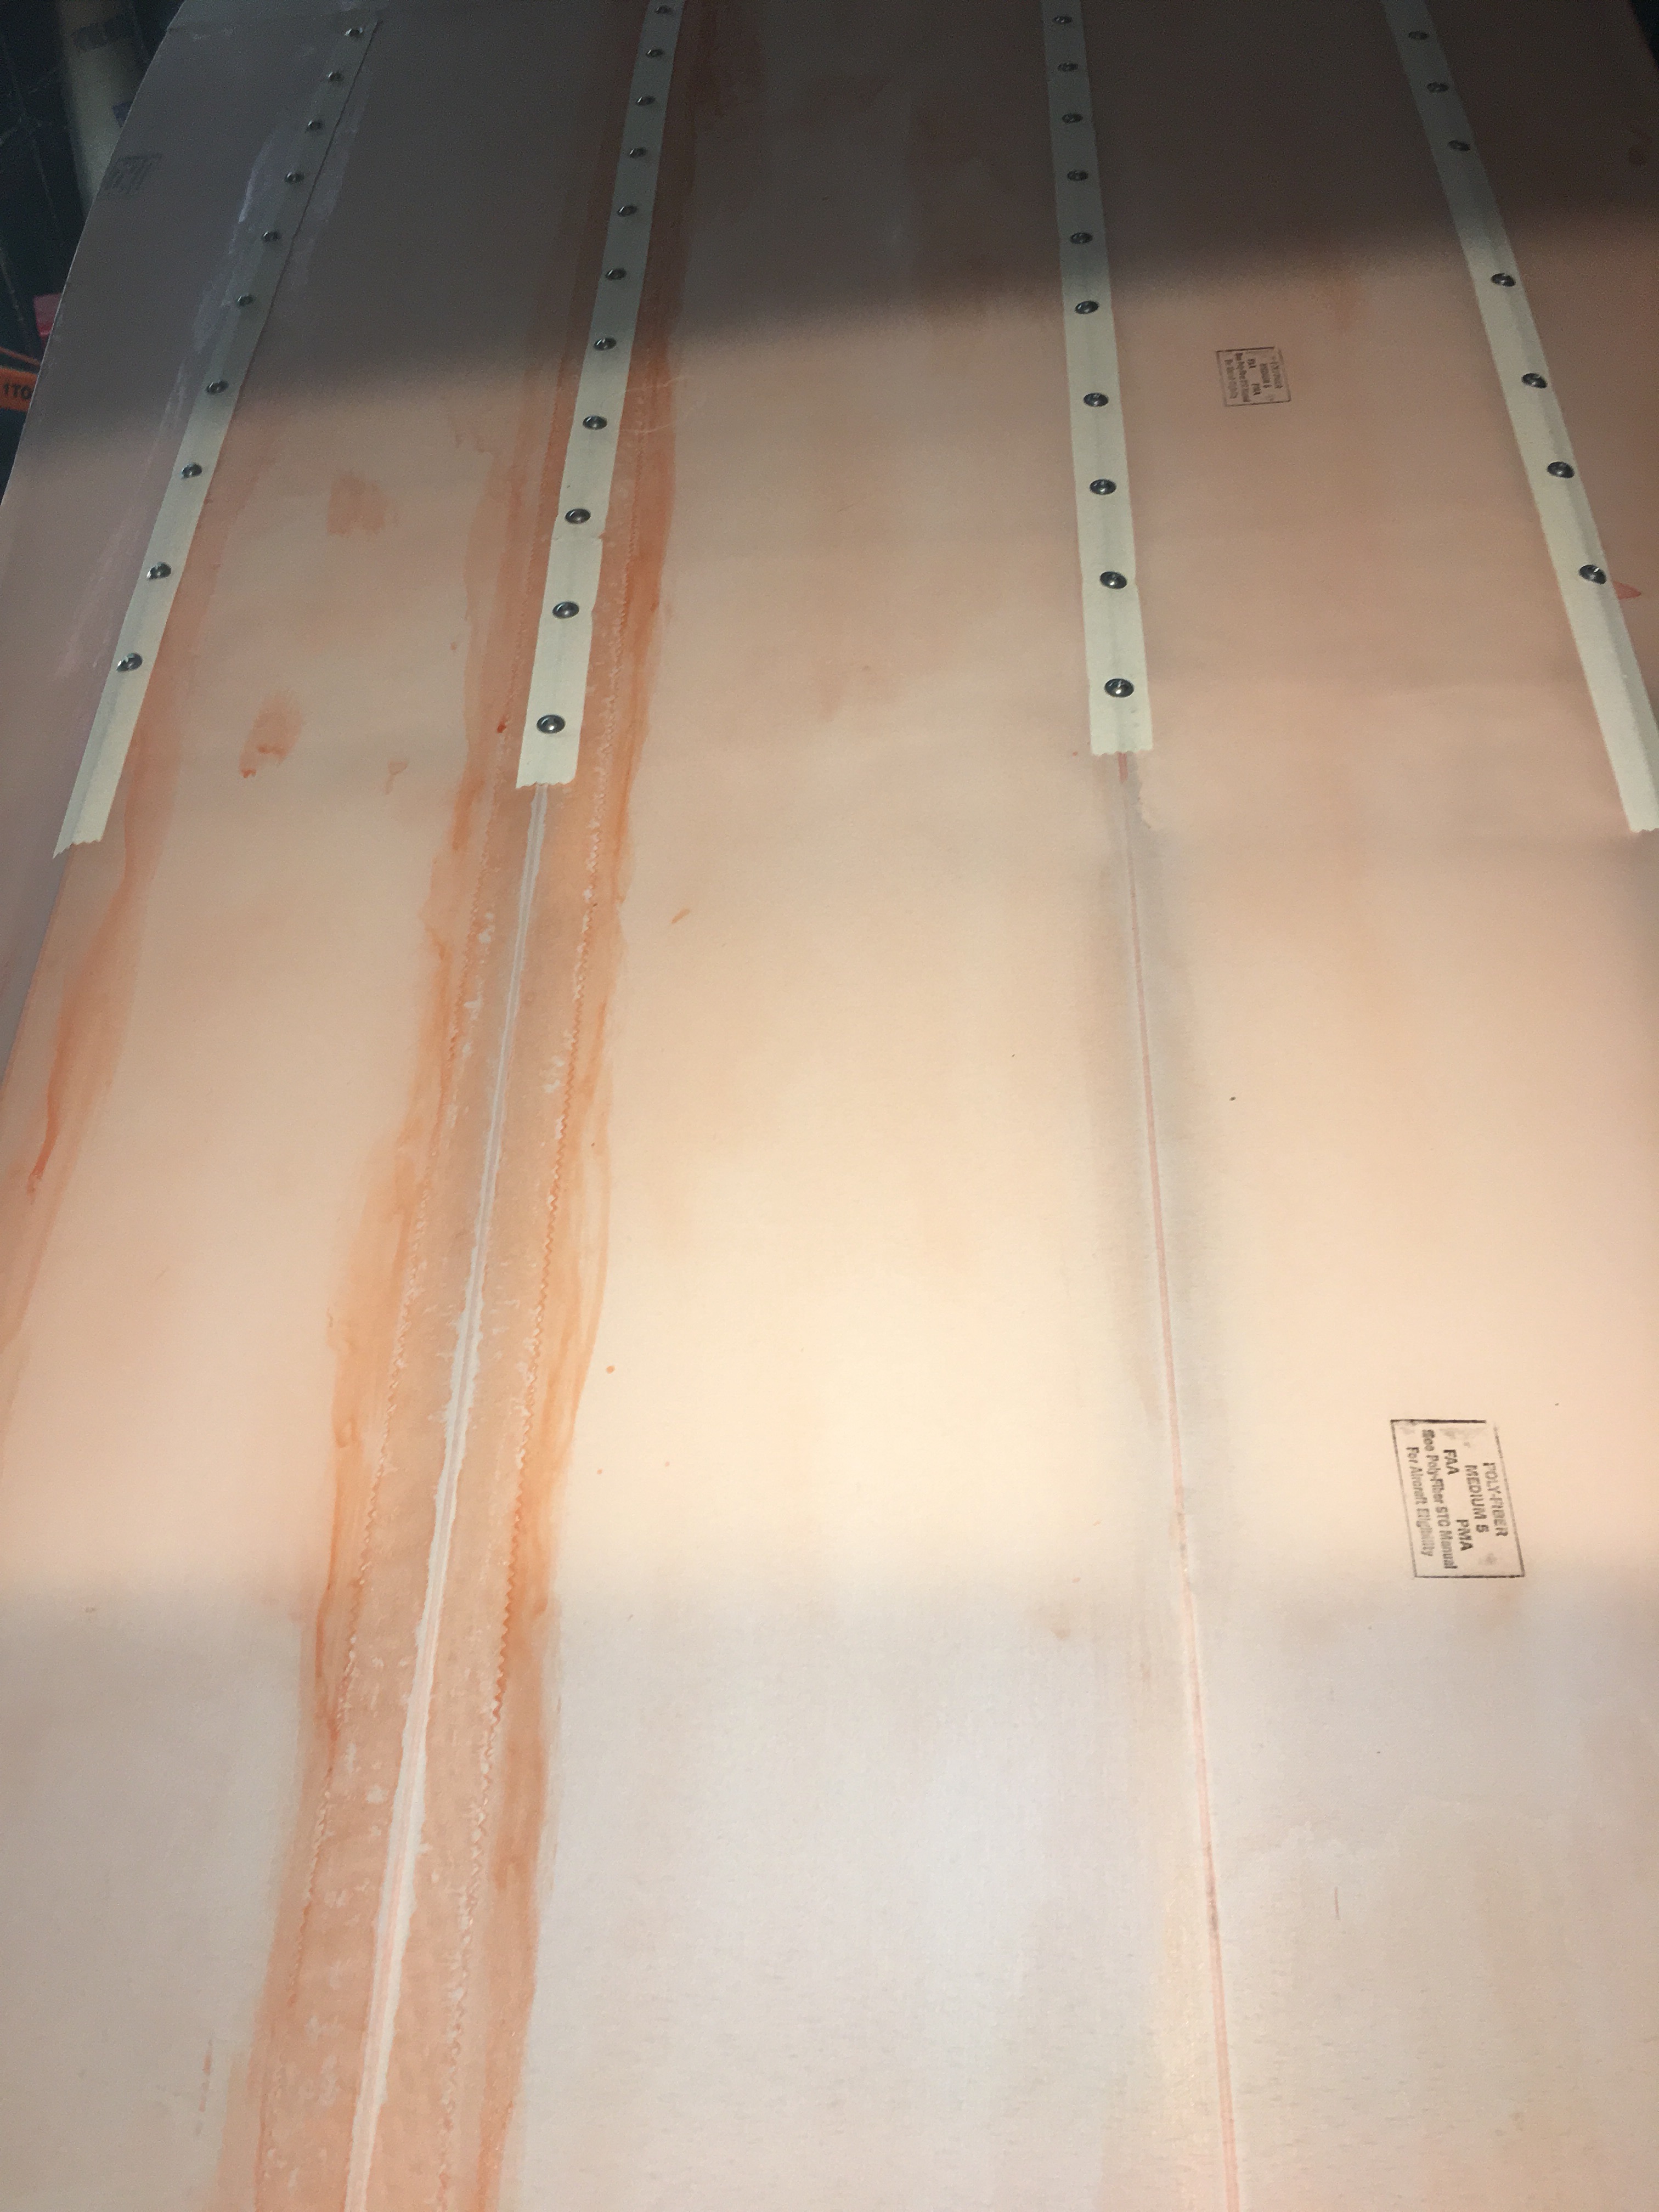
Laying out the top finish tapes. Second Photo shows the fabric attachment over the cabin area prior to covering with finish tape.
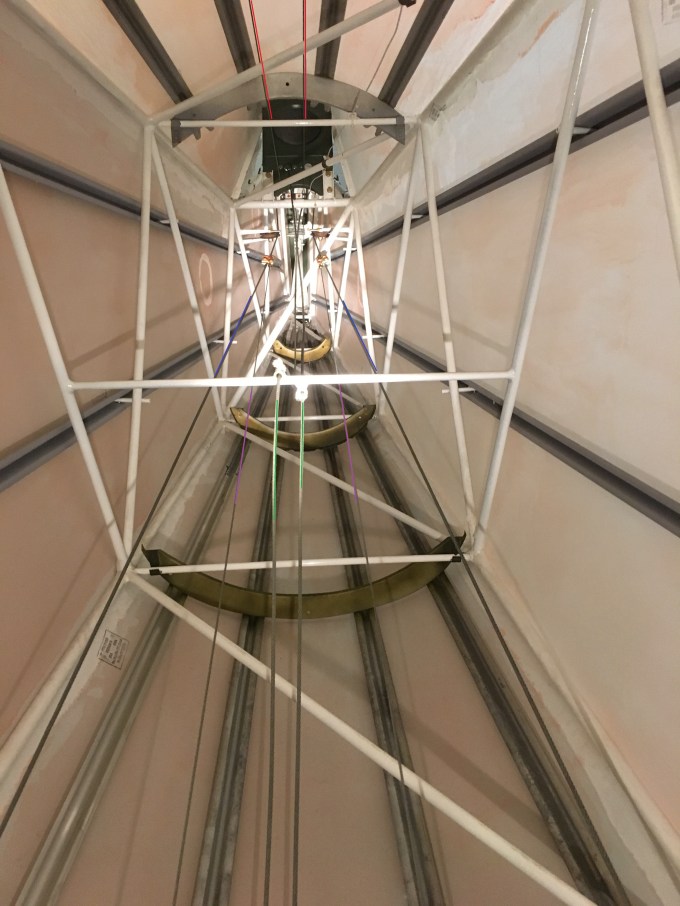
Looking into the fuselage
Looking aft into the fuselage from the rear of the baggage compartment.
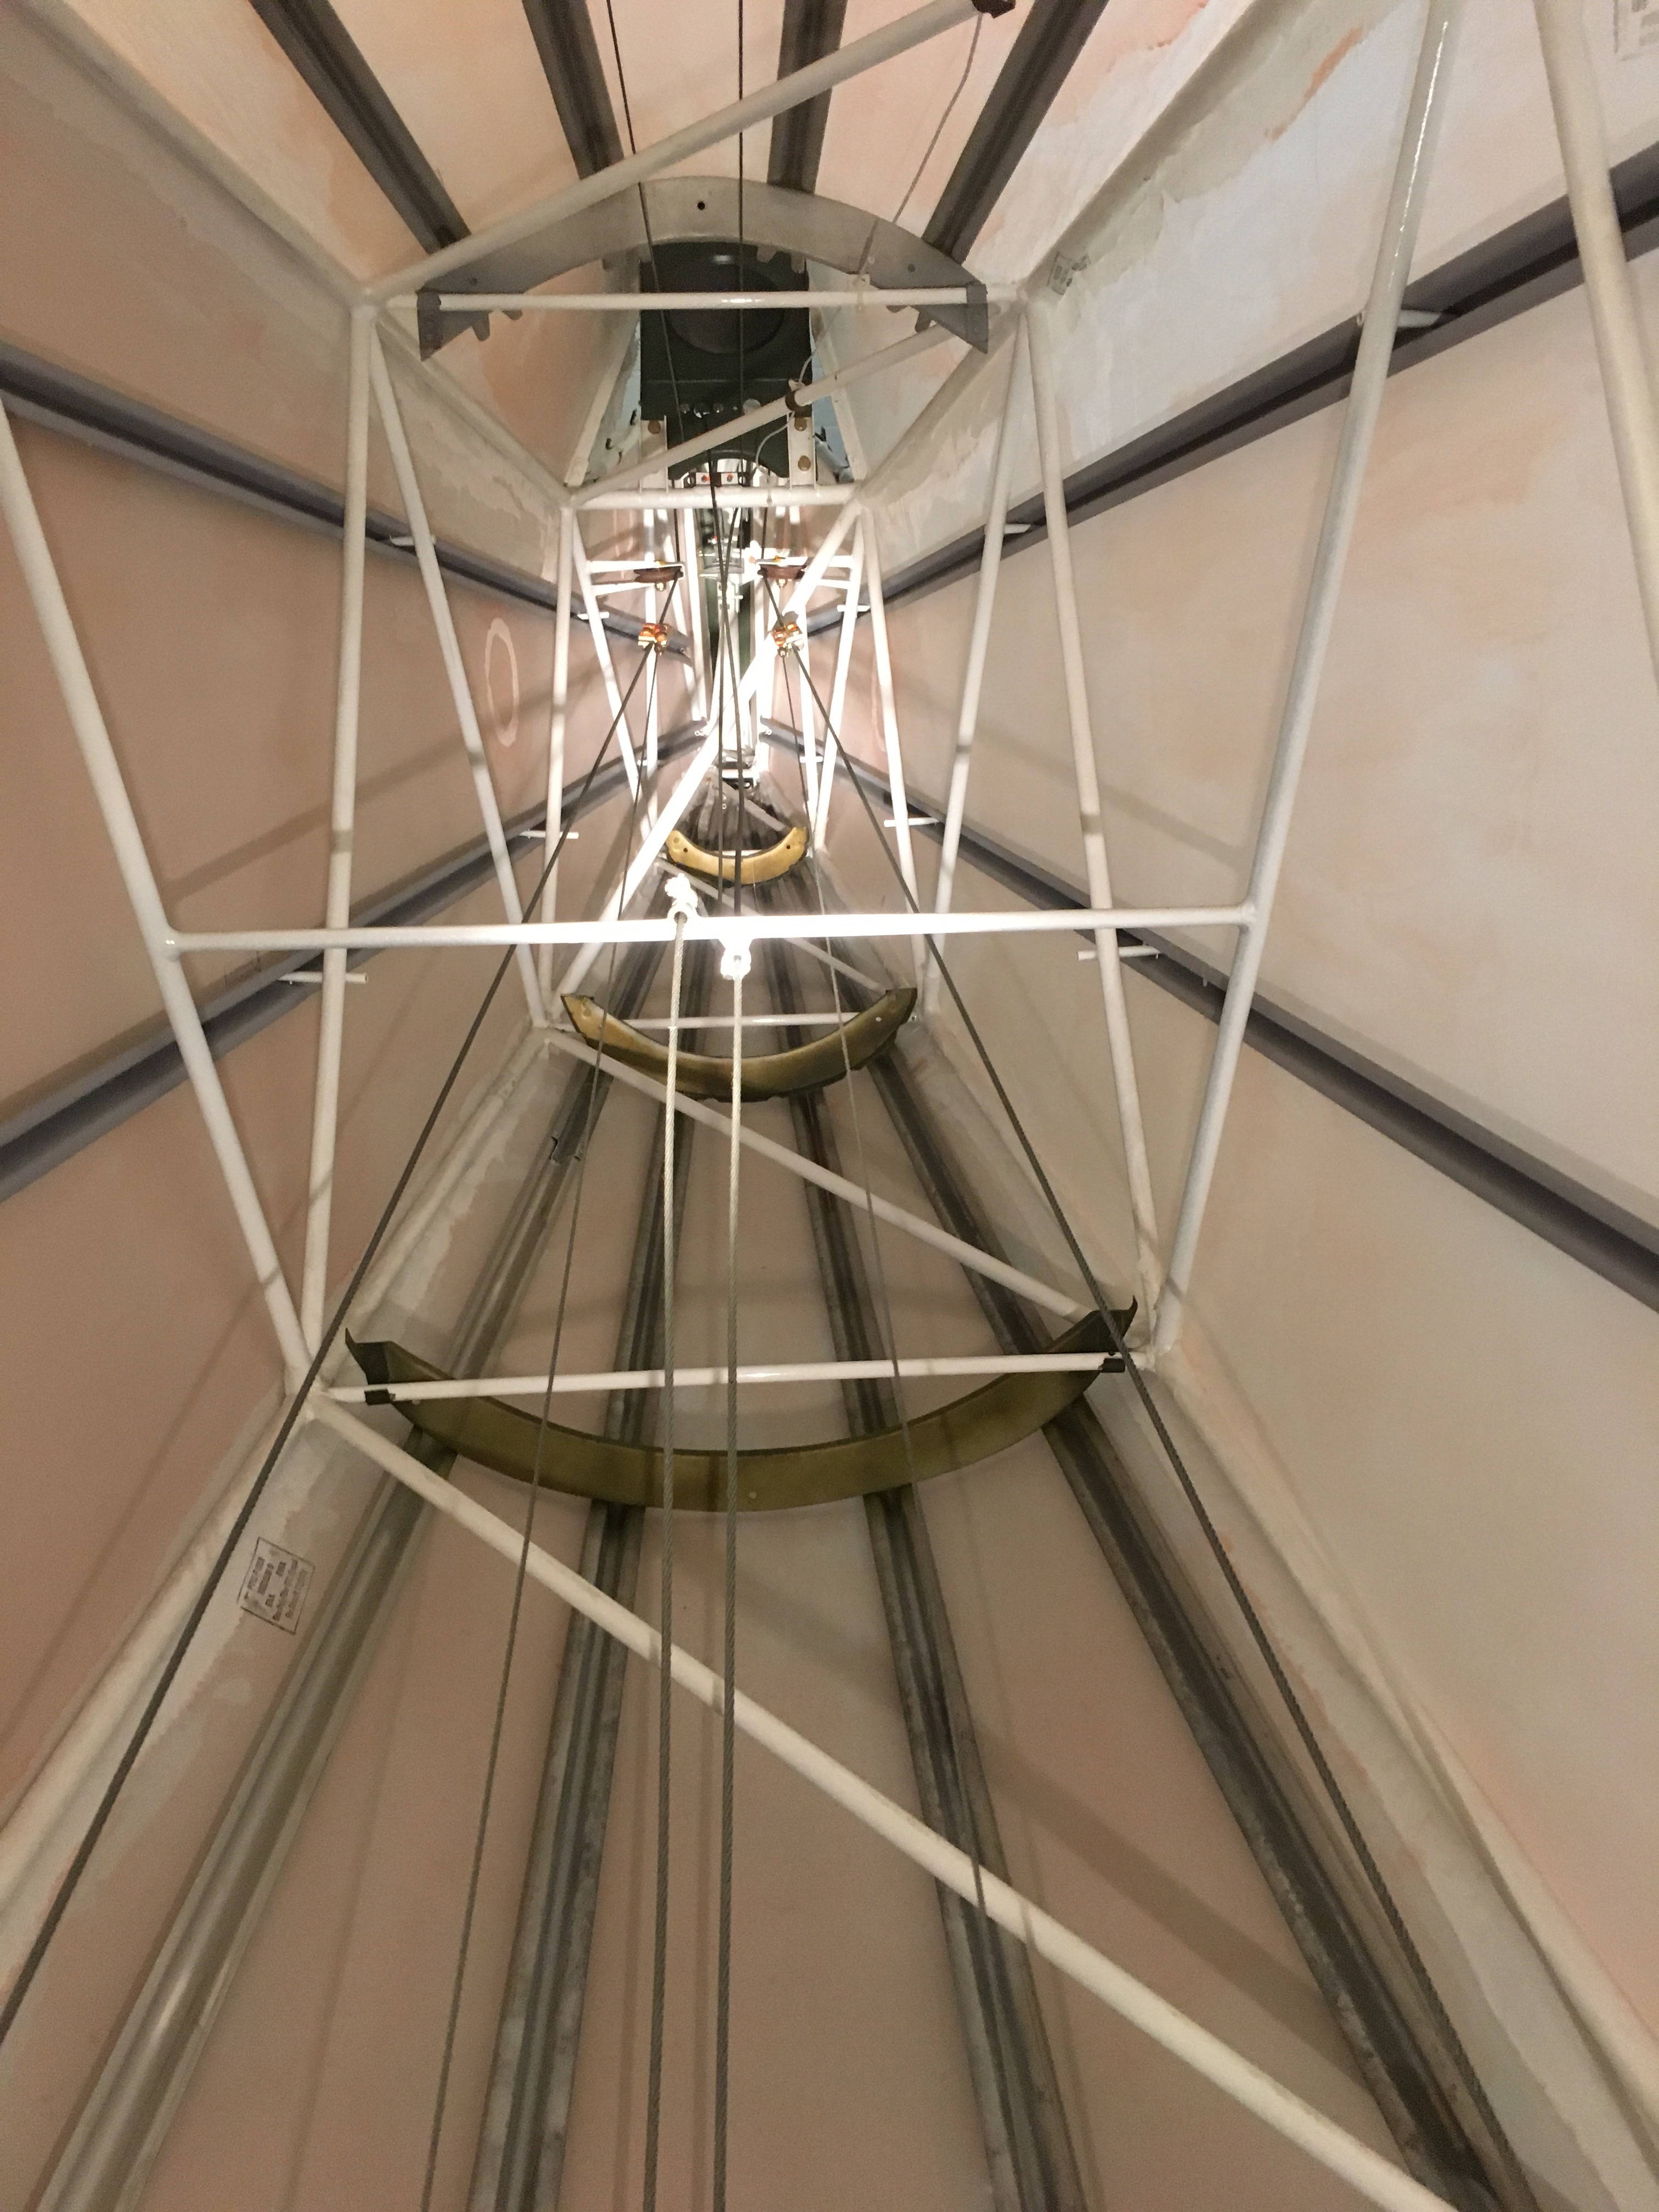
I’ve highlighted the cables in the following photo. Red lines near the top are elevator trim cables, blue lines are rudder cables, purple are rudder trim cables, and green are elevator cables.
Poly Brush
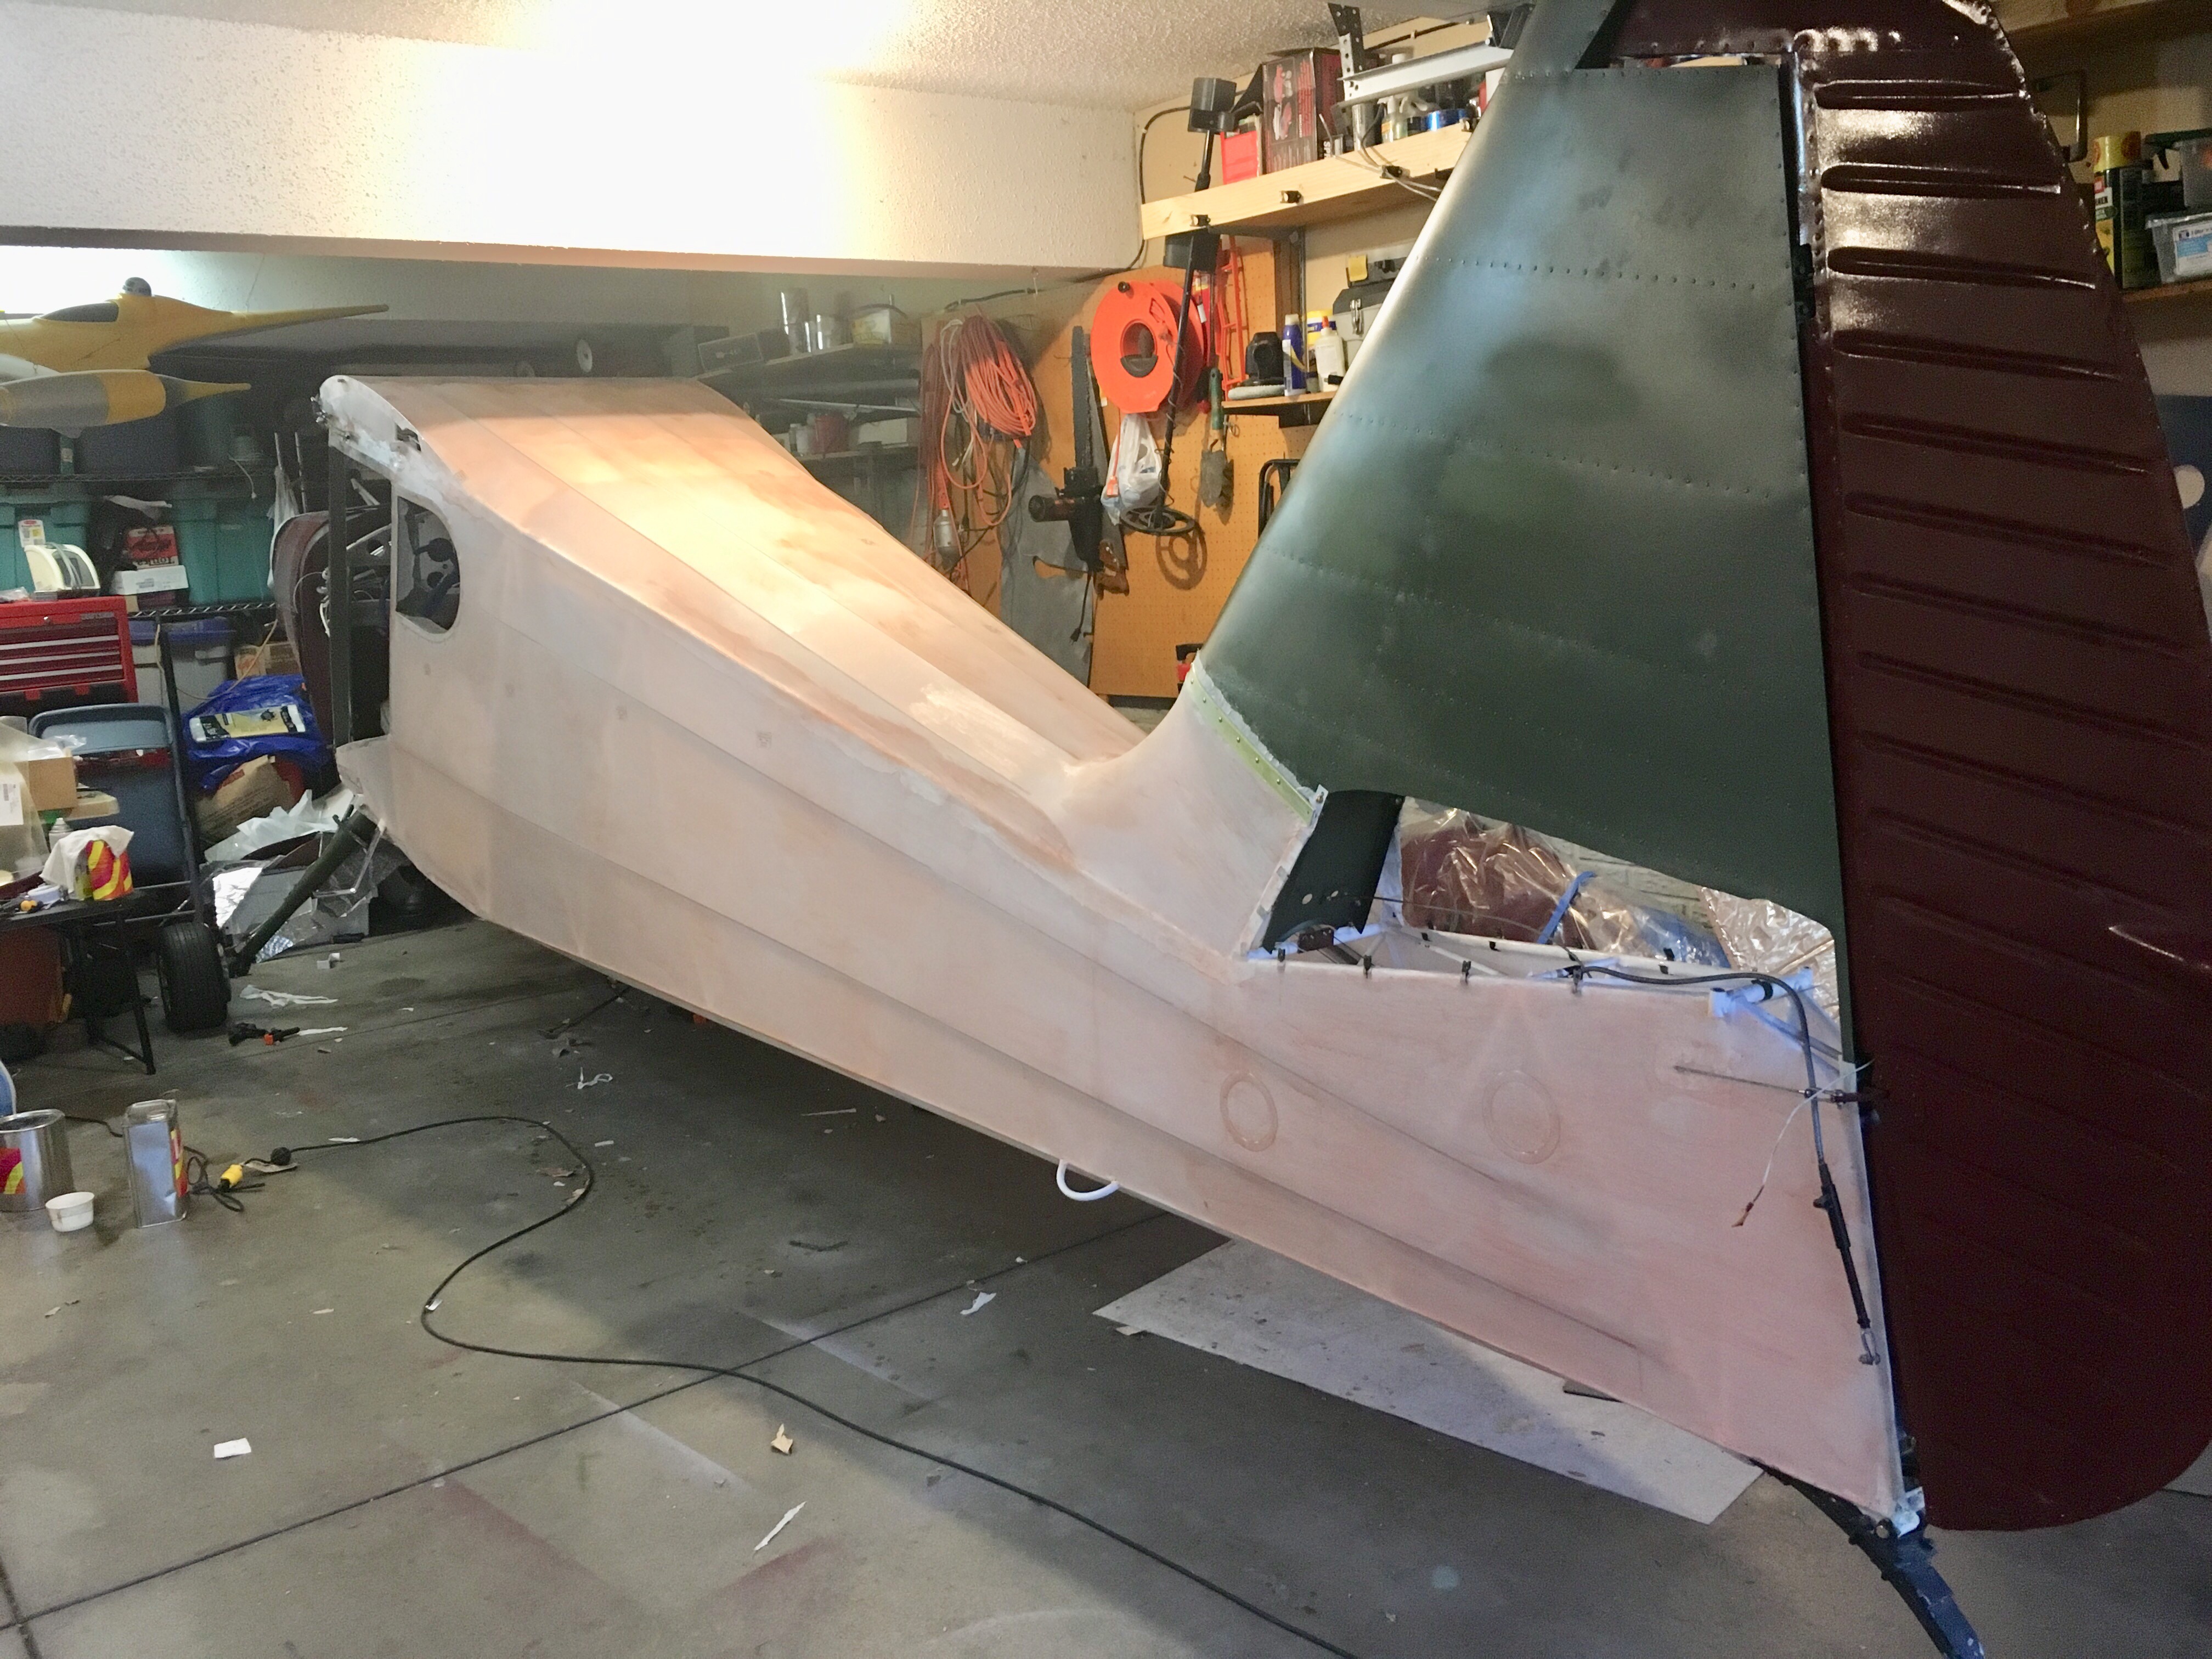
First coat of poly brush is applied. The first coat is brushed on (hence the word brush in the name) and the next two coats are sprayed on.
The pink color allows you to see where it’s been applied. It gives off a glossy coat, although that’s hard to see in the photo.
Poly Brush is used to seal the fabric and provide good adhesion of the fabric to the airplane.
Inspection Covers
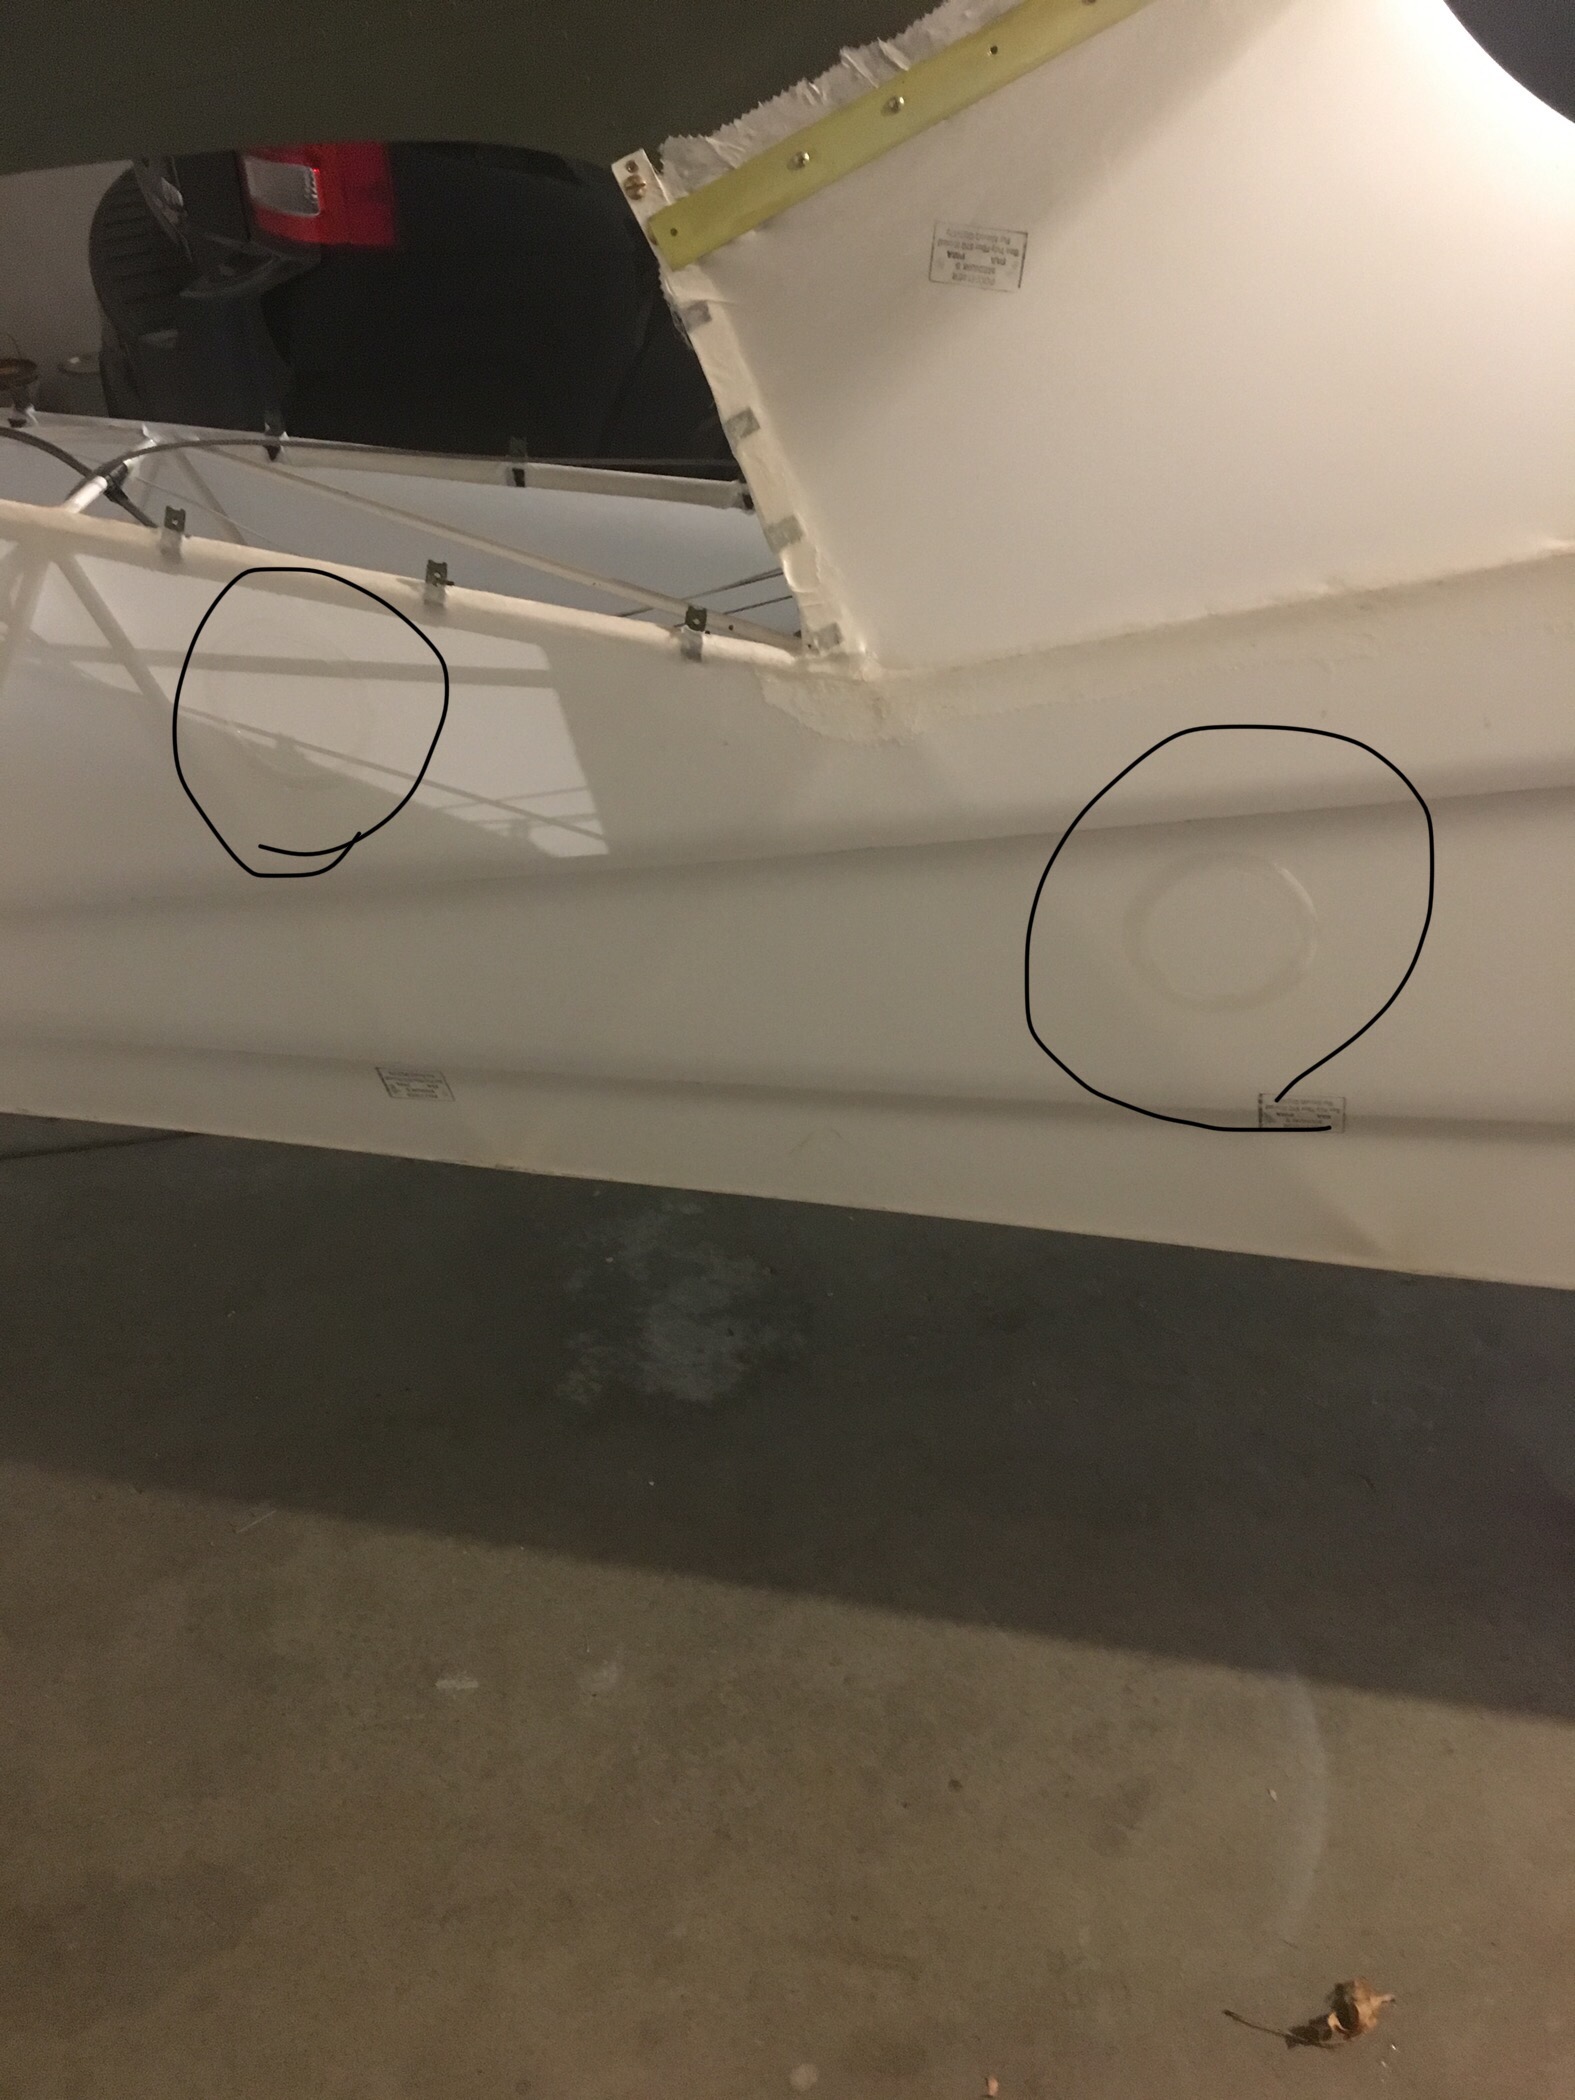
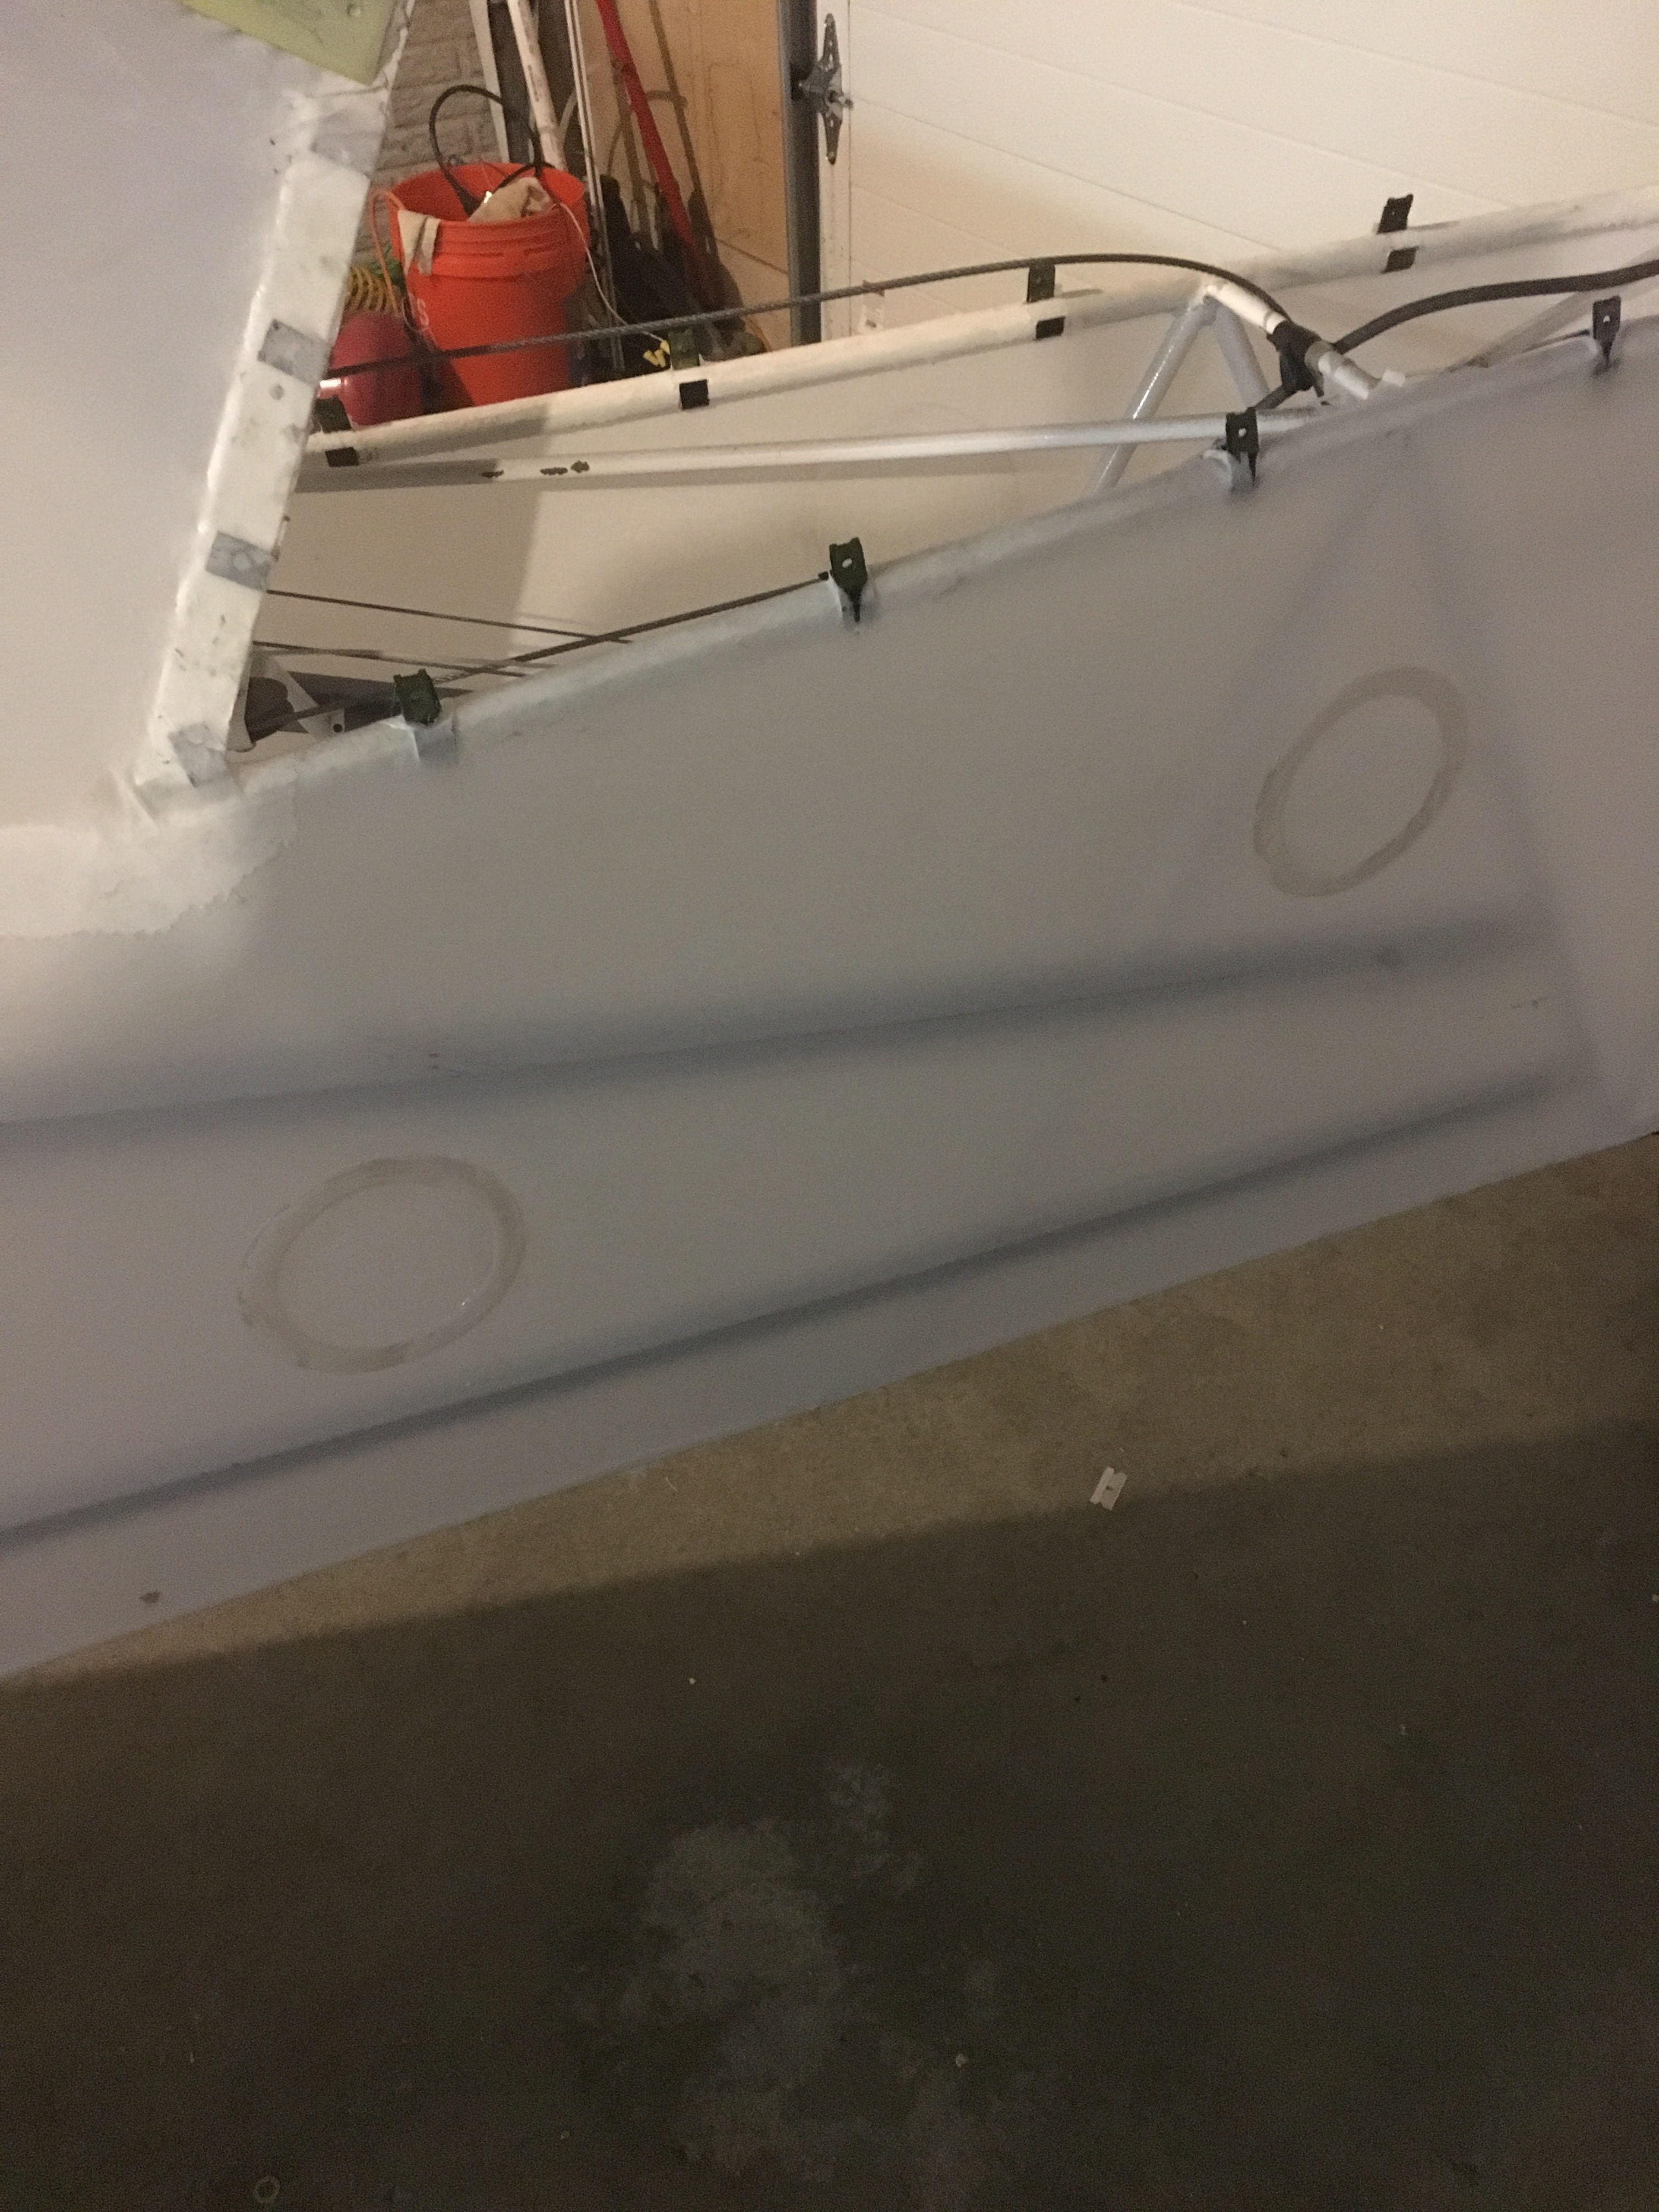
There are no inspection holes on the Stinson from the factory. I added five to the fuselage to provide access for later inspections.
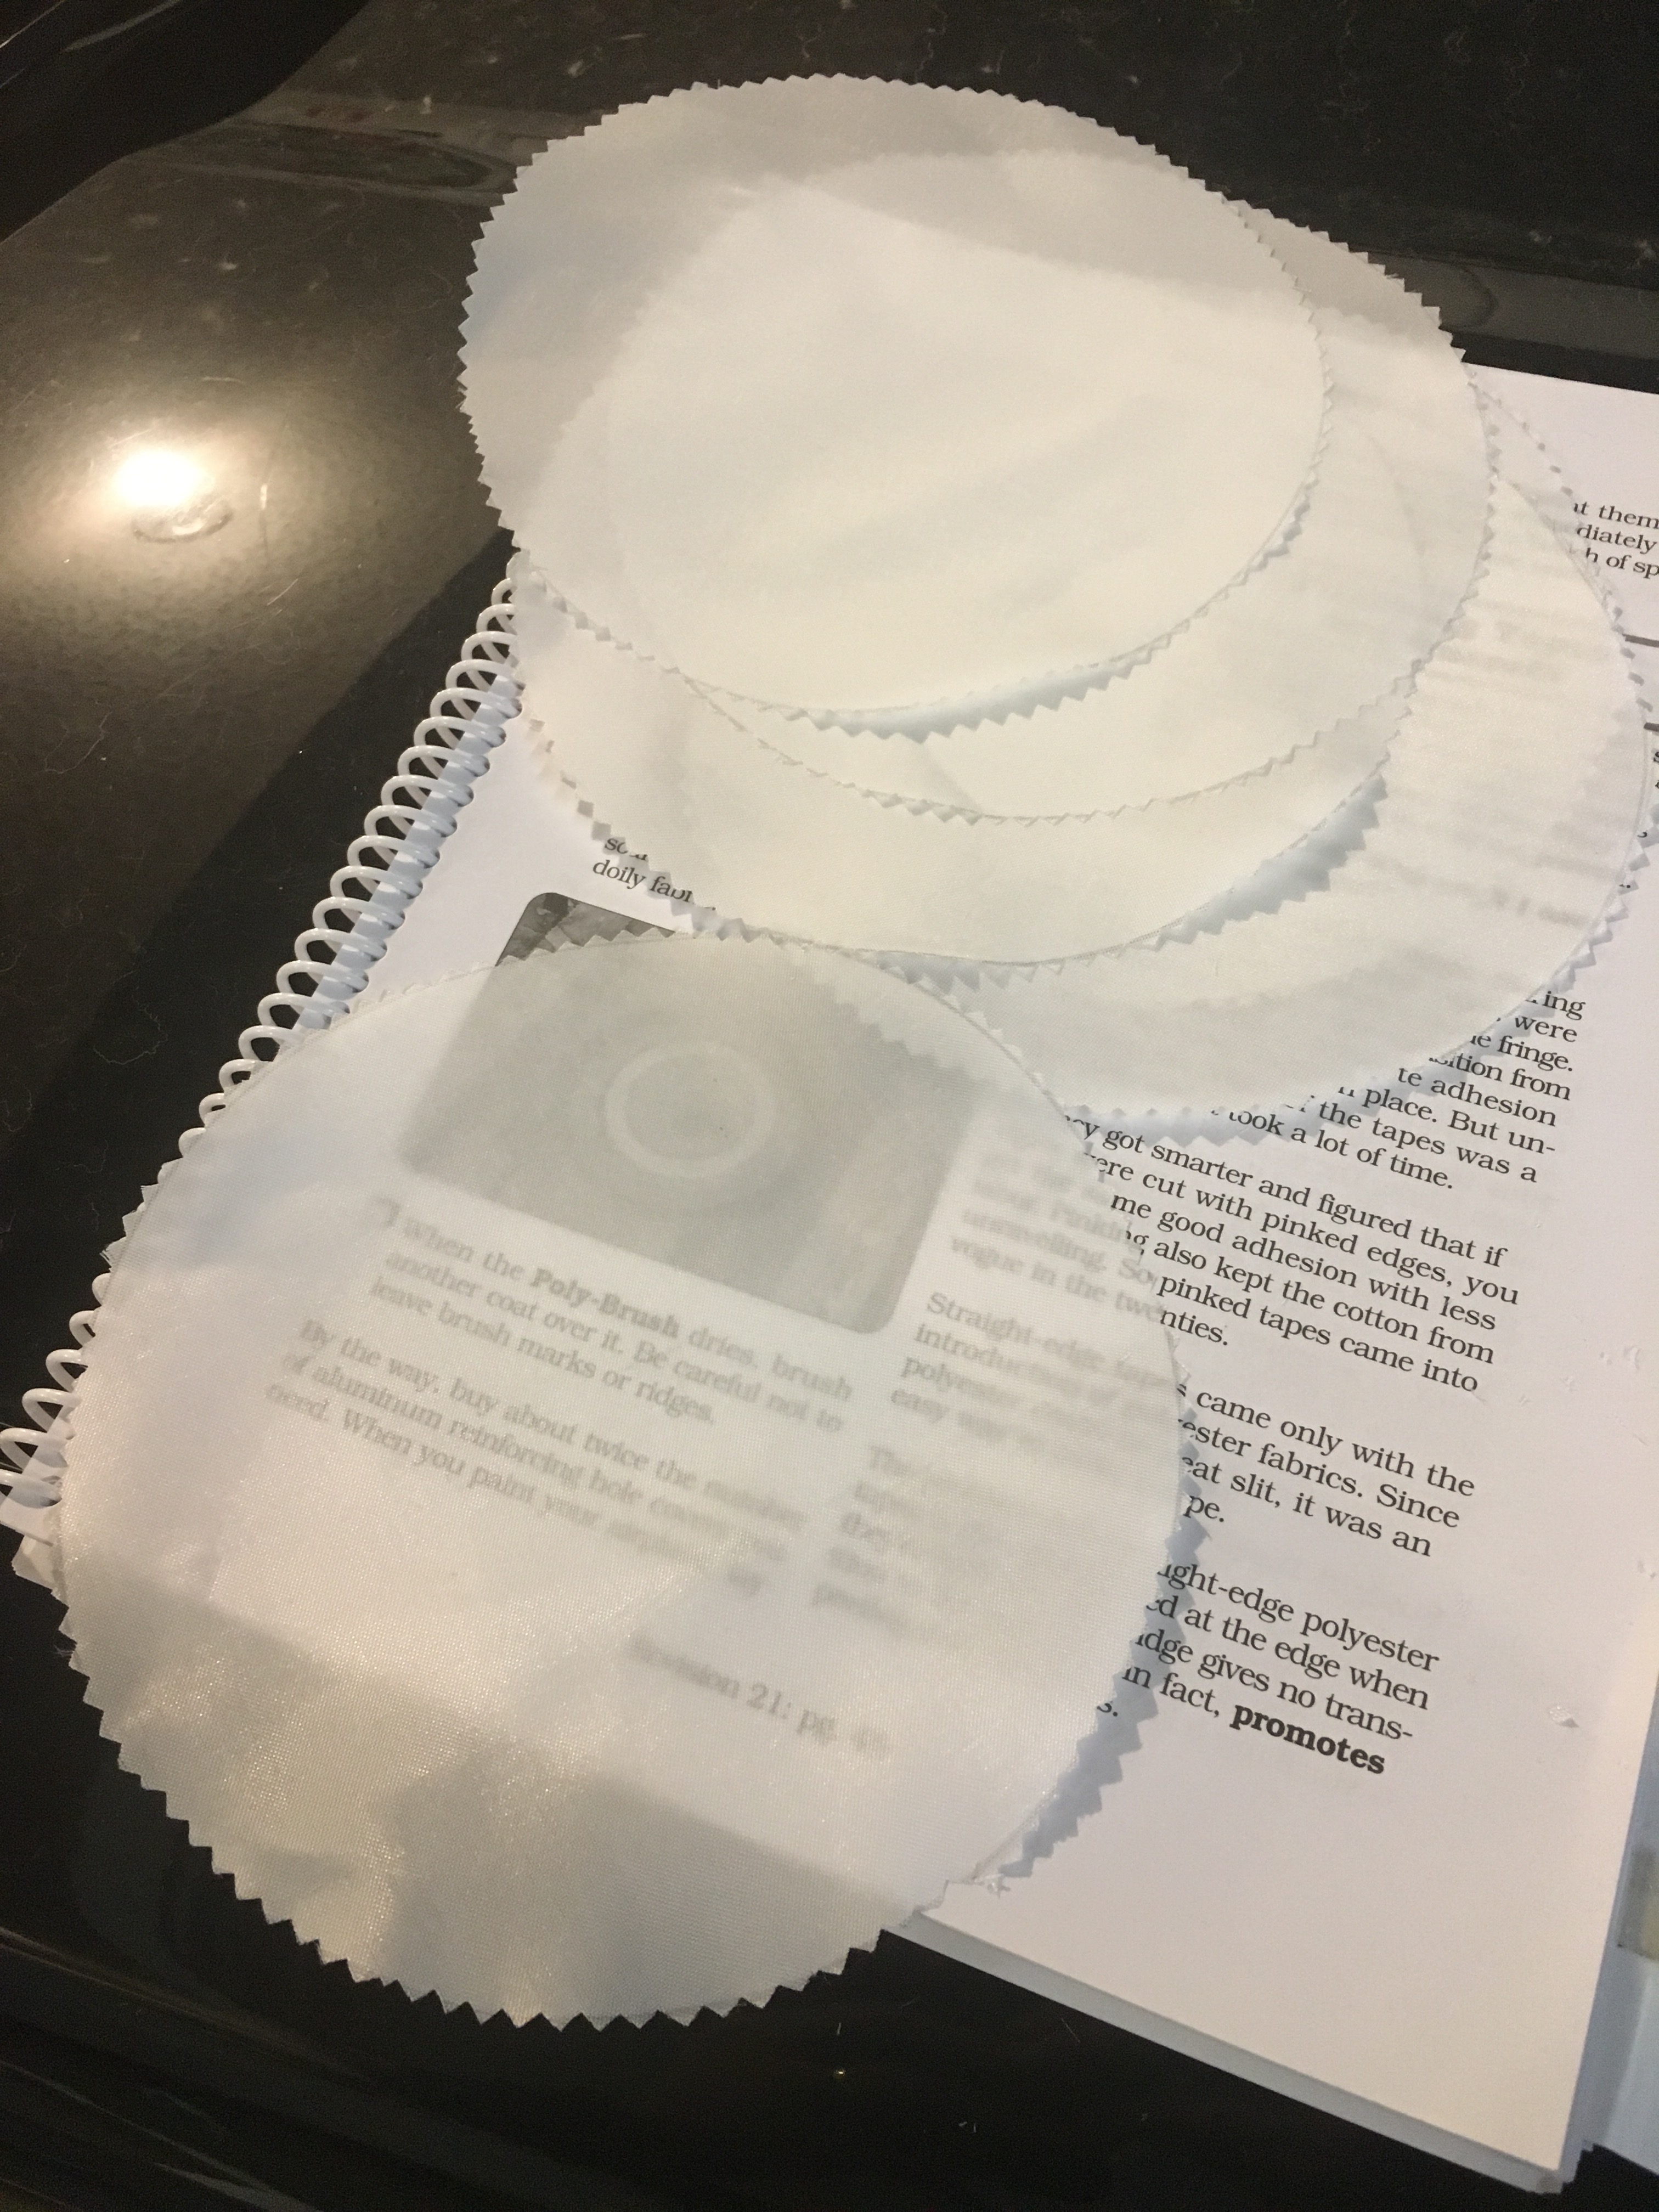
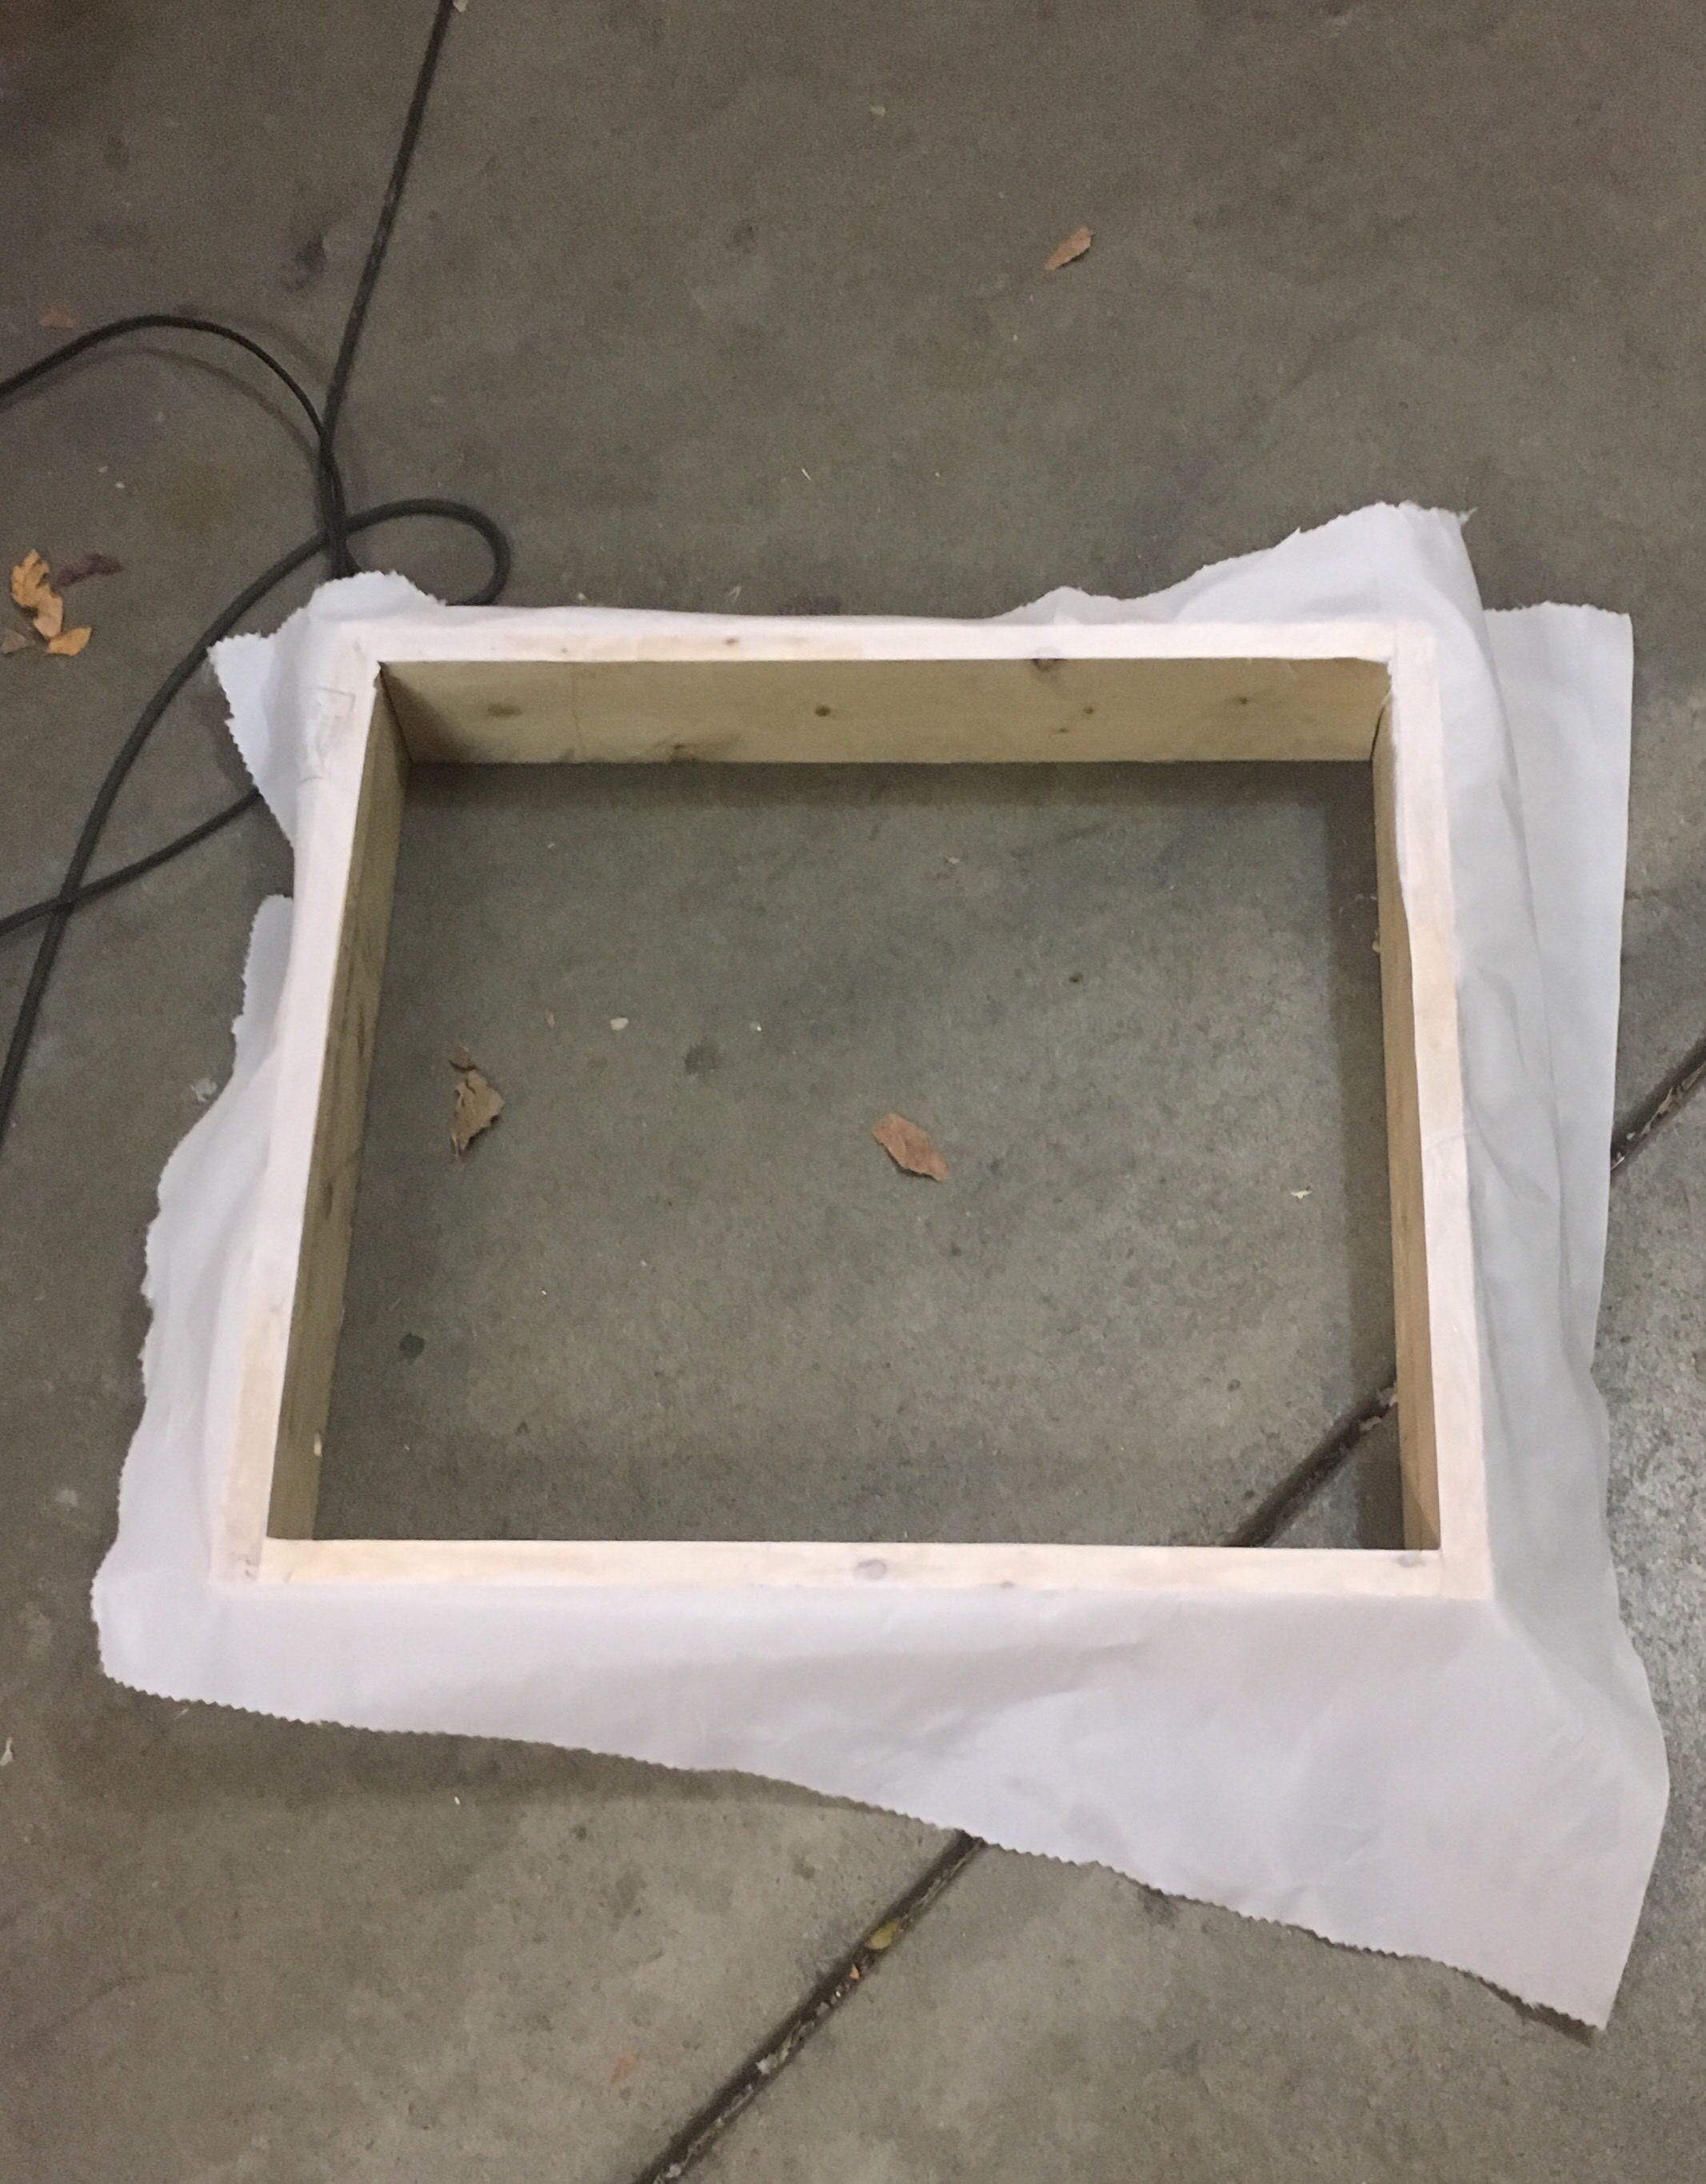
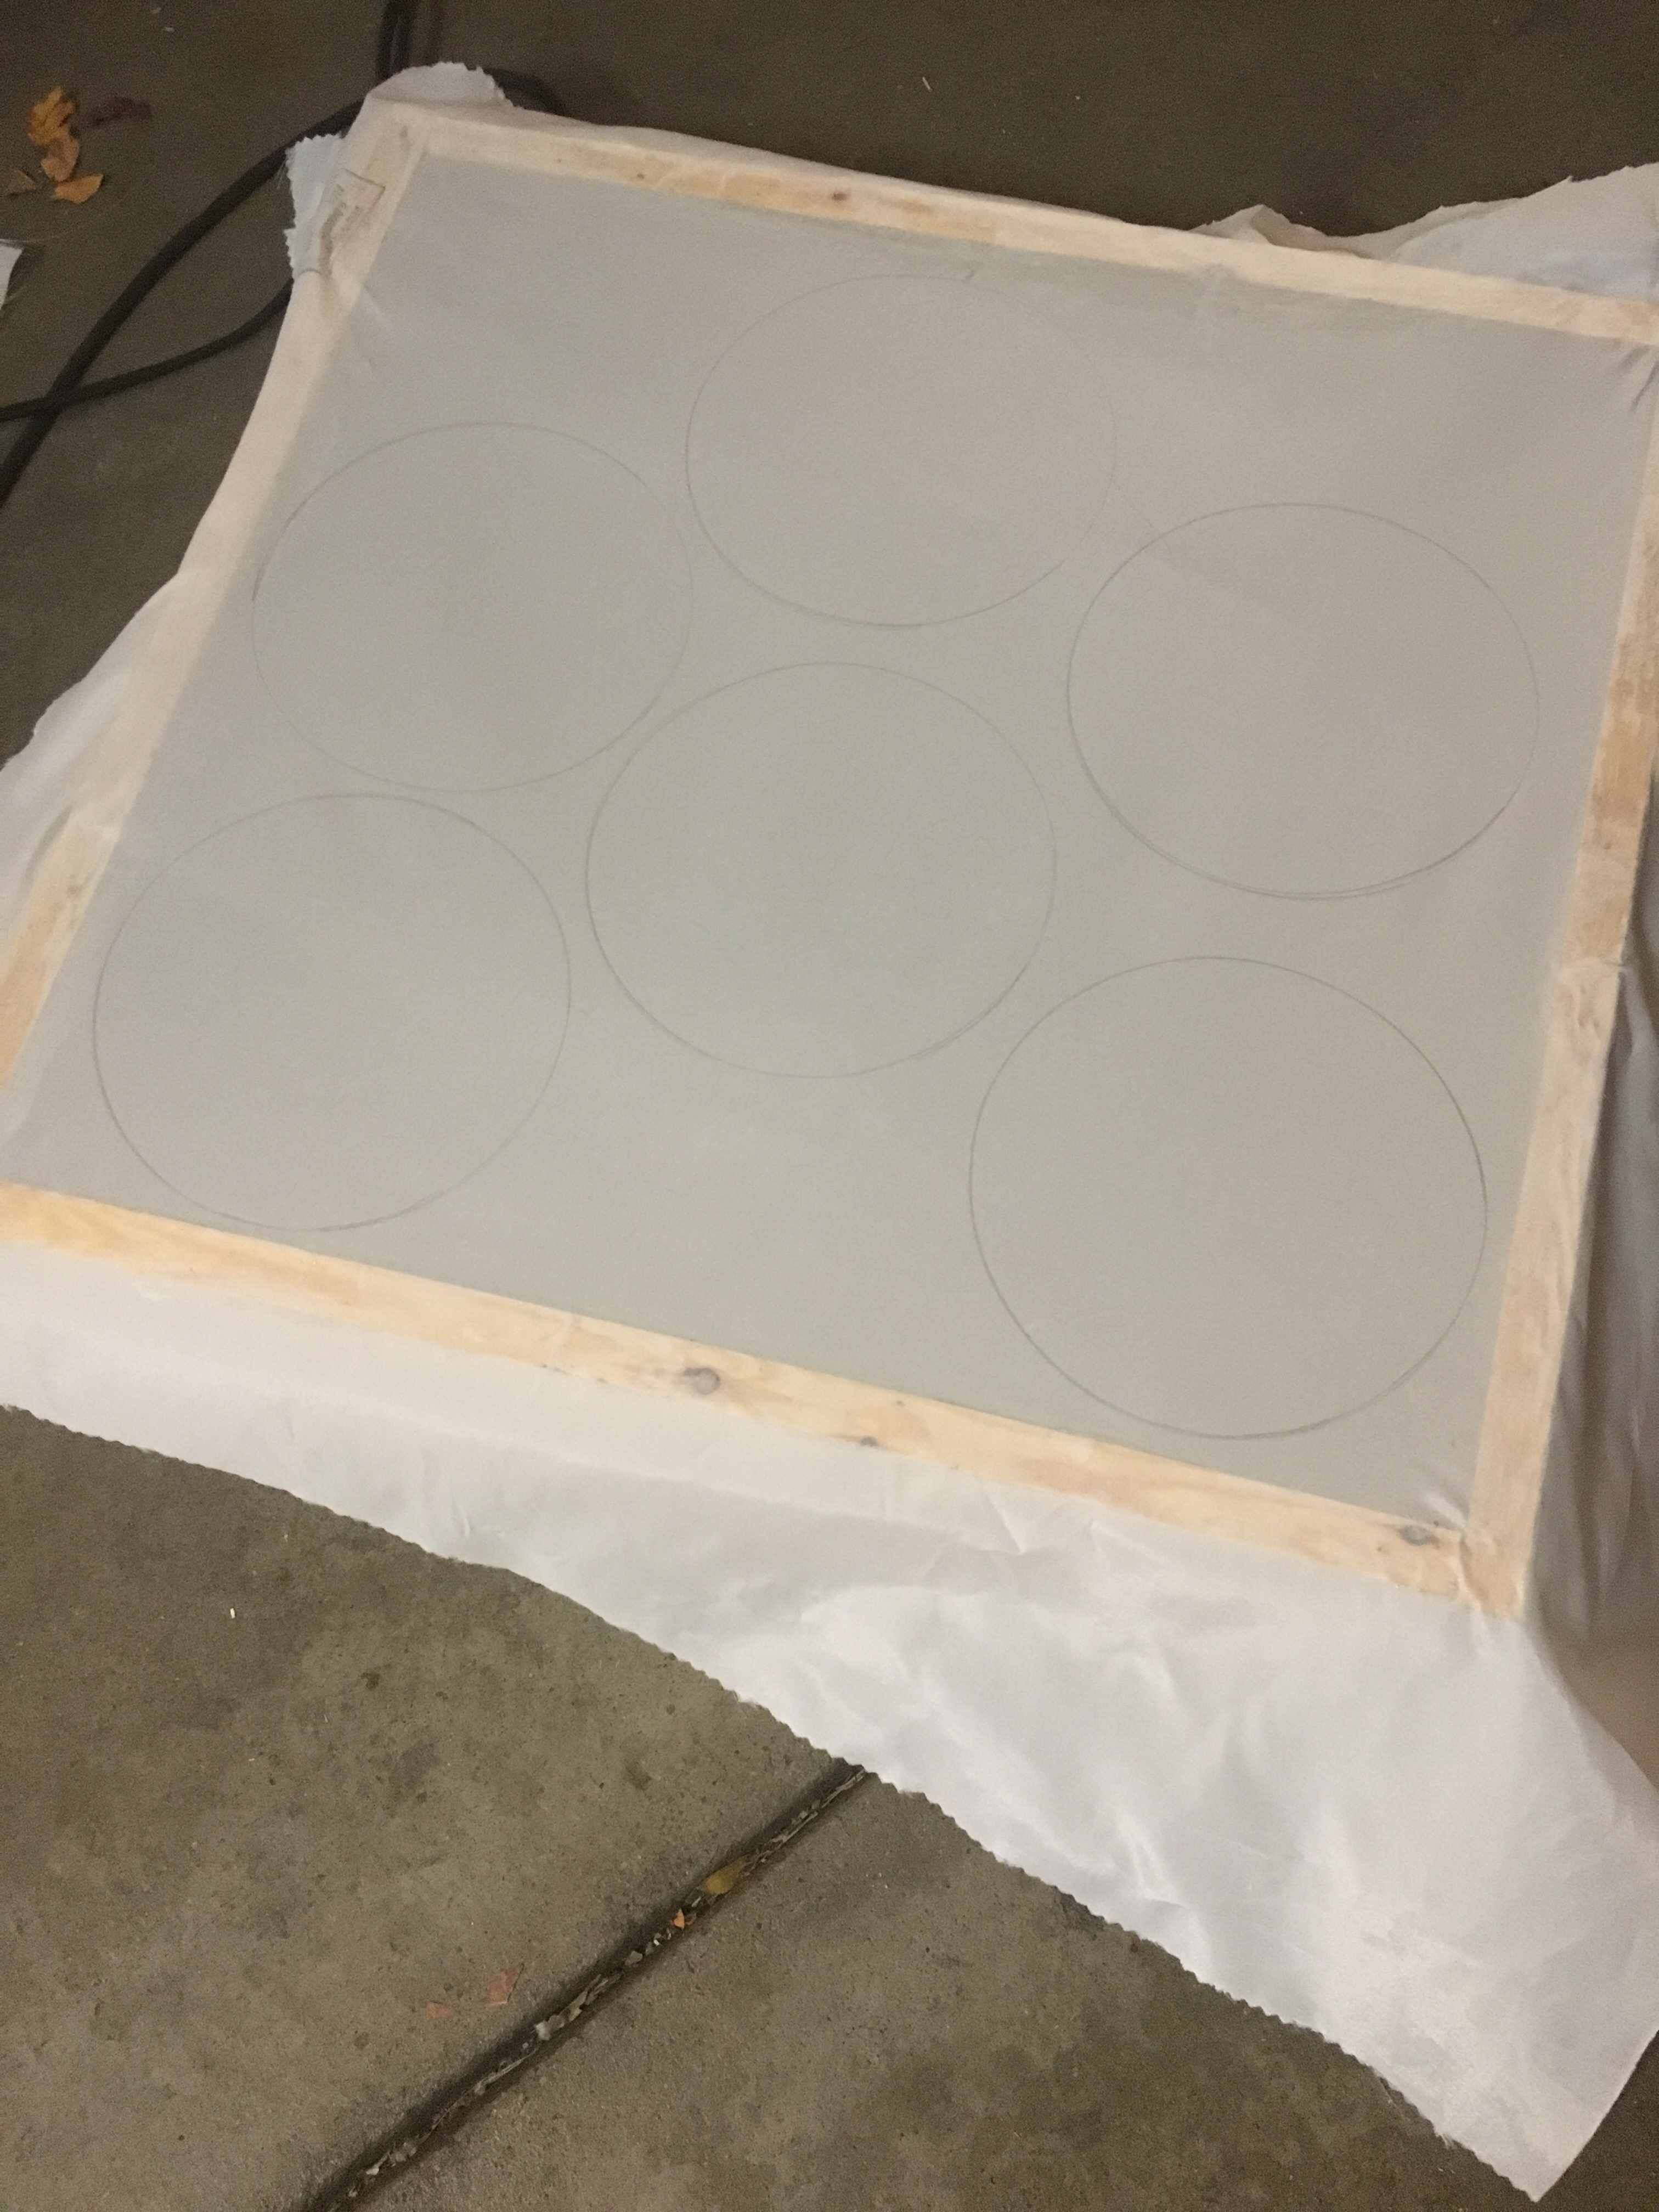
How do you make covers for the inspection rings?
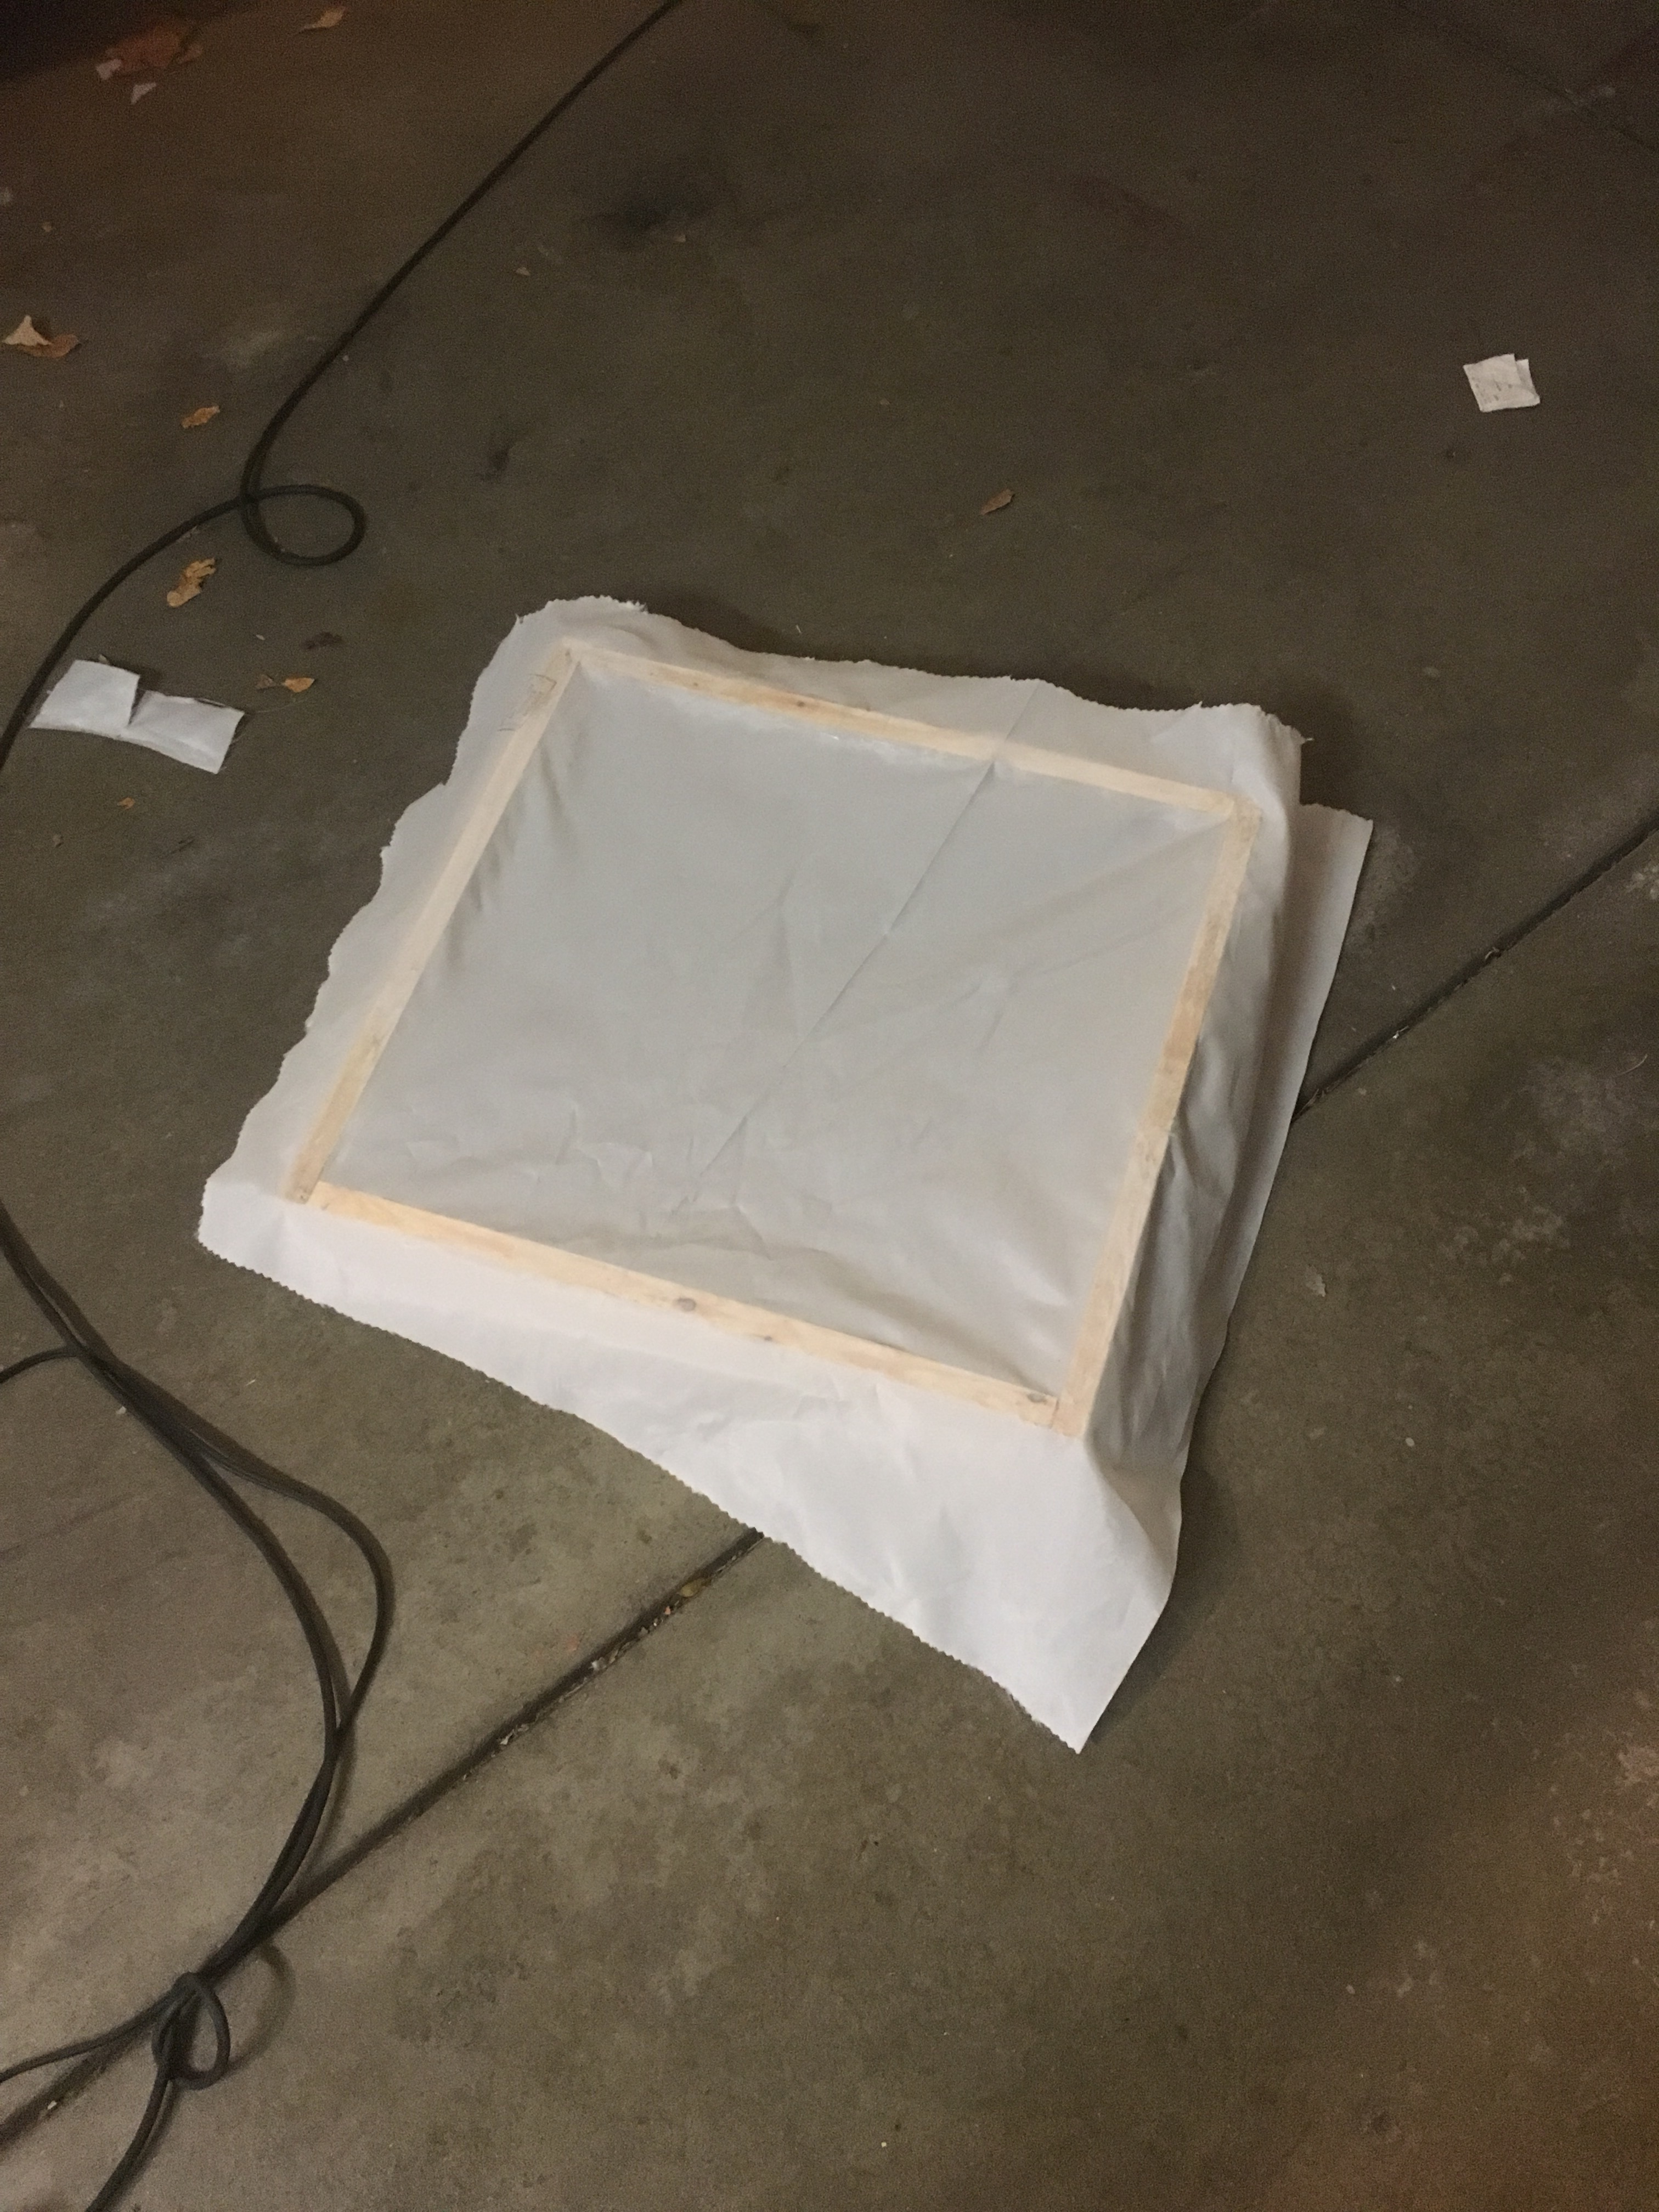
Glue a piece of fabric to a frame. Shrink the fabric with 250 degree heat. Draw 6 1/2″ circles on the fabric, cut out the holes, then attach them over the inspection rings. This happens after the Poly brush goes on. The photos are in reverse order.
Fabric tightening
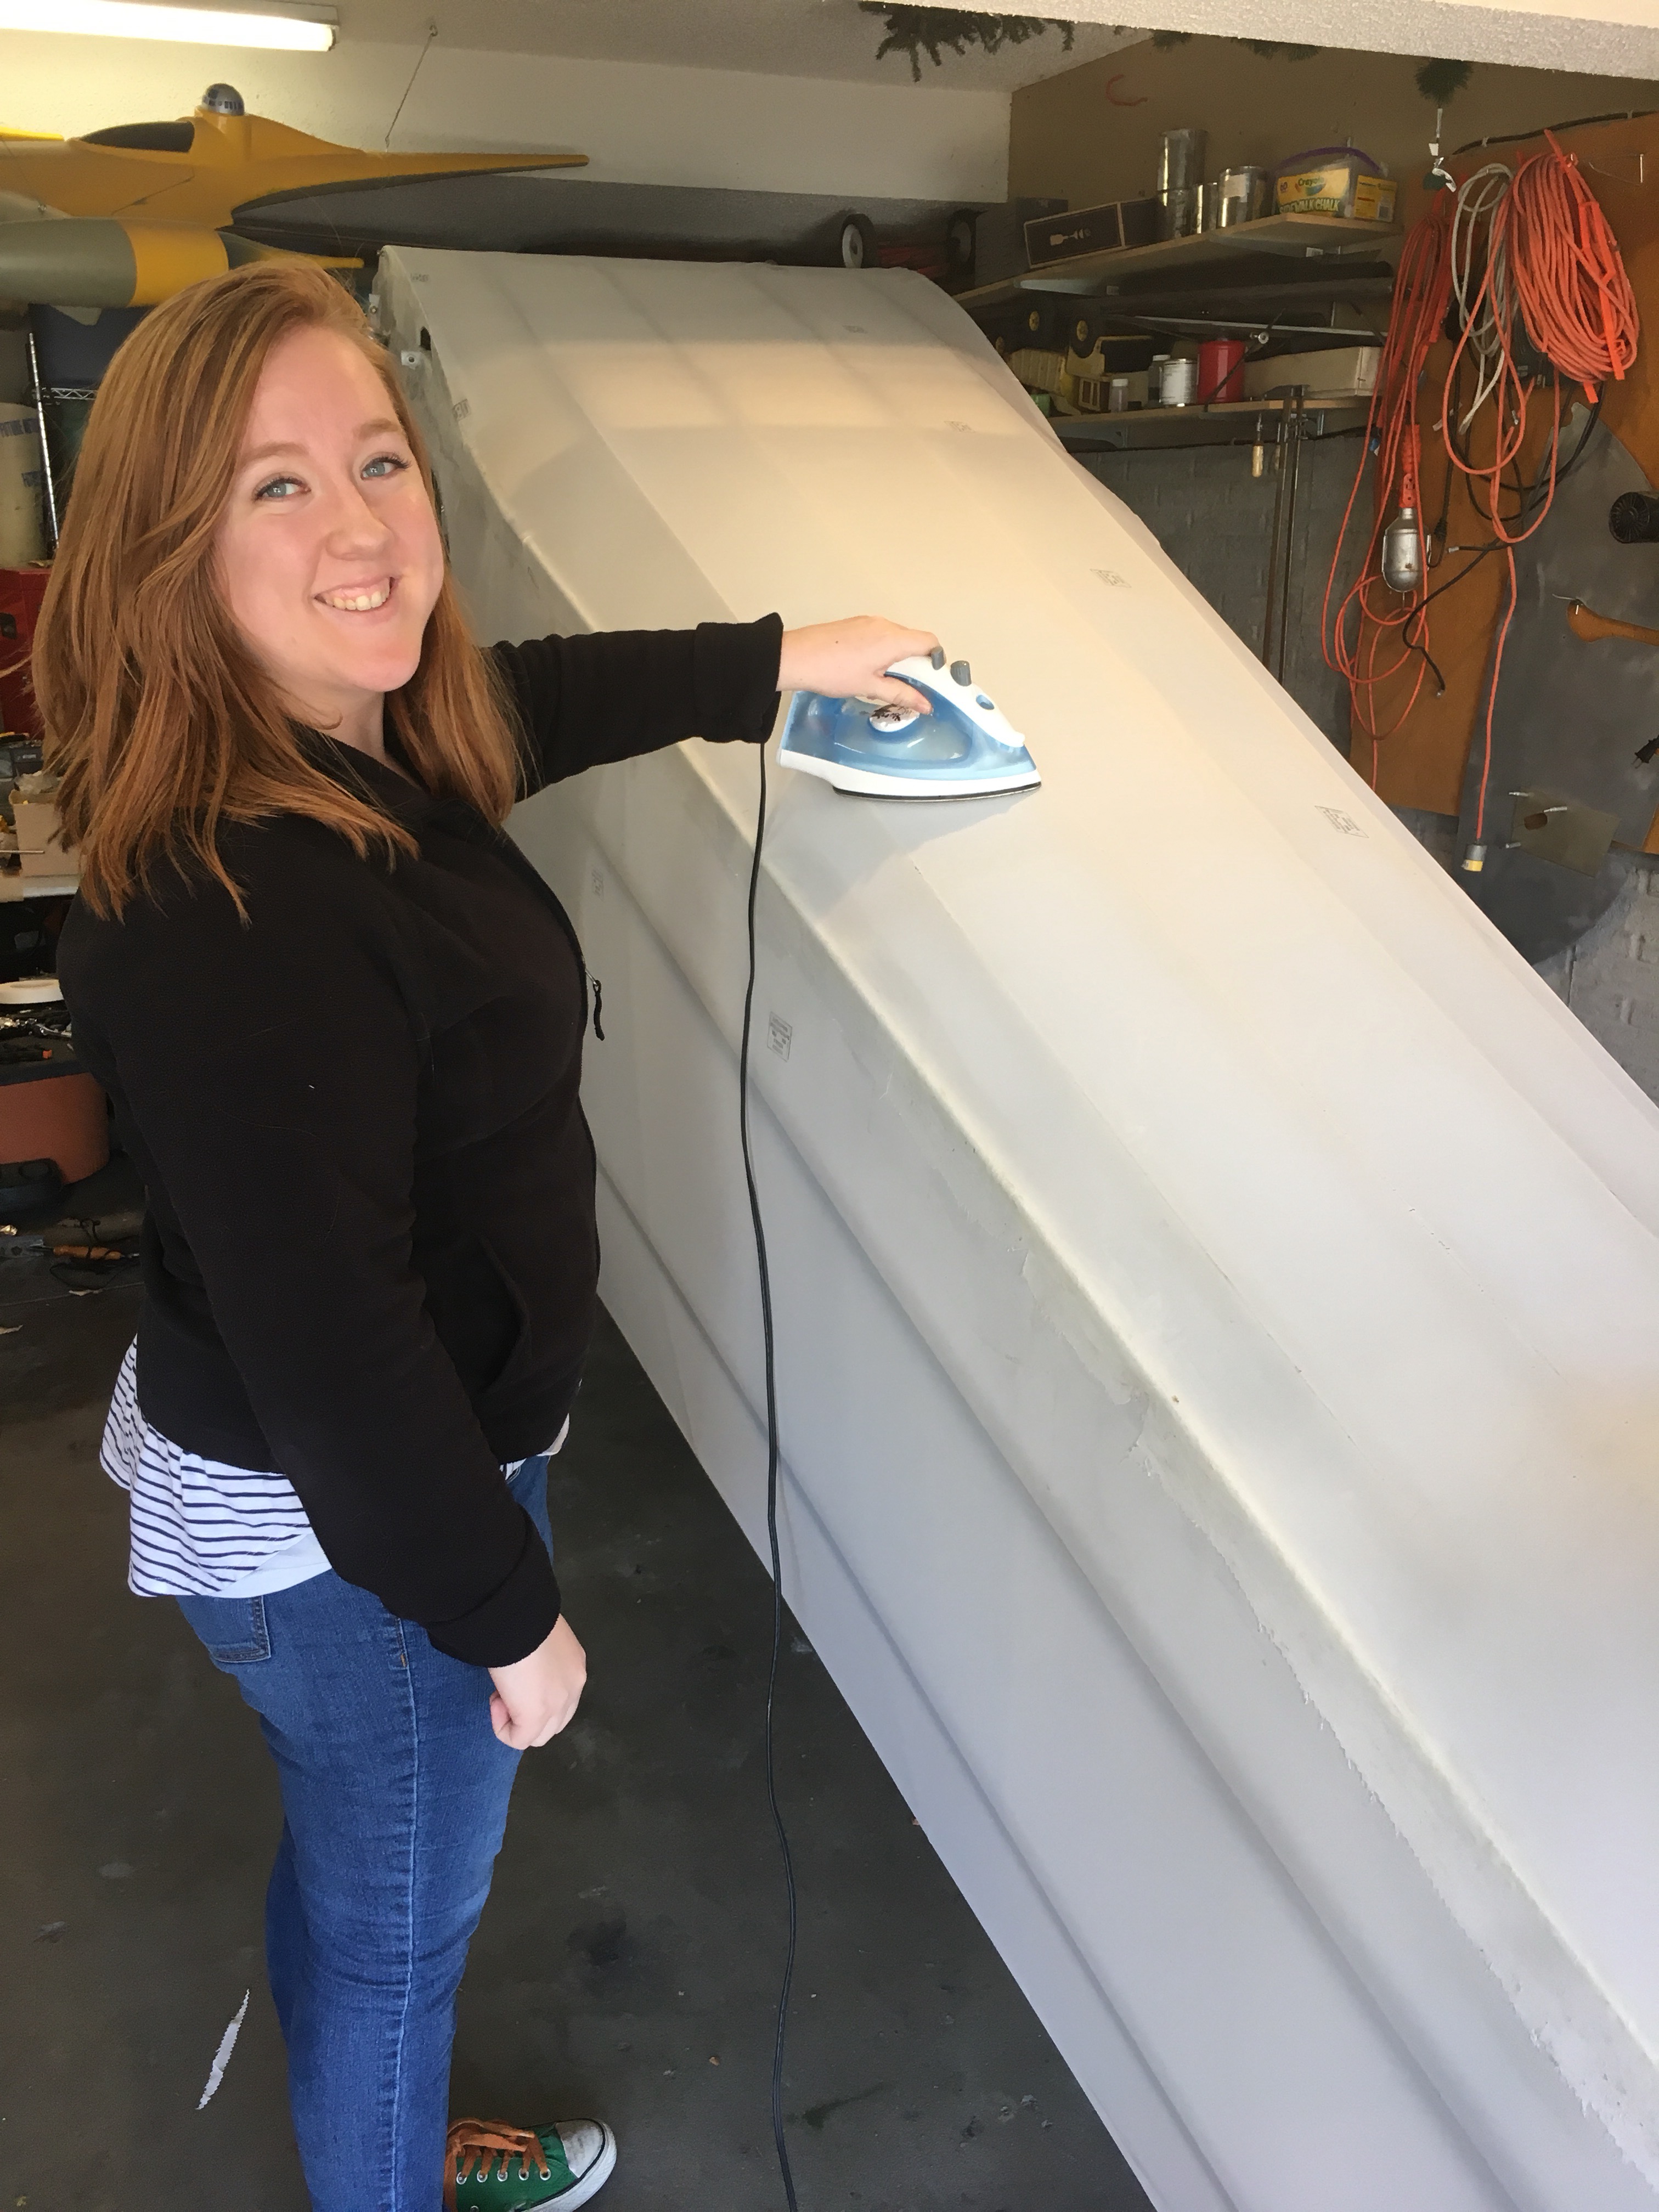
Final heat applied. 350 degree calibrated temp iron. Next are the inspection rings, Poly brush, and trim tapes.
I had some great help from Anna Marie who was home for a weekend visit.
Fabric tightening.
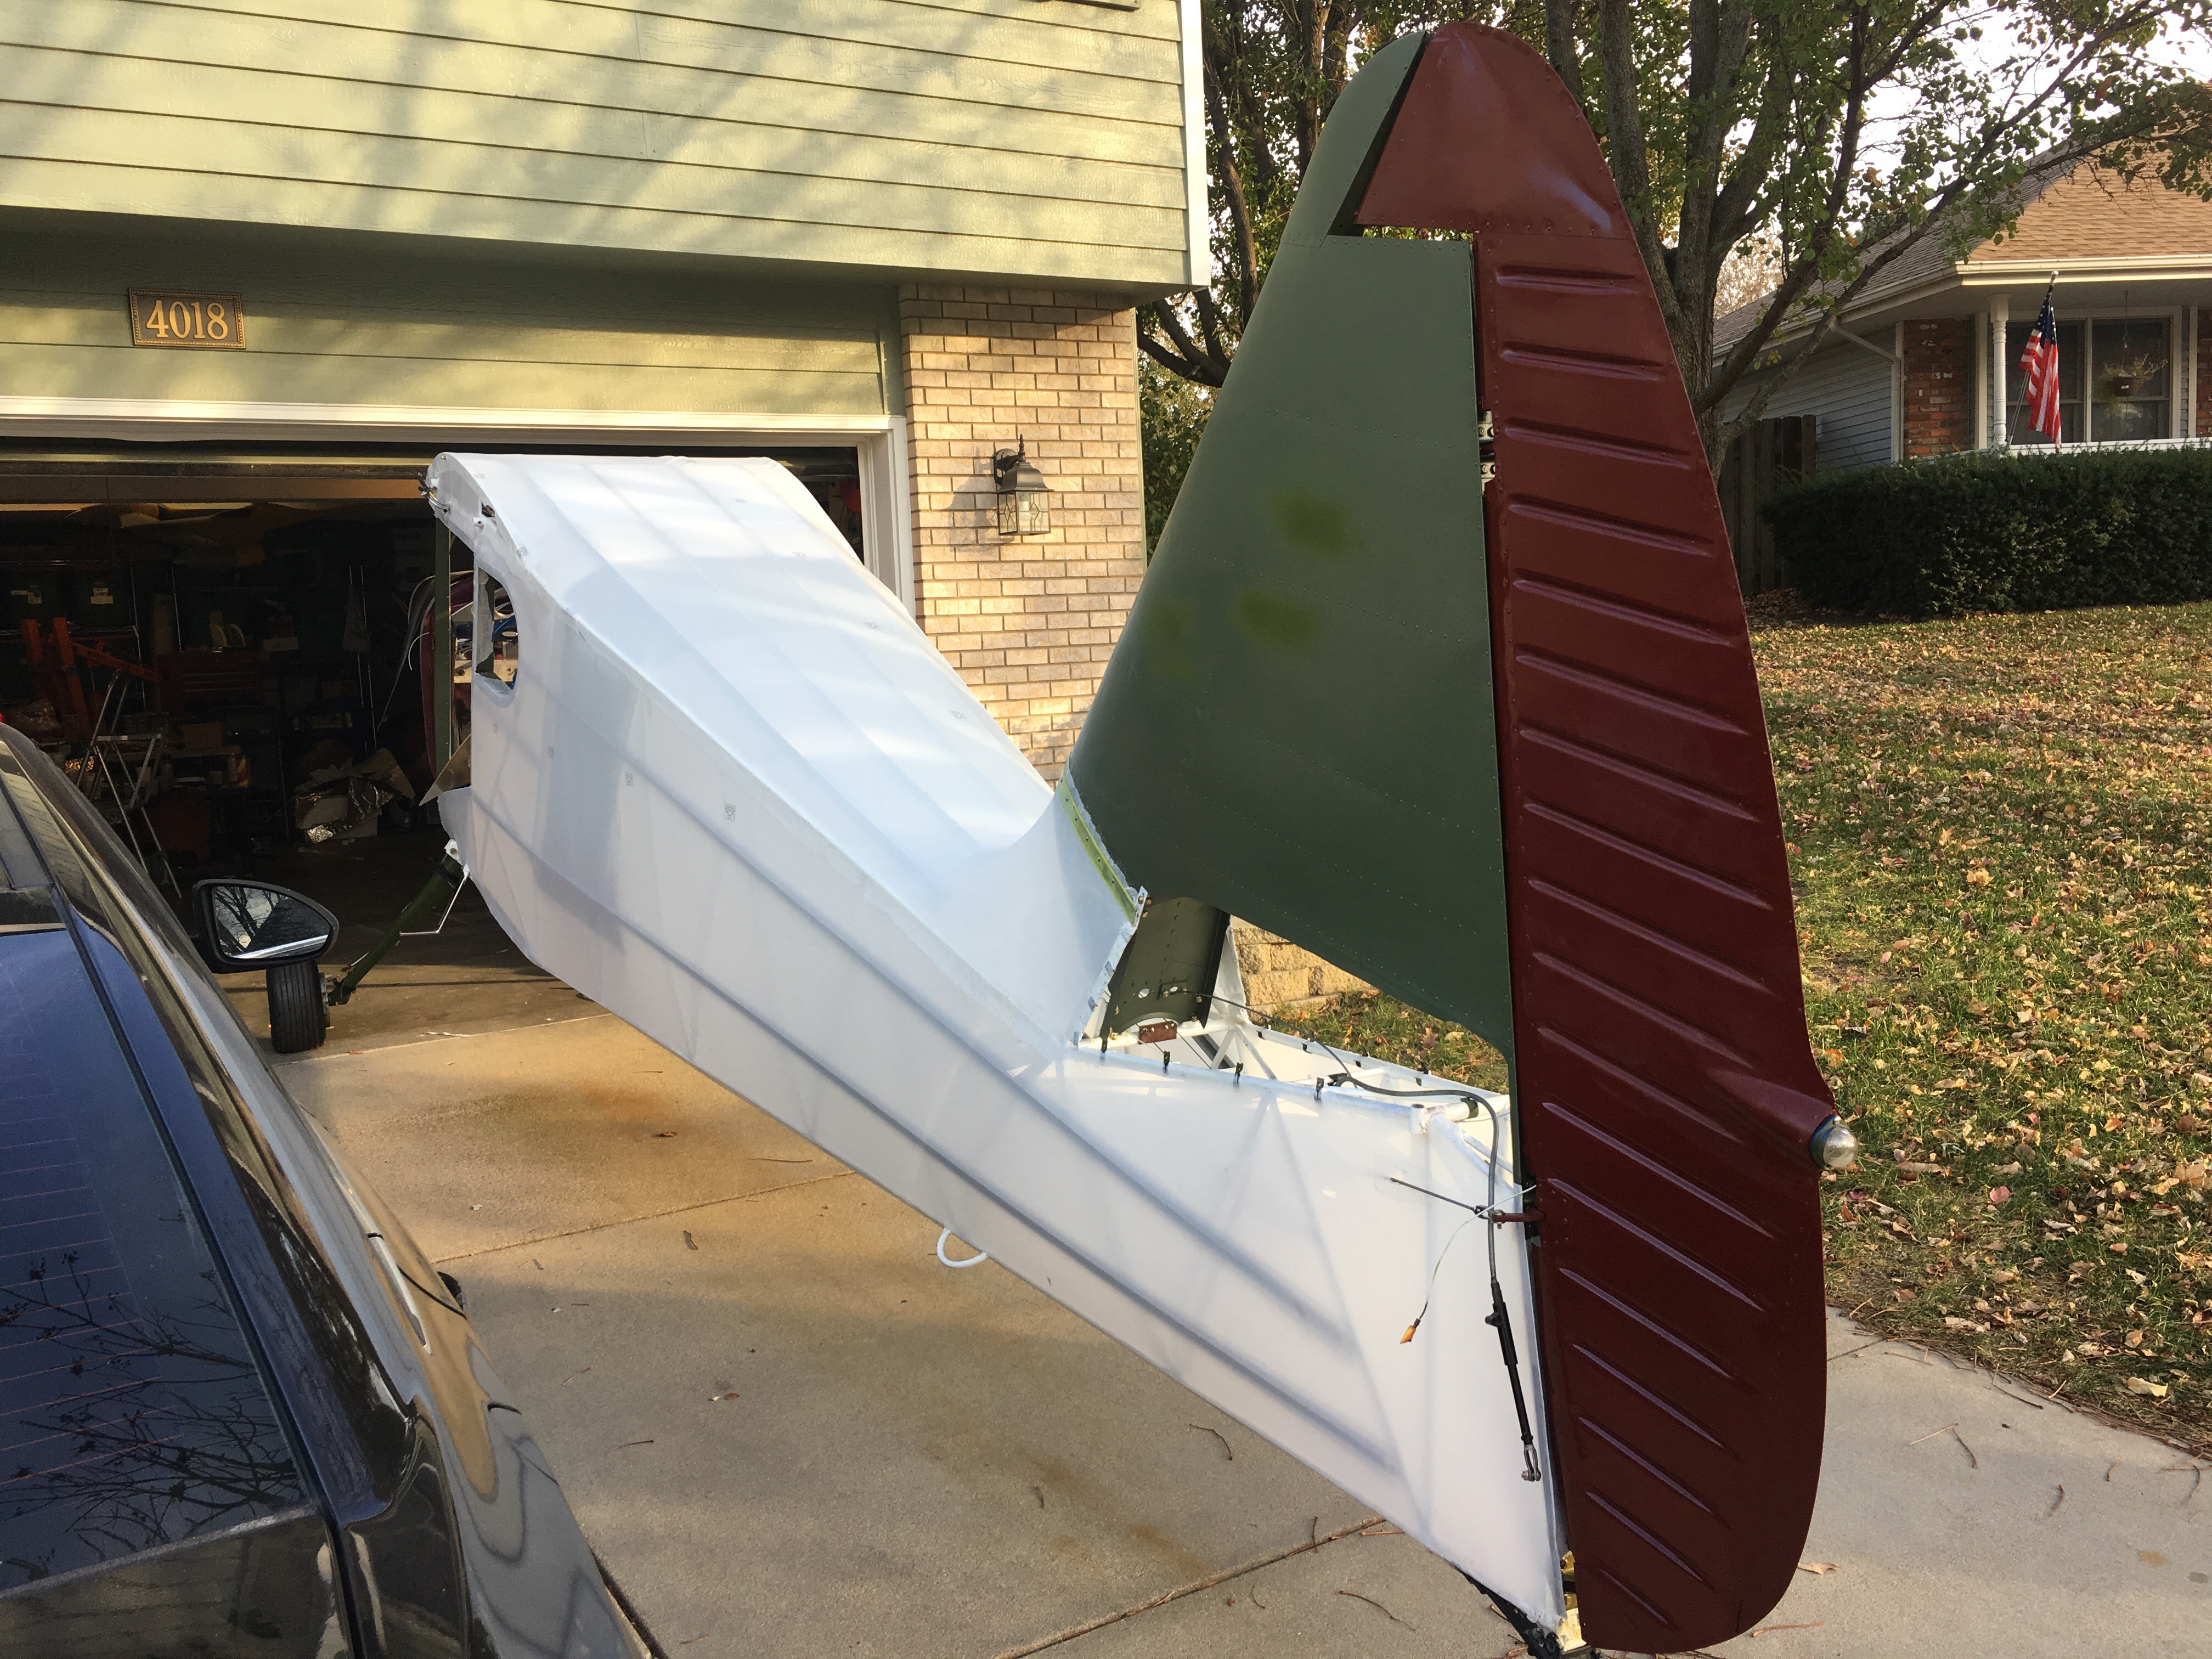
The book says do the 350 degree tightening twice so you don’t miss any fabric. So the first one is done. Will do the second pass tomorrow.
More fabric work
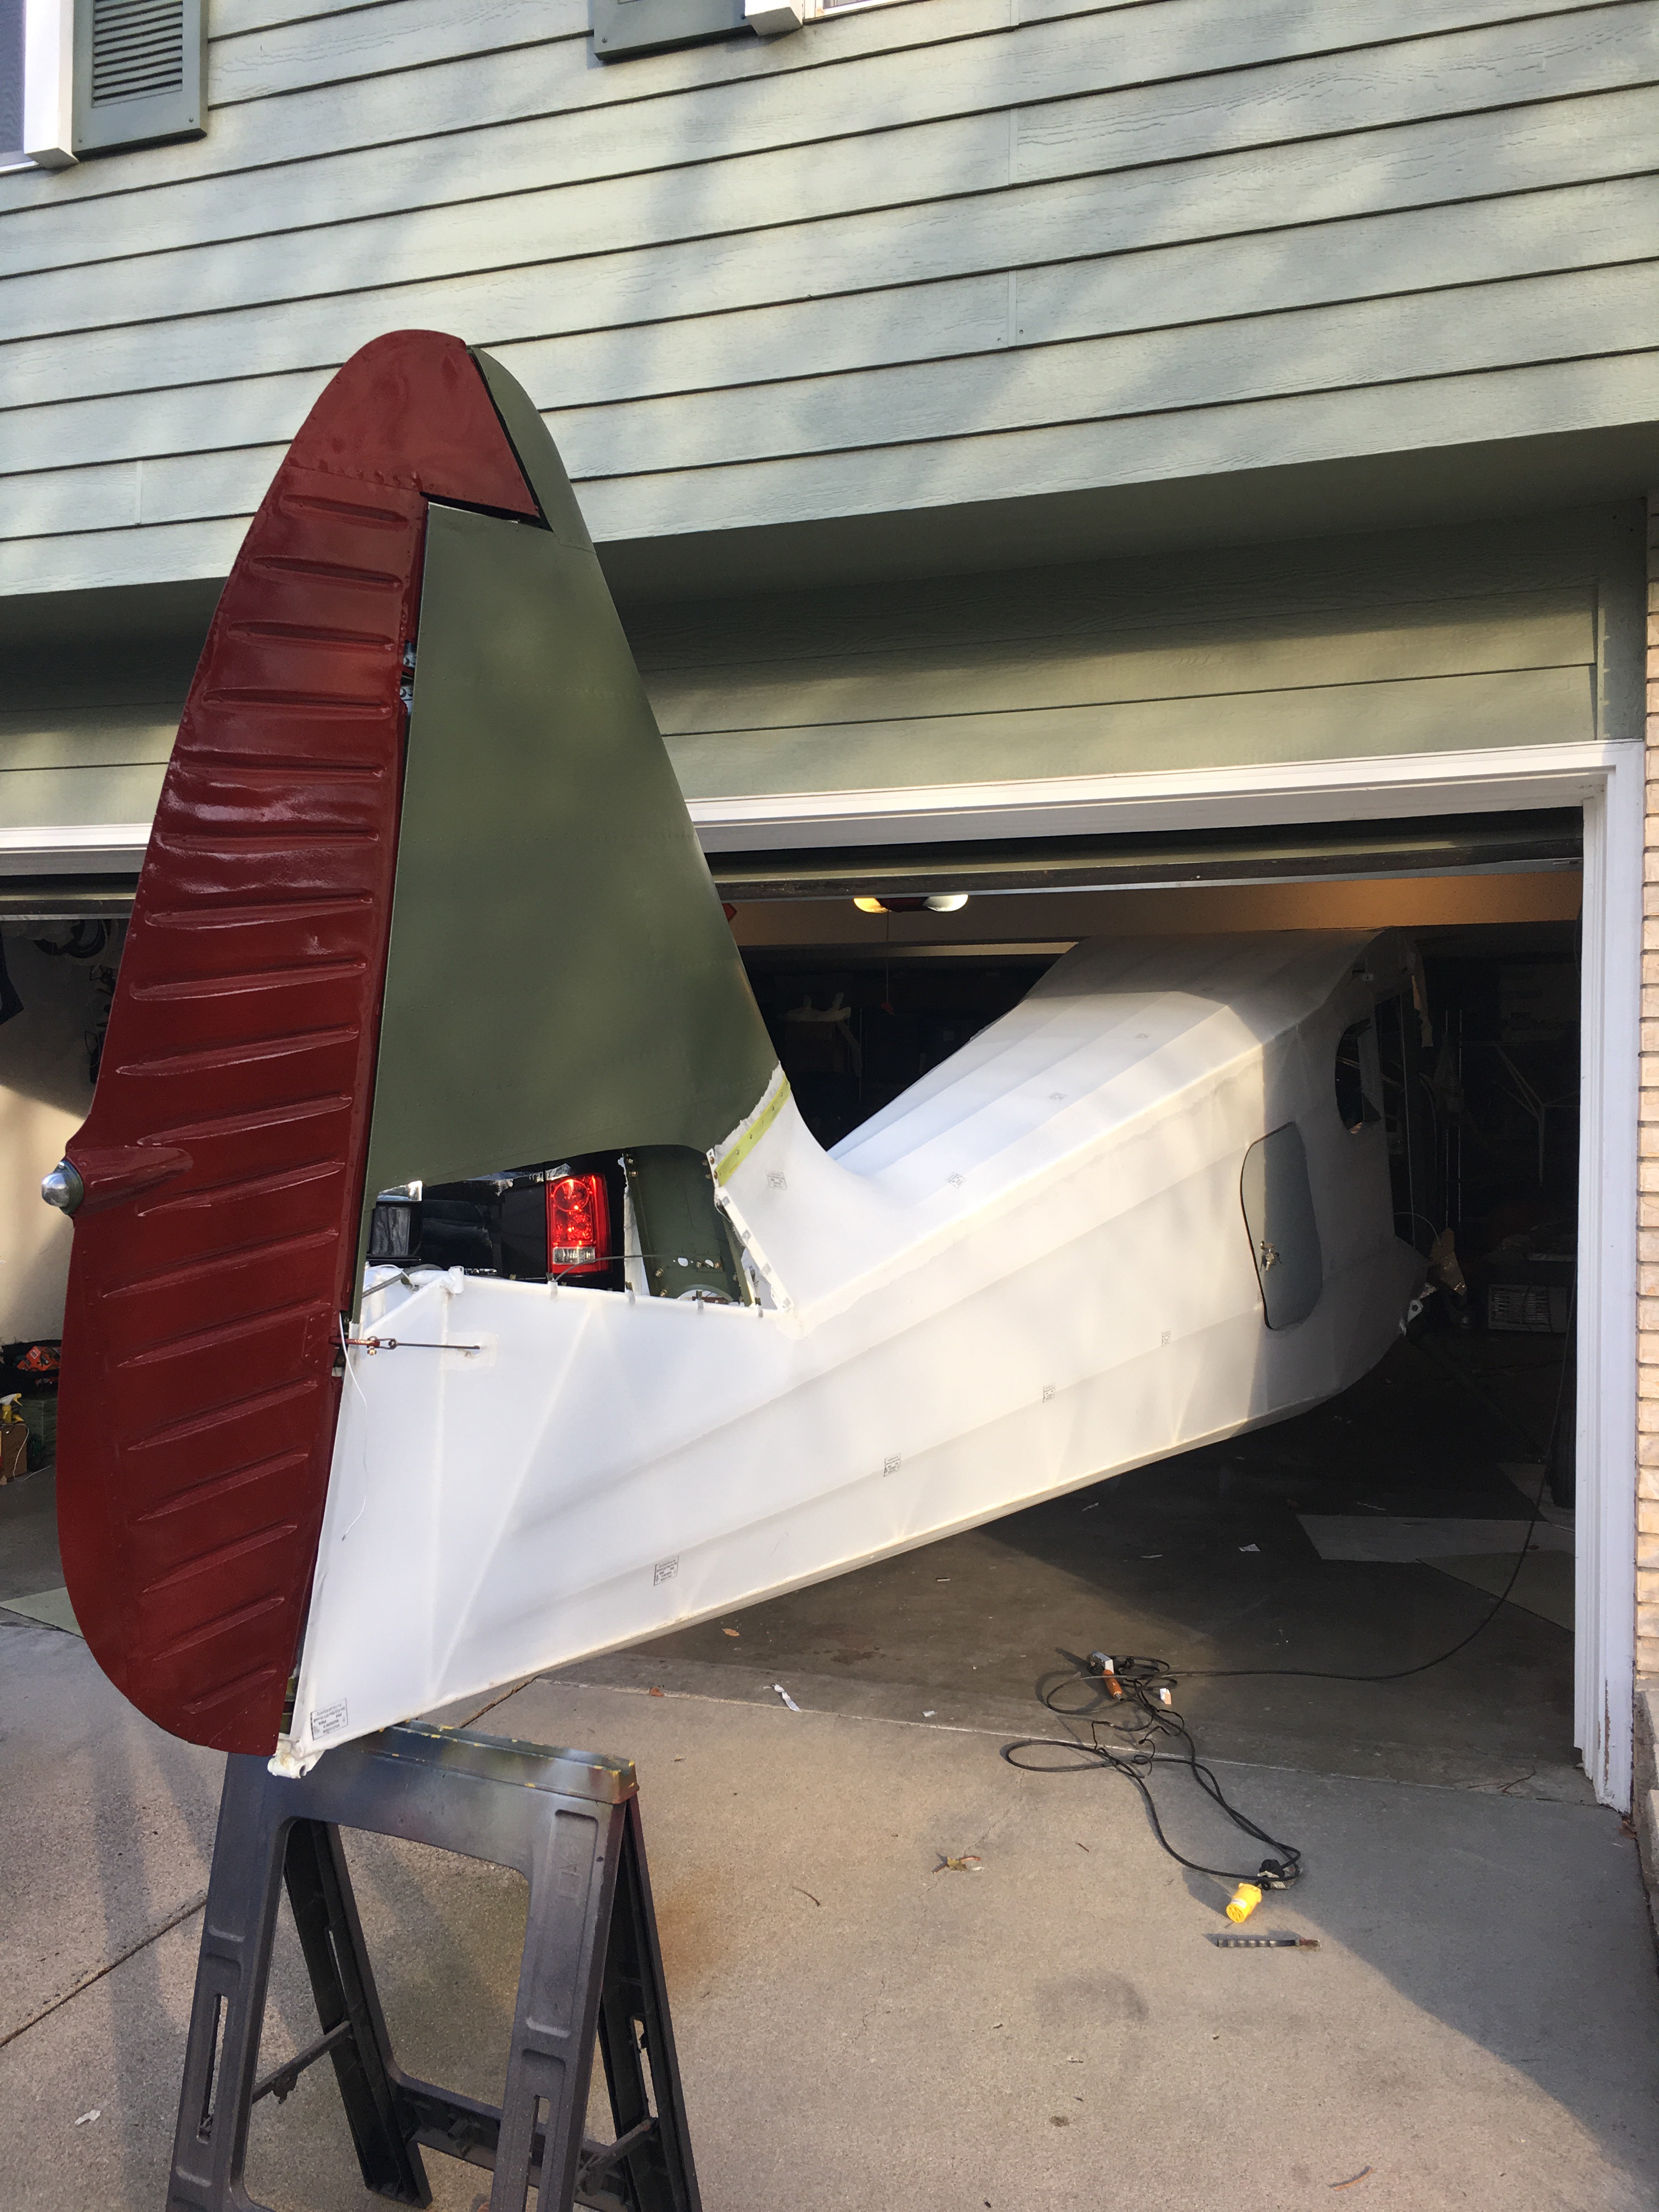
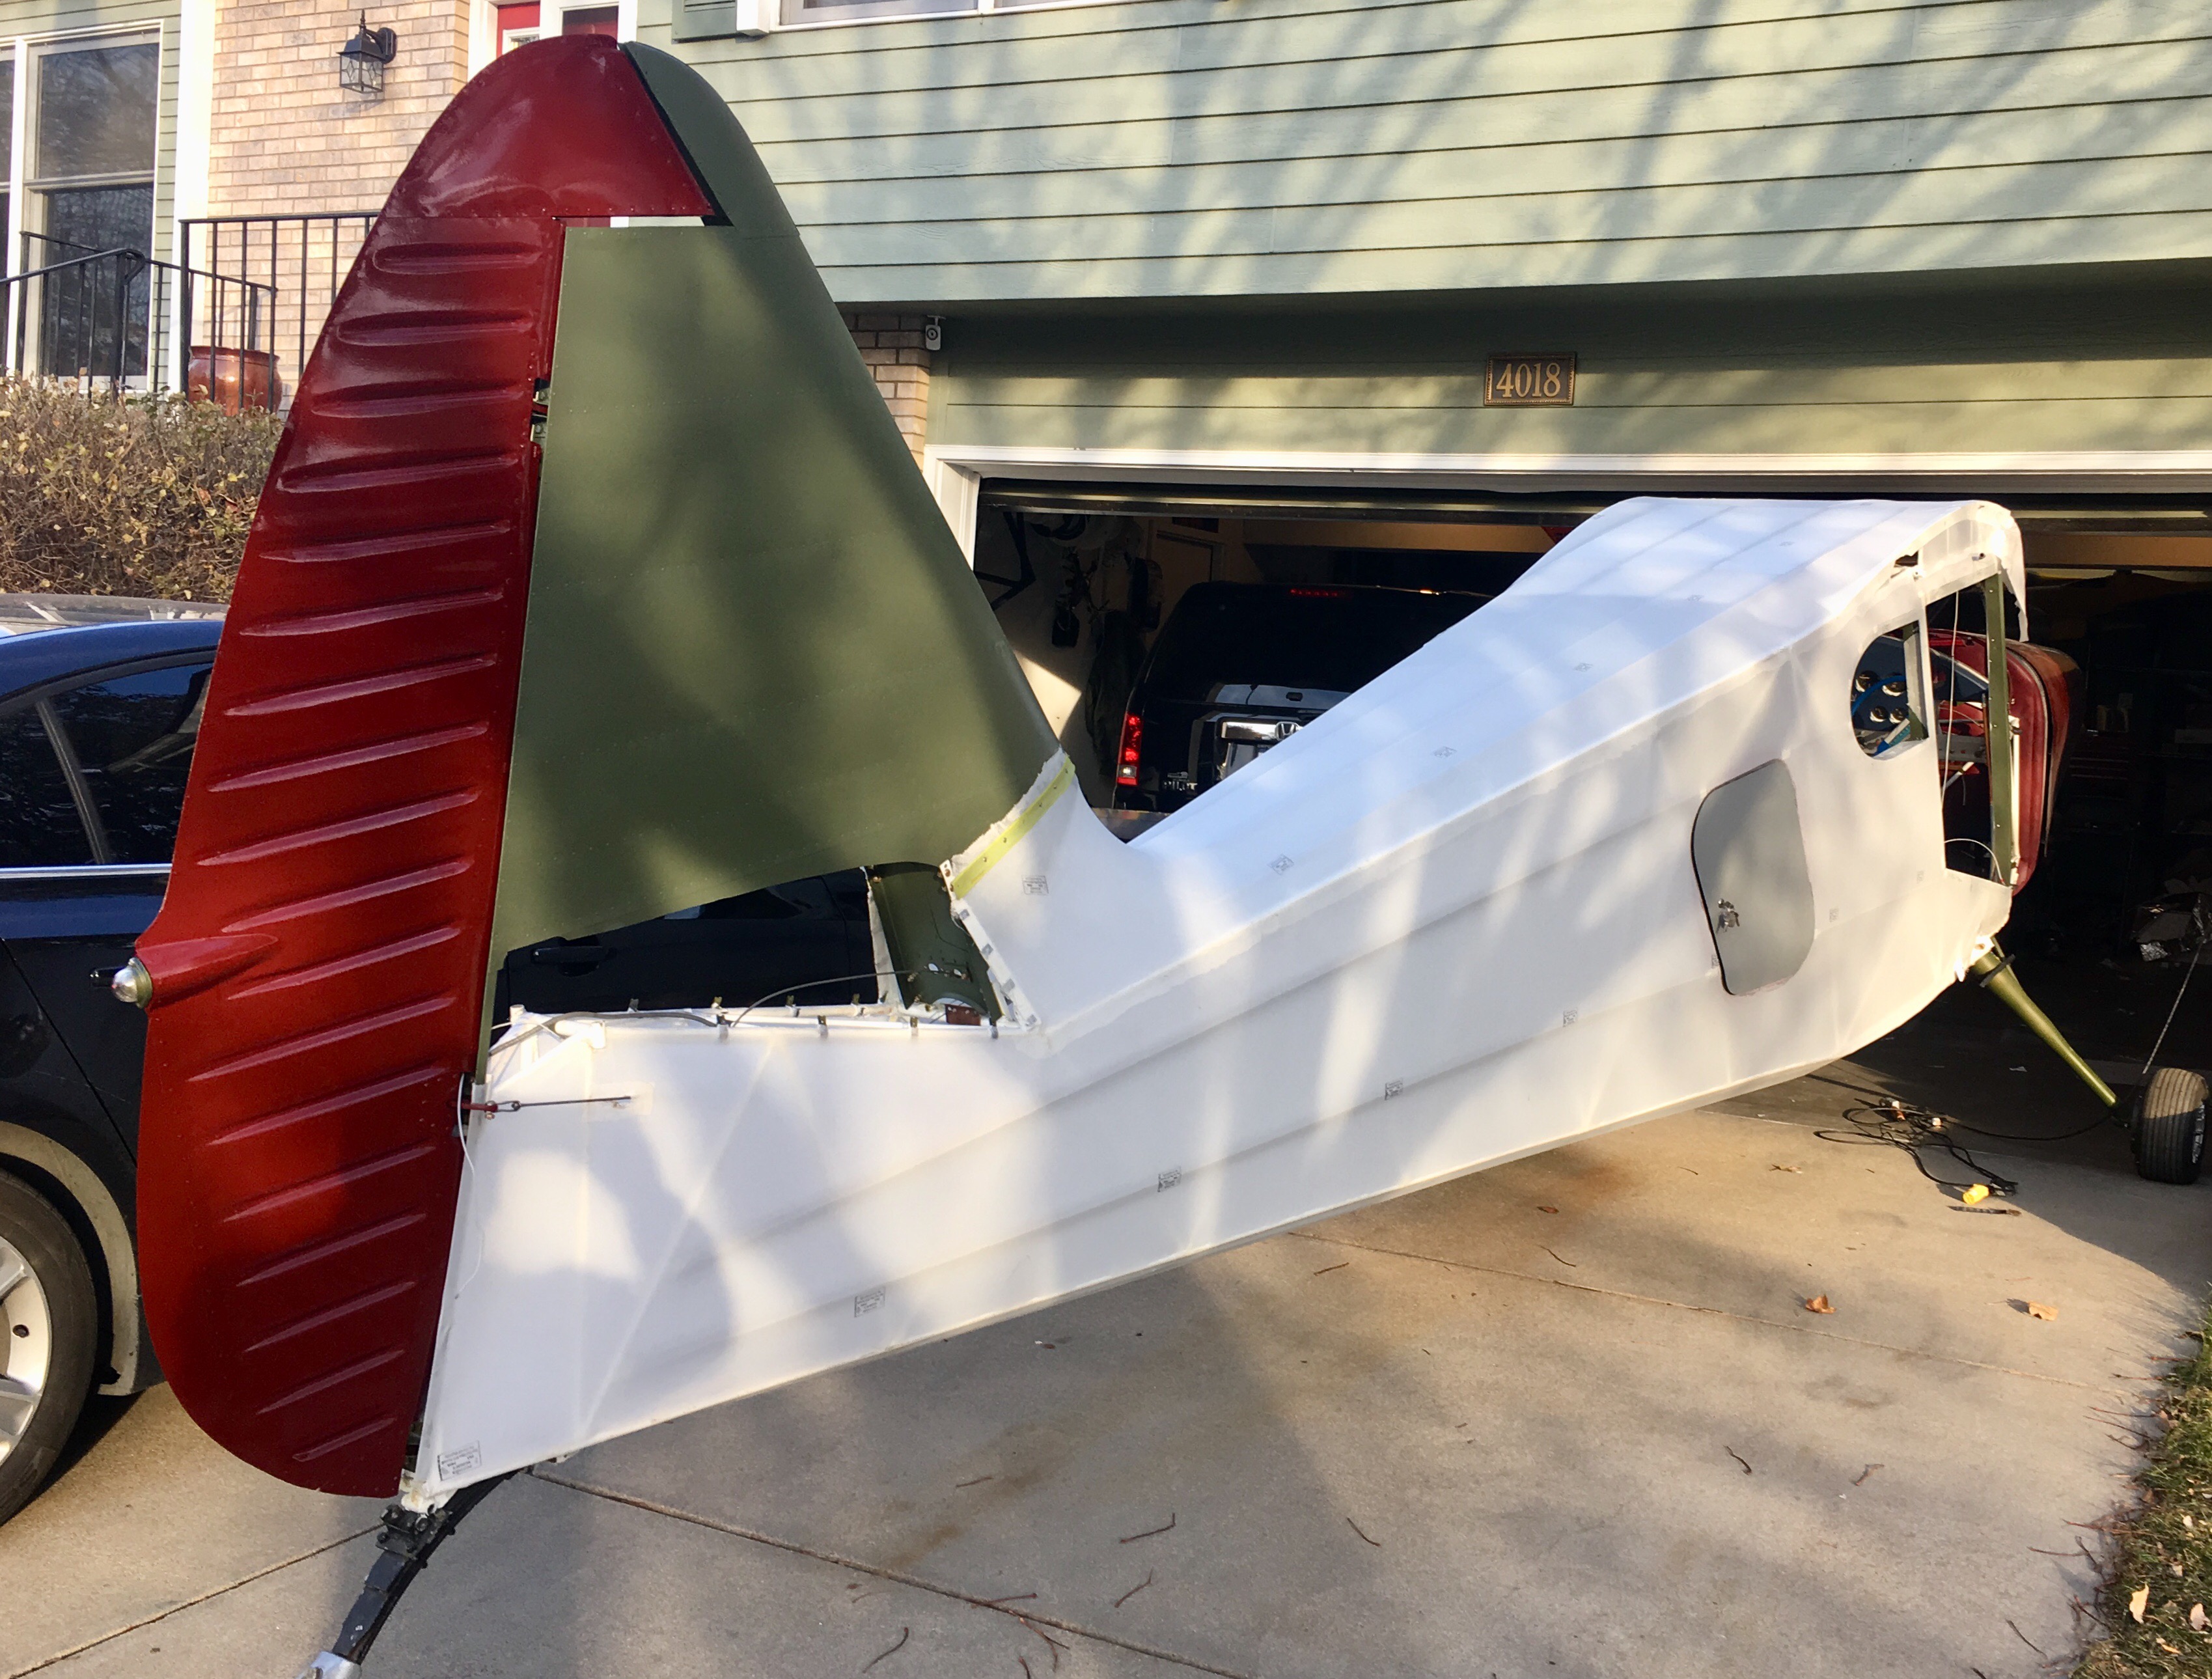
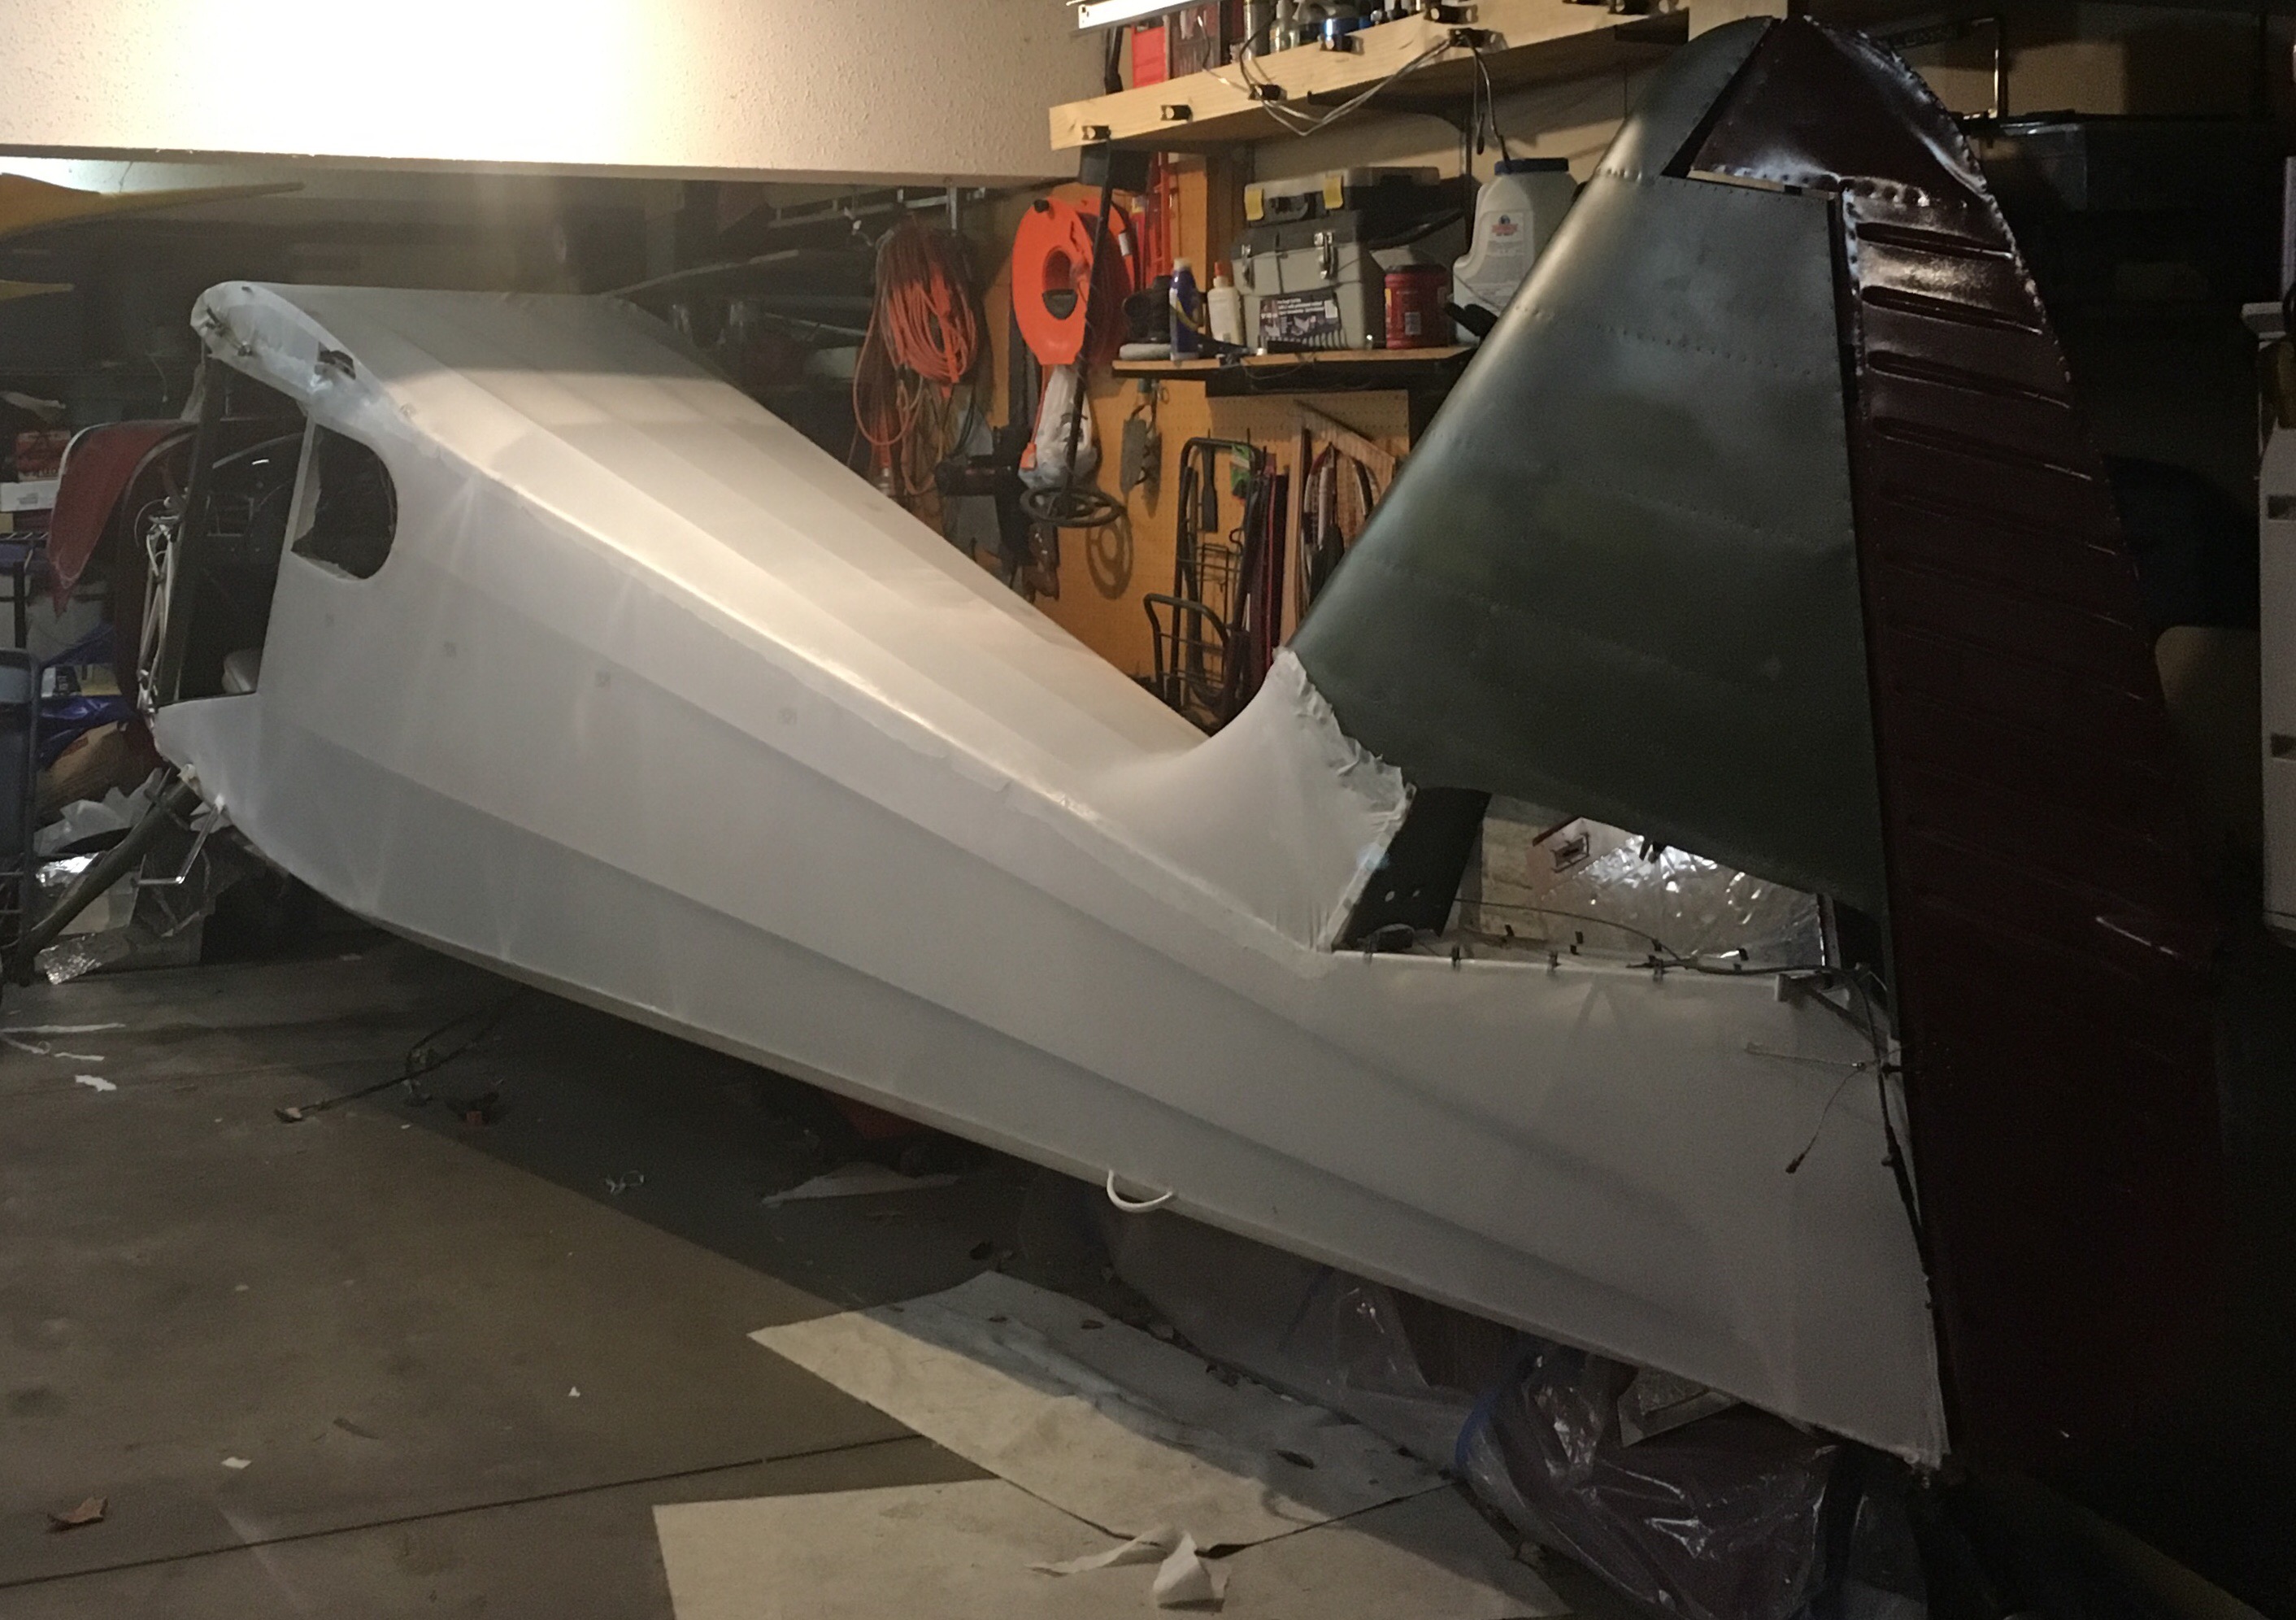
Getting closer. Looks like an airplane. Doing detail work on the fabric. First heat application is about done.
New Stinson Shirts
Tightening fabric

