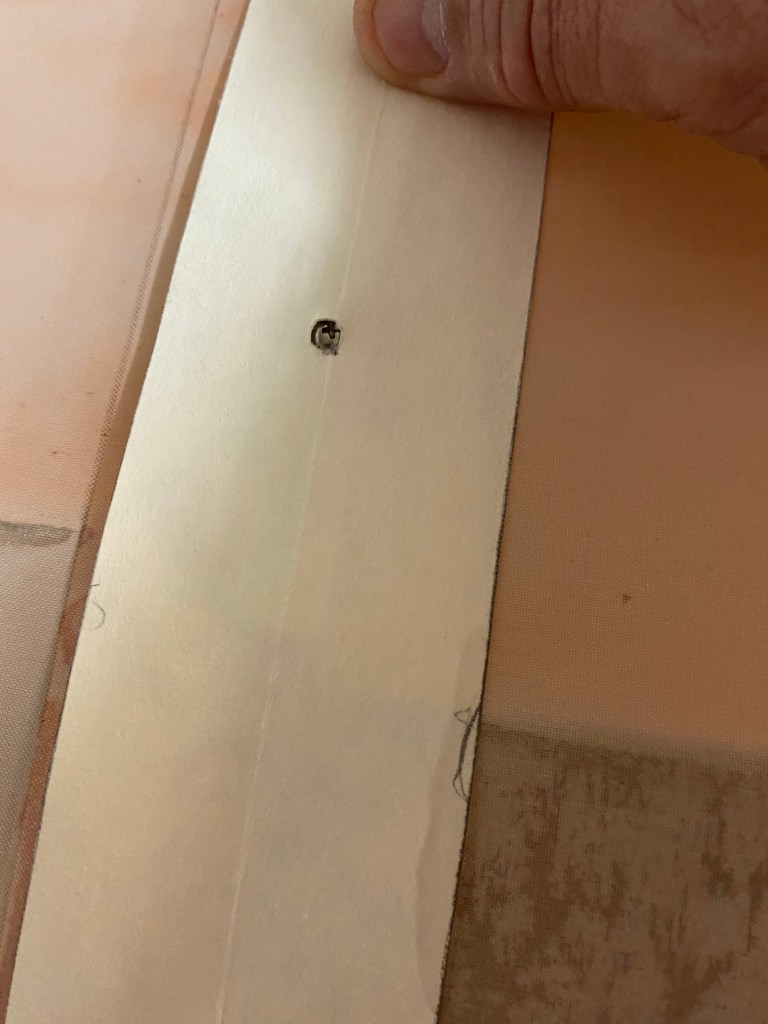
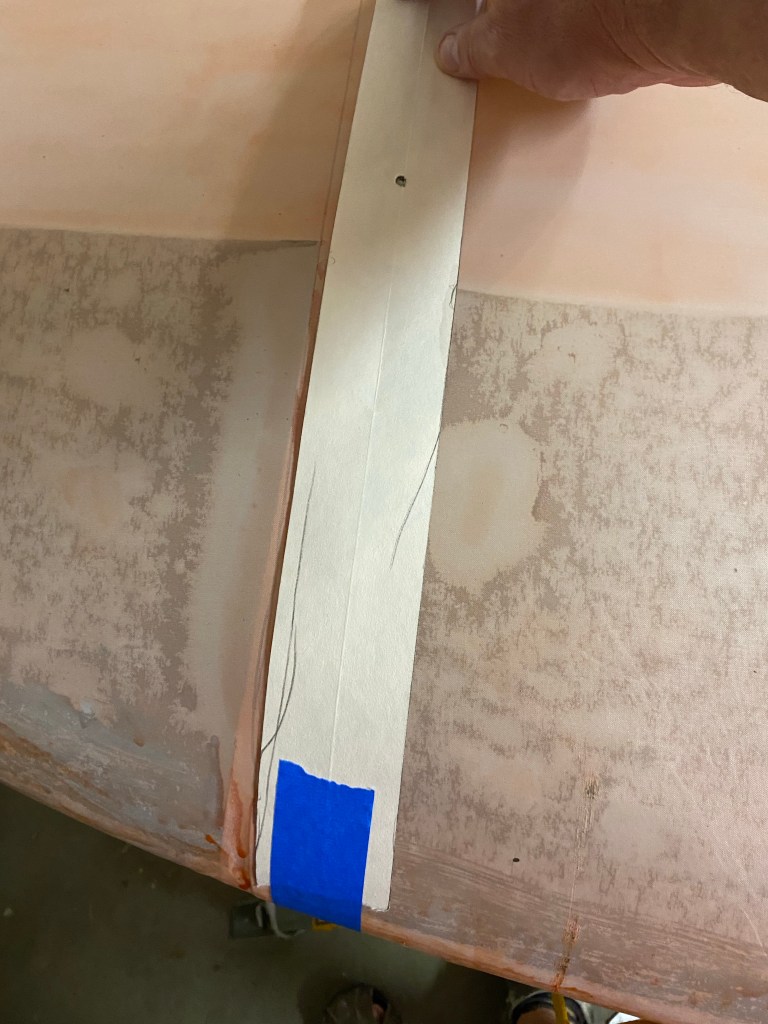
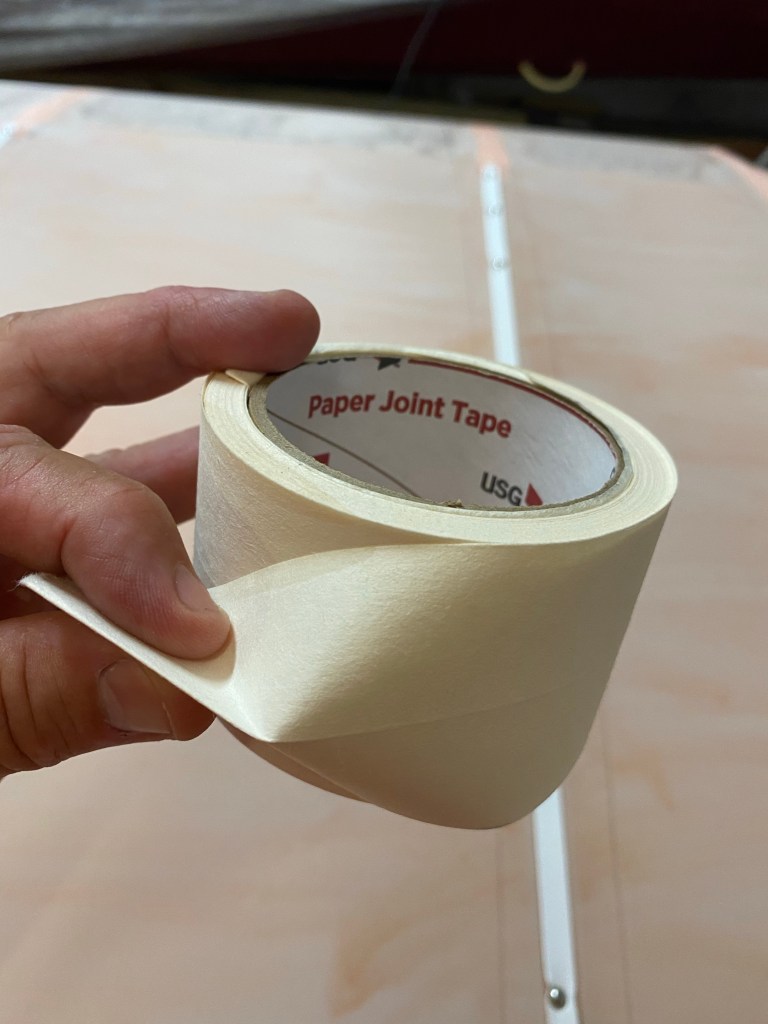
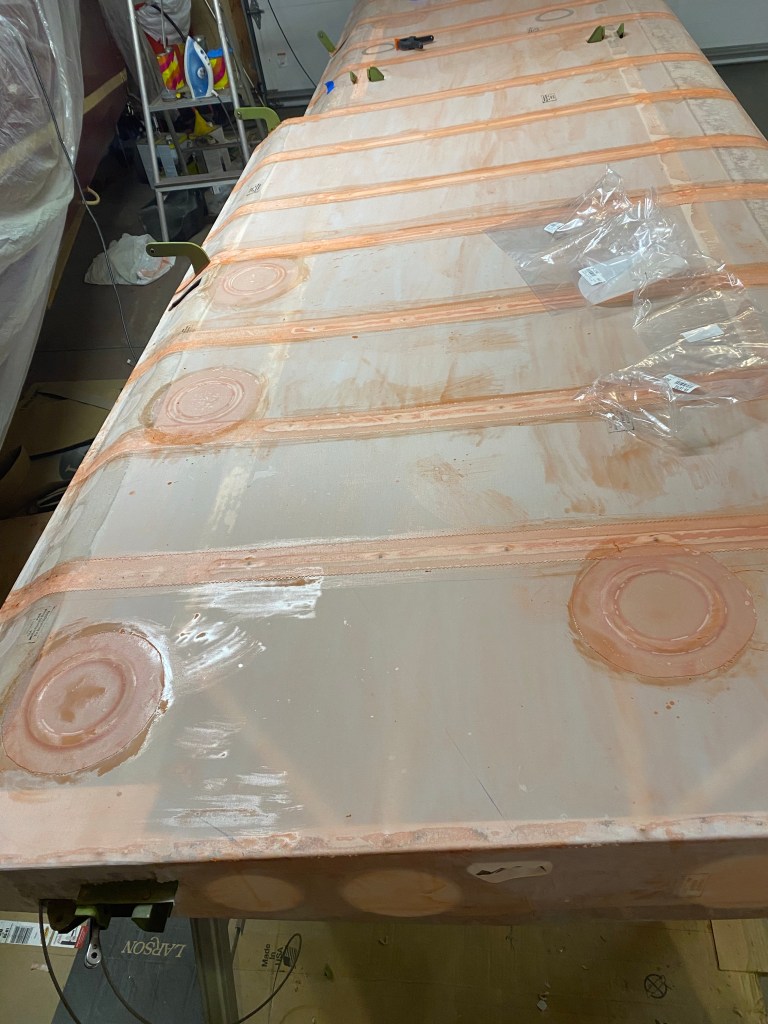
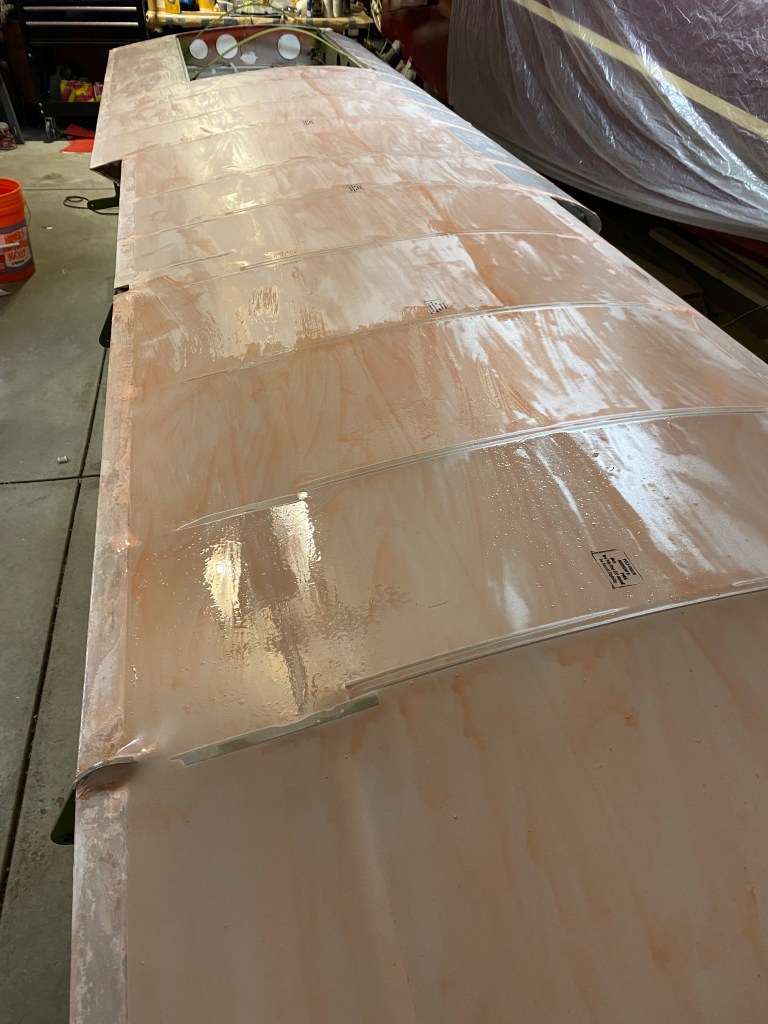
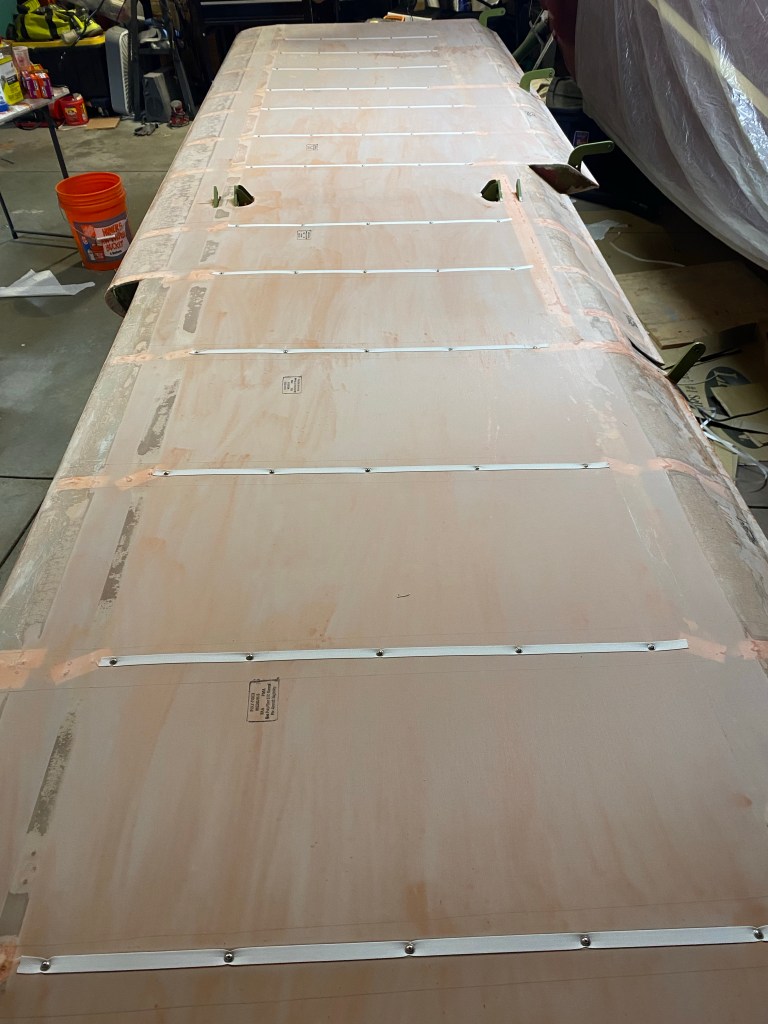
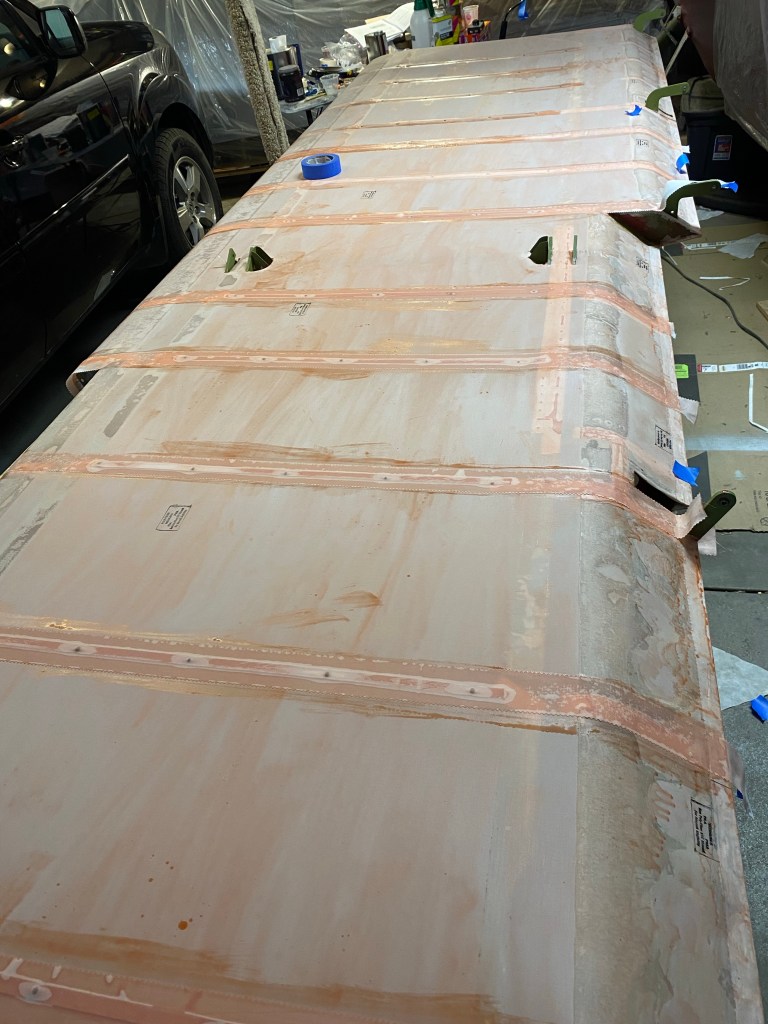
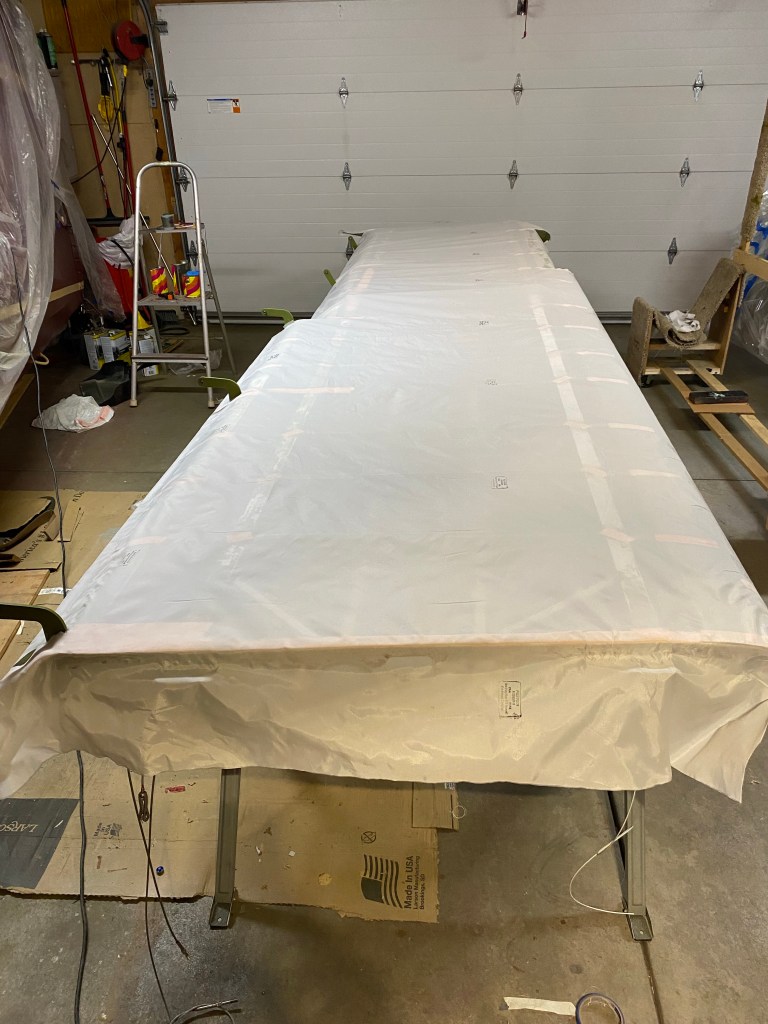
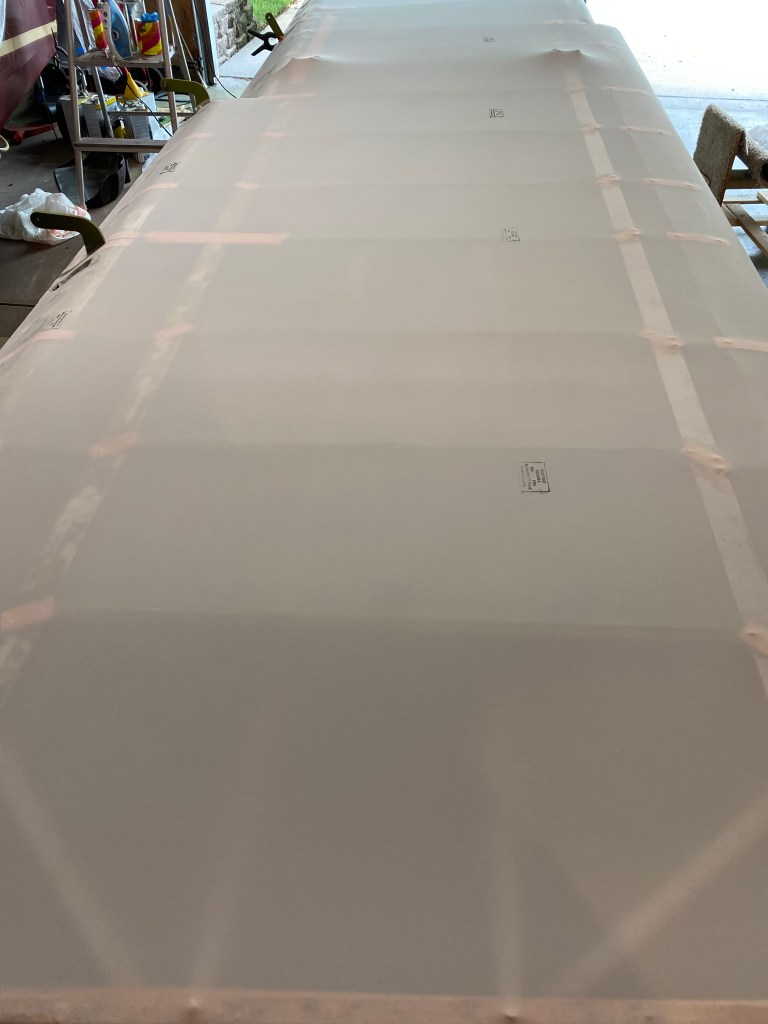
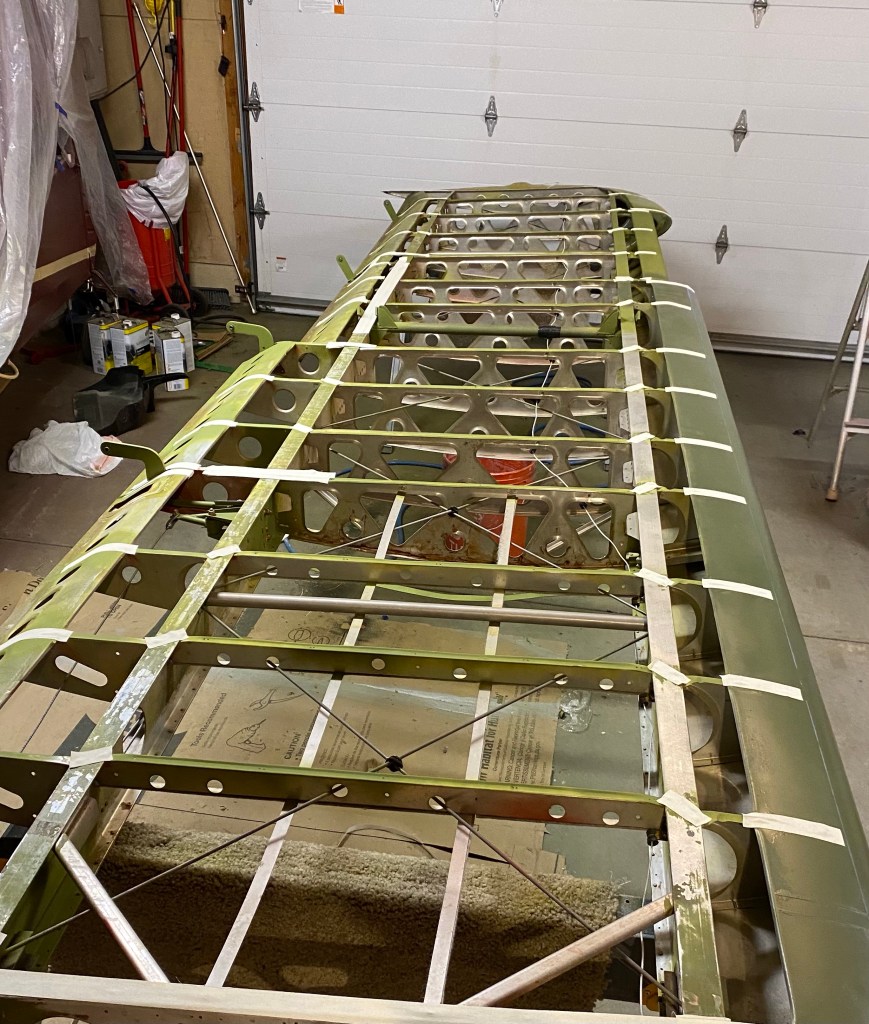
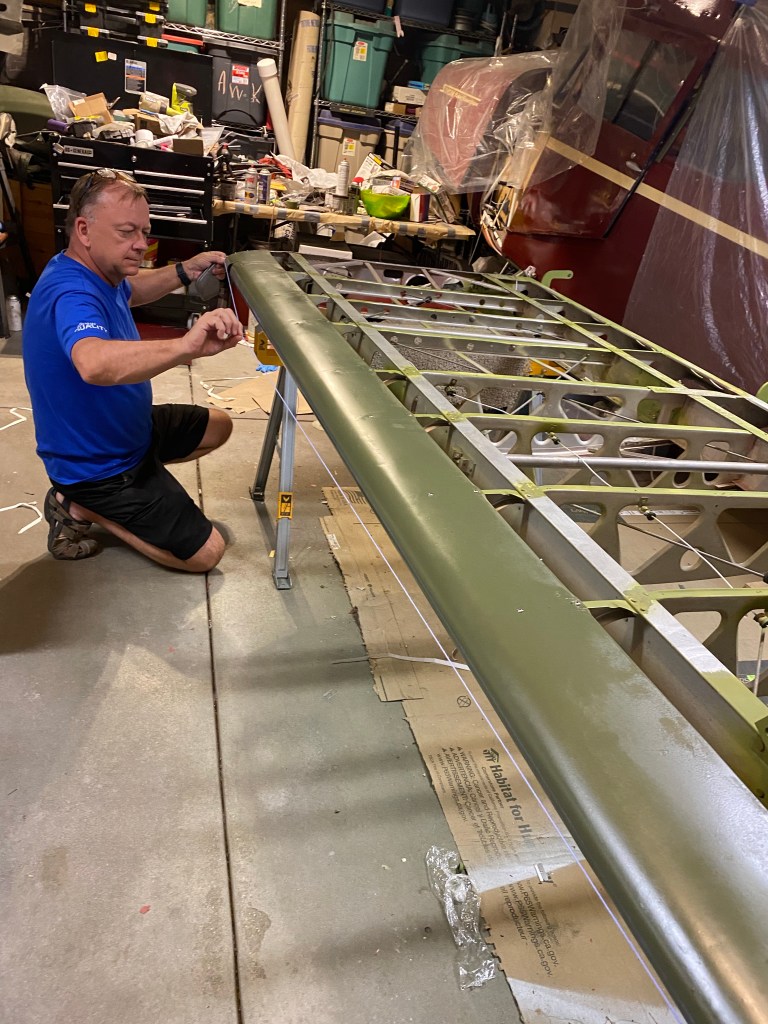
Each tape going over the wing ribs is 2” wide. Before taping the ribs you need to mark each rib to keep the tapes straight and to apply poly brush in the right spot to secure the tapes. I found some drywall tape that’s 2” wide with a crease at the center, which allows me to mark the 2” widths with my pencil, center the tape on the rib center, and apply the poly brush in the right spot. This cuts down on a lot of time marking where the tapes go.
A roll of tape costs $1.99 at Menards
Center the hole on a rib screwTape it down and mark each side with a pencil. Paper drywall joint tape. You can see the rib has been marked for tape installation.
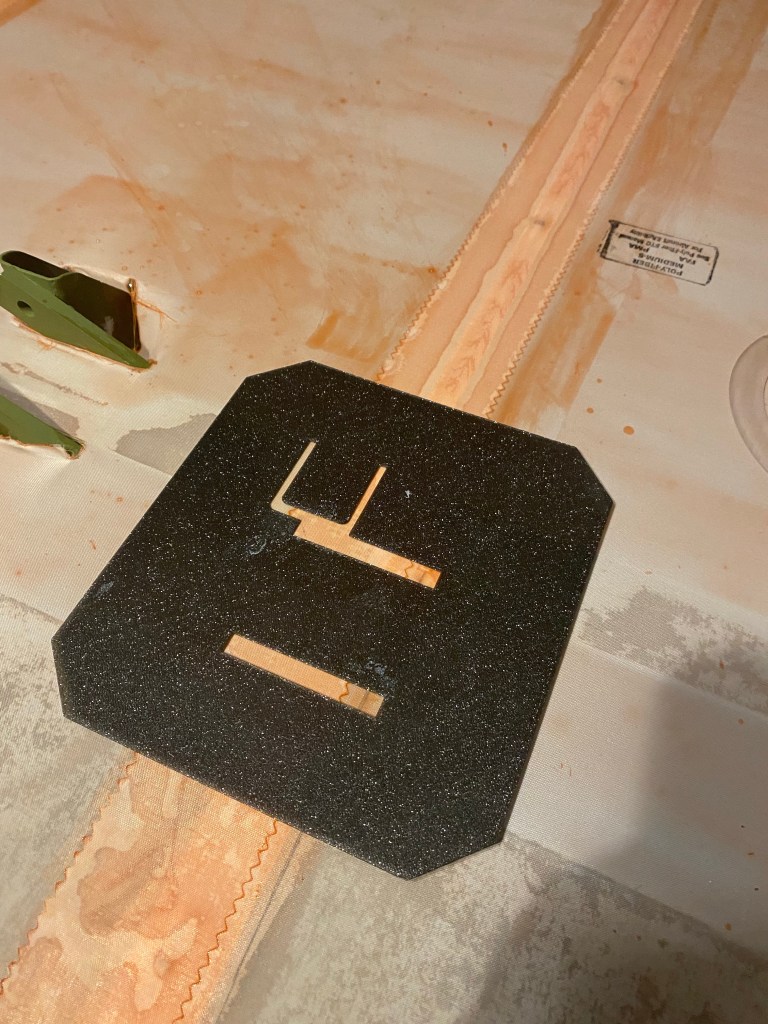
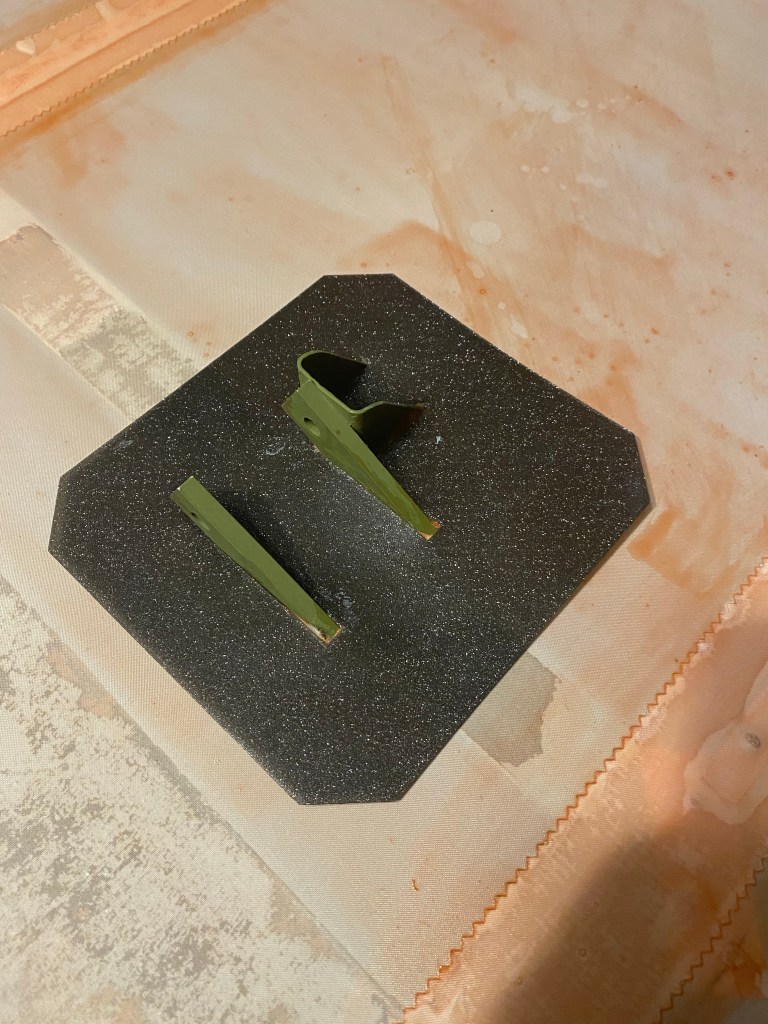
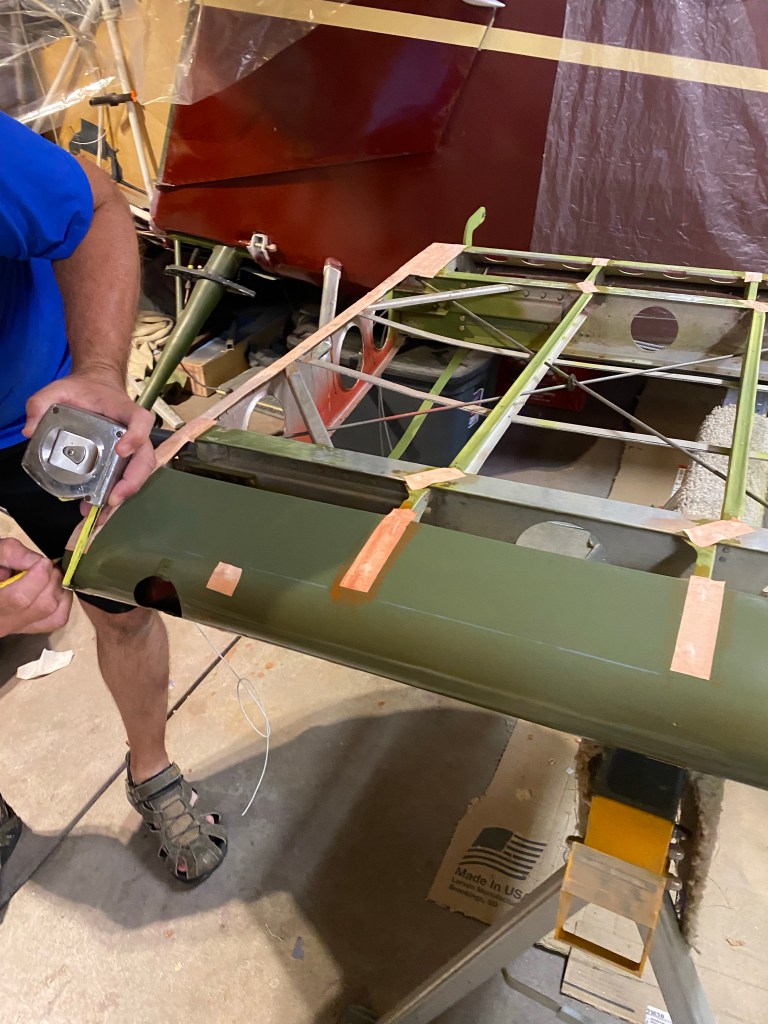
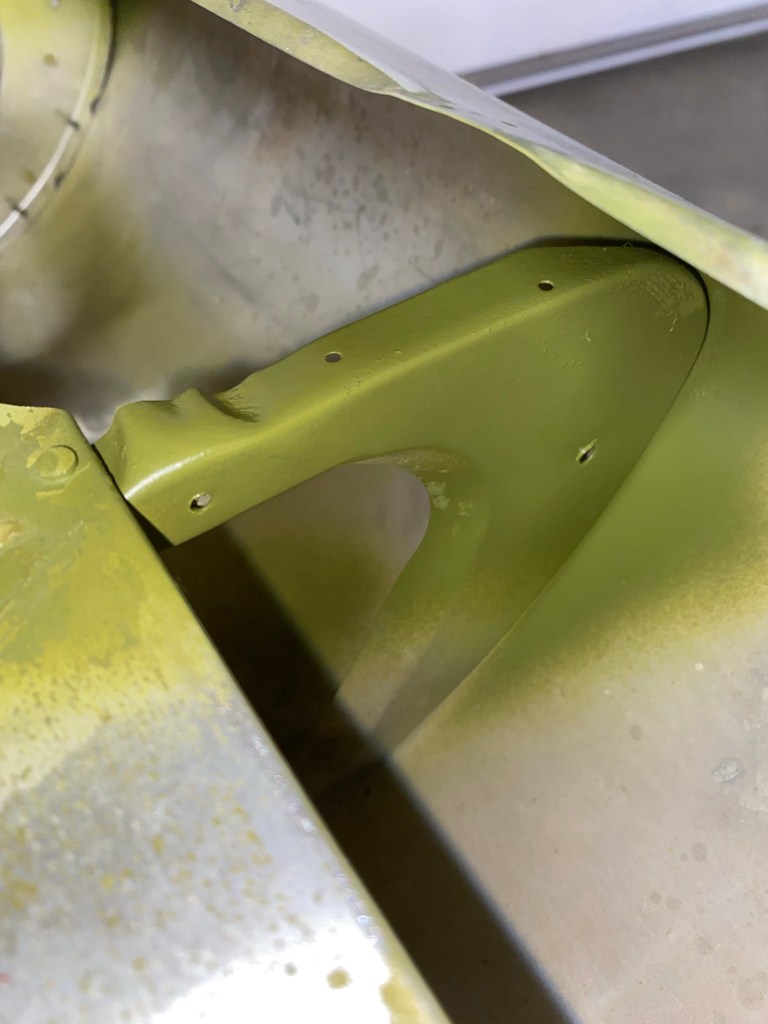
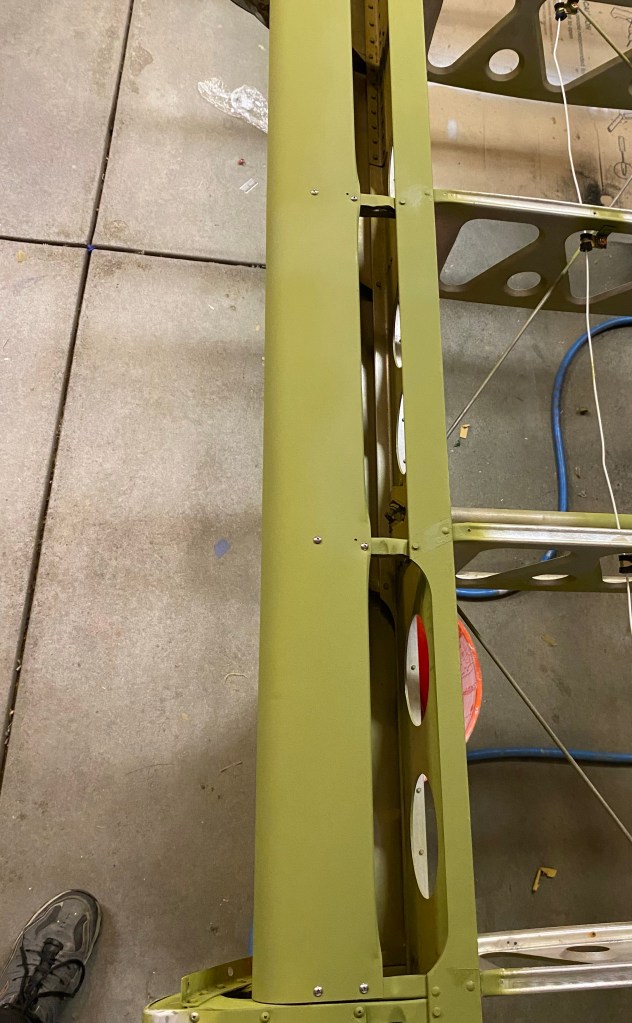
Adding the inspection holes. 3D printed template for making the wing attach point gusset. This lets me cut a precise gusset for this location. Time-lapse video of taping the ribs
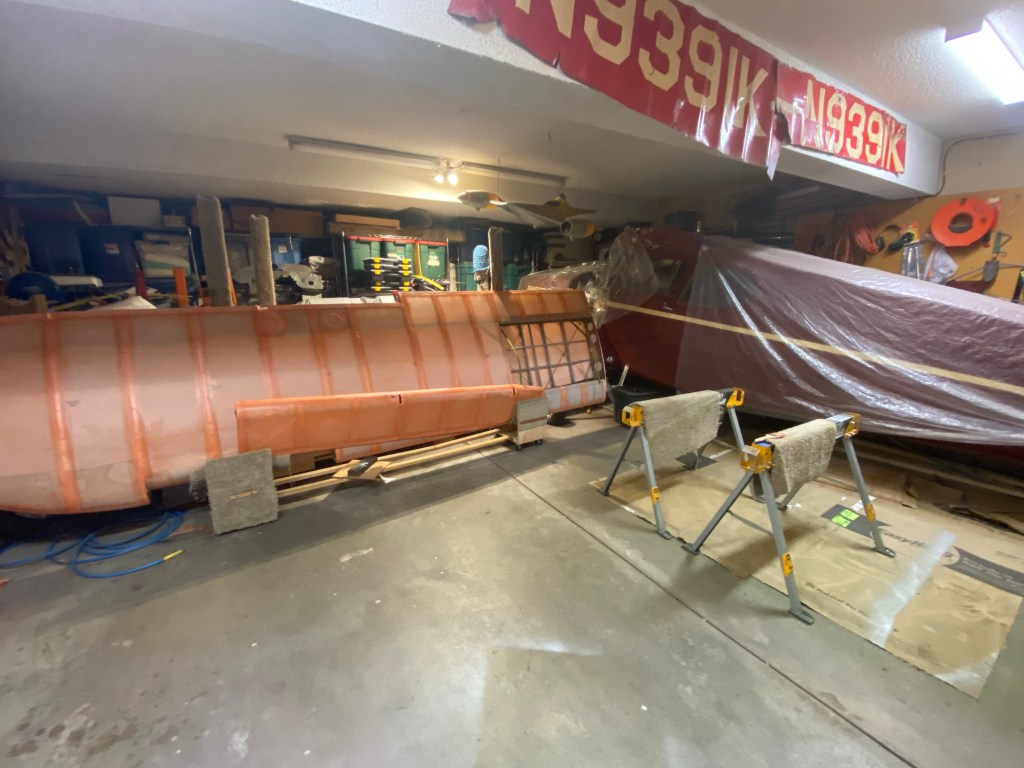
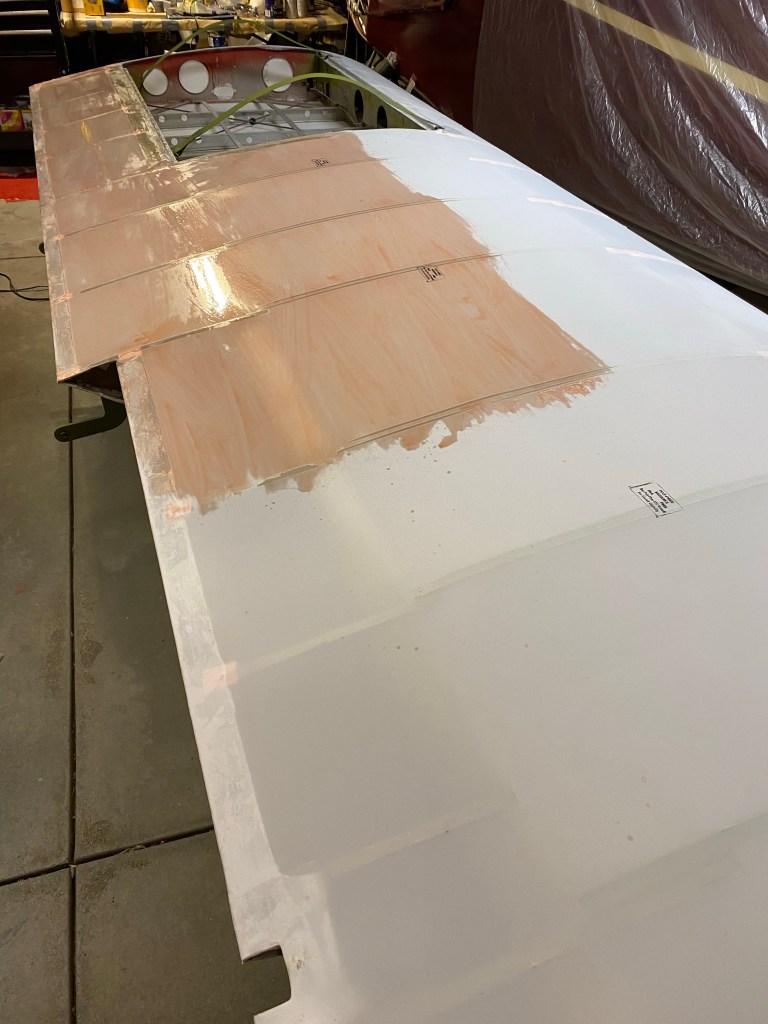
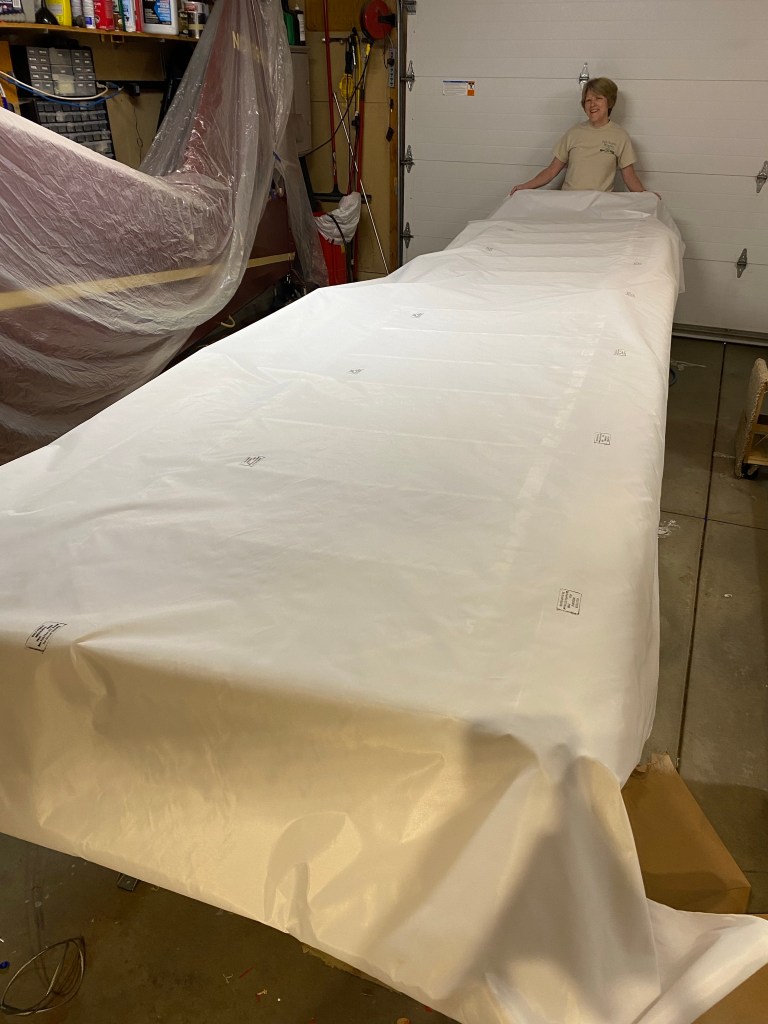
Fabric is shrunk and poly brush is going on Both side have their first coat Fabric screws/washers installed on both sides. 65 each on the bottom; 53 each on the top. Top rib tapes are on. Finishing up the bottom.
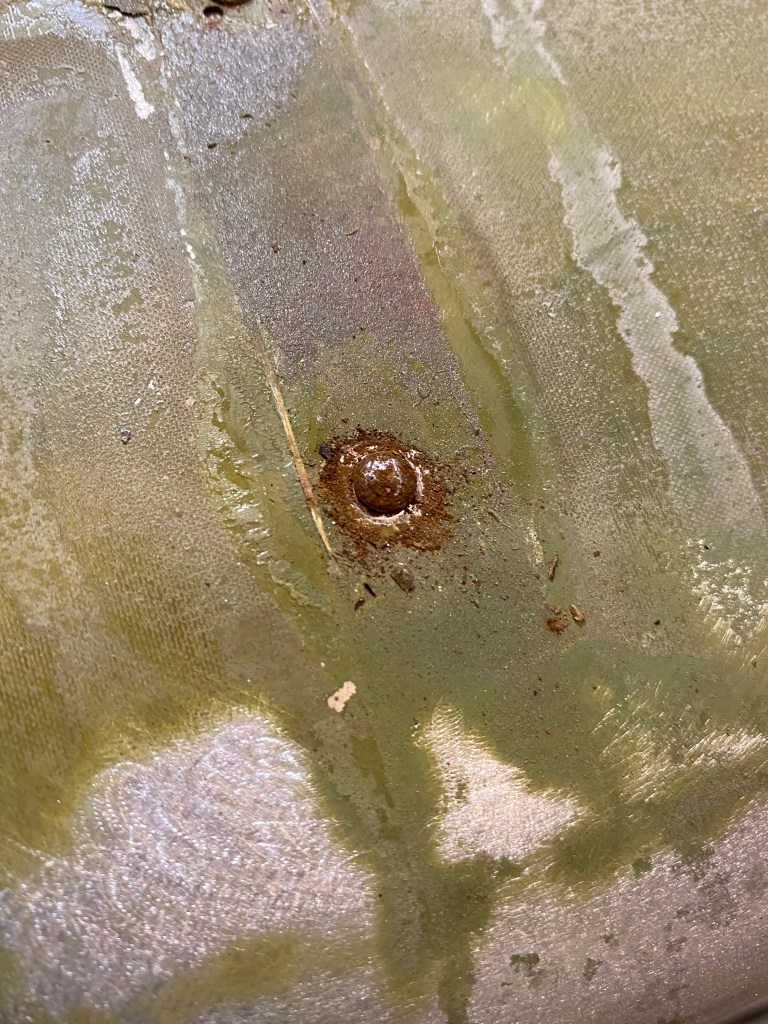
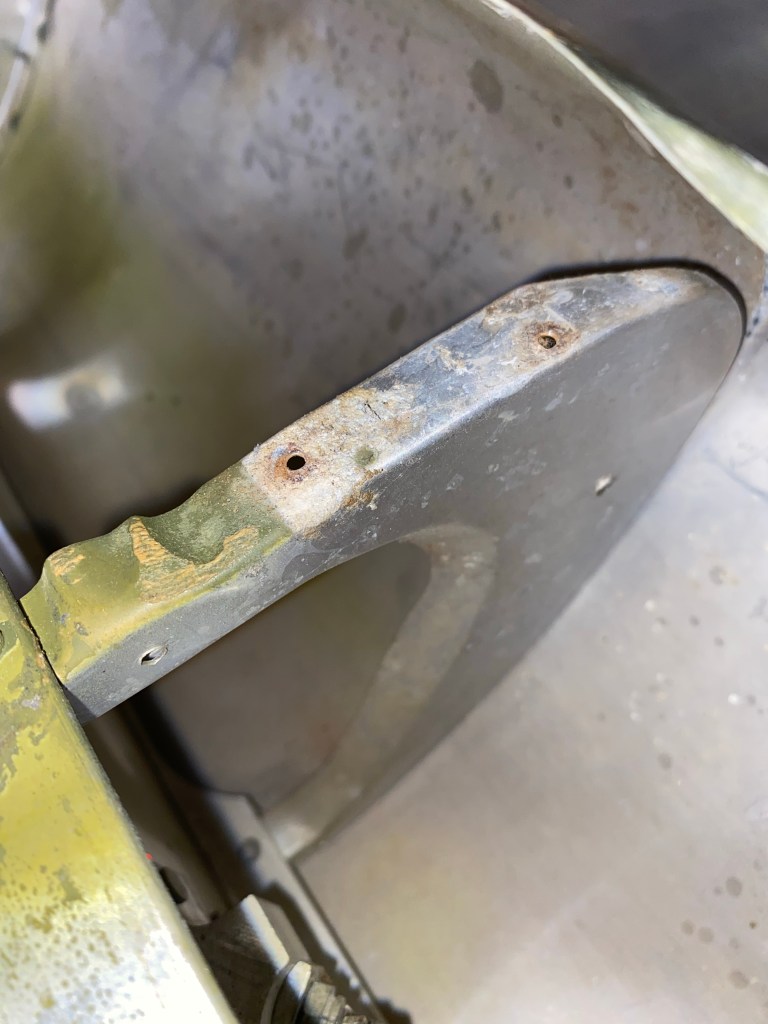
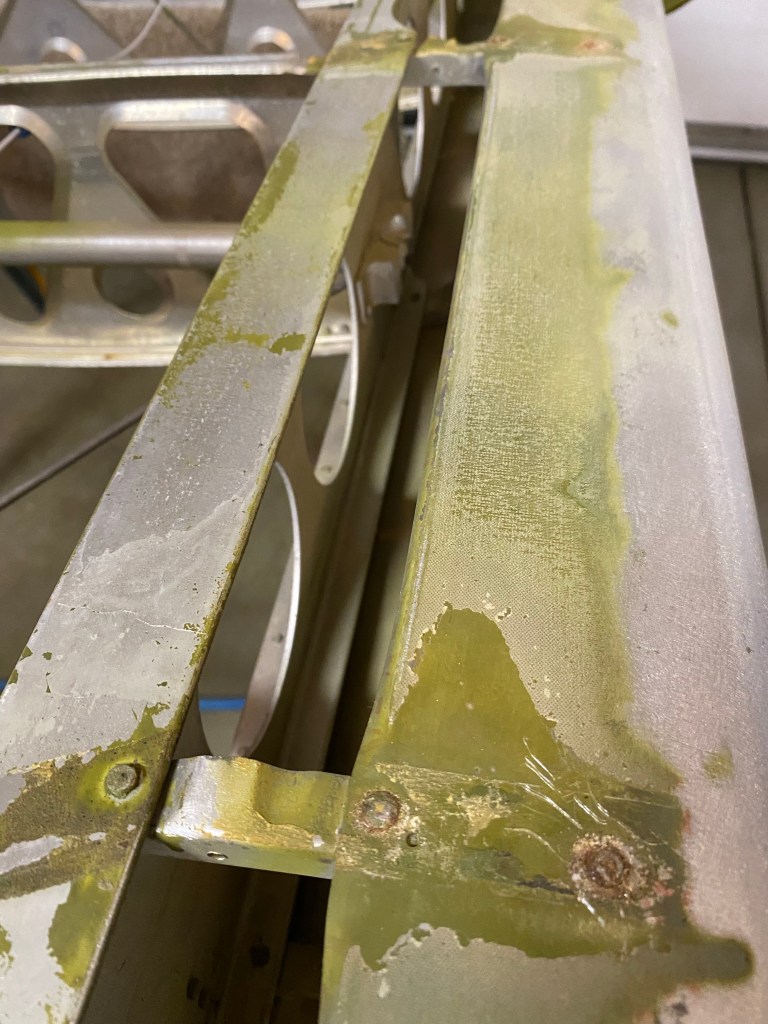
P-K screw rusting. The top of the screws always look ok. It’s when you loosen it up where you get the rust under the screw head. All of them are being replaced like I did on the other wing. All the screws are out and corrosion prevention applied under the leading edge.