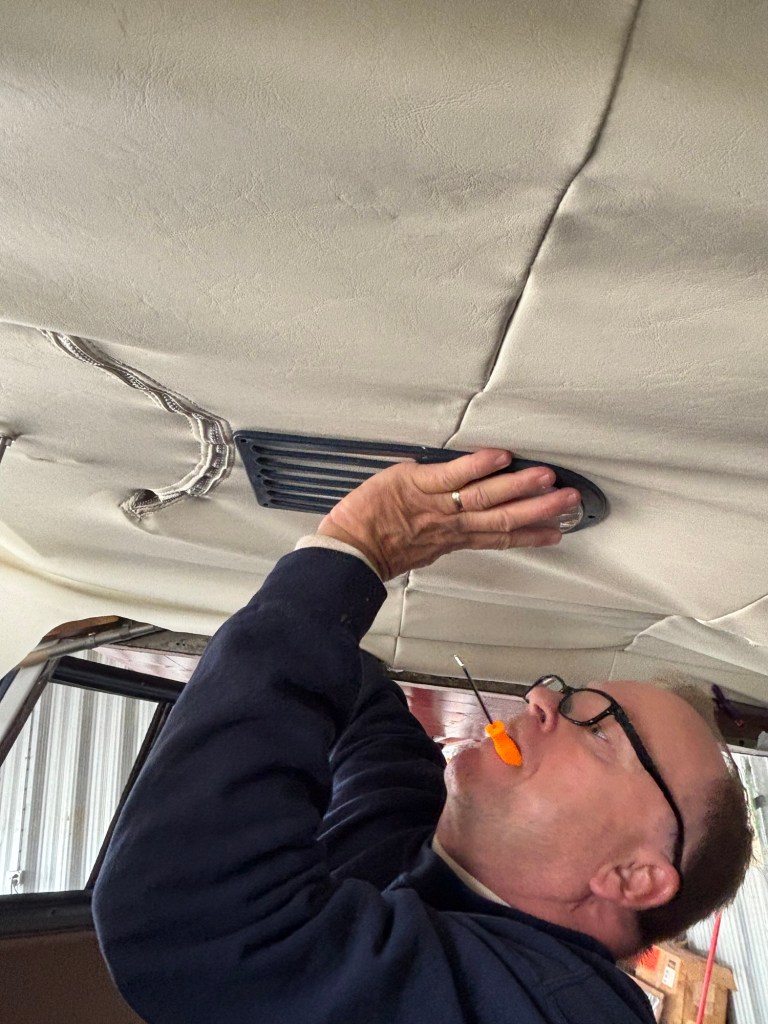
Worked some more in the headliner. It’s coming together, just slowly.
The photos are not in any order.

Worked some more in the headliner. It’s coming together, just slowly.
The photos are not in any order.
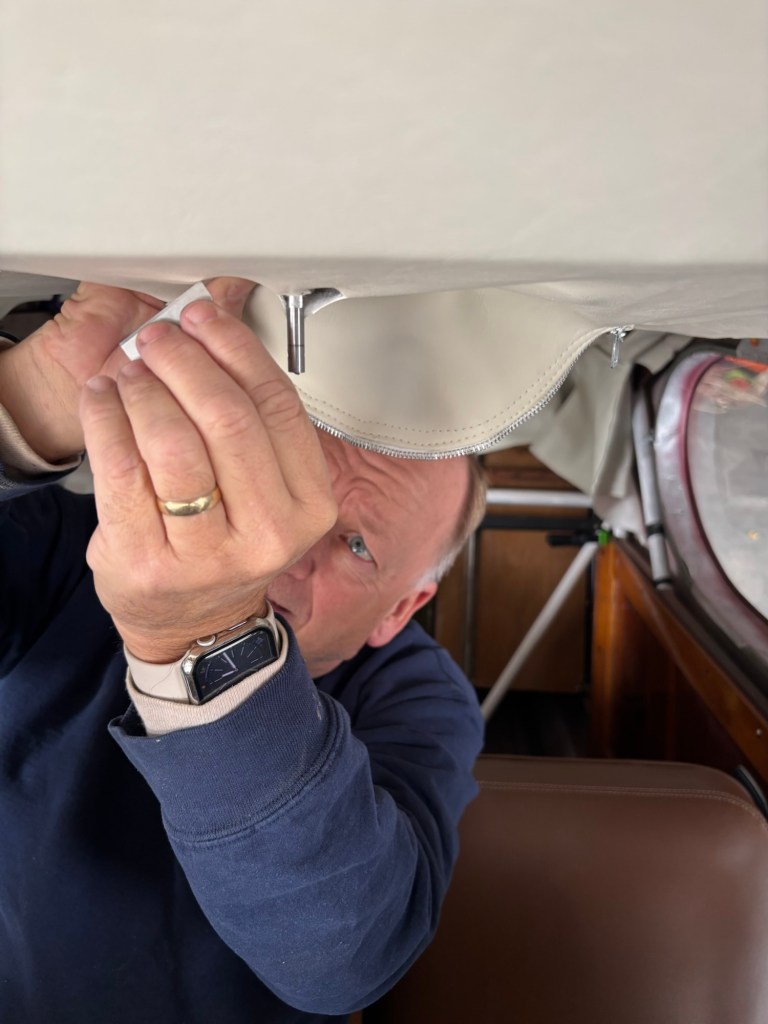
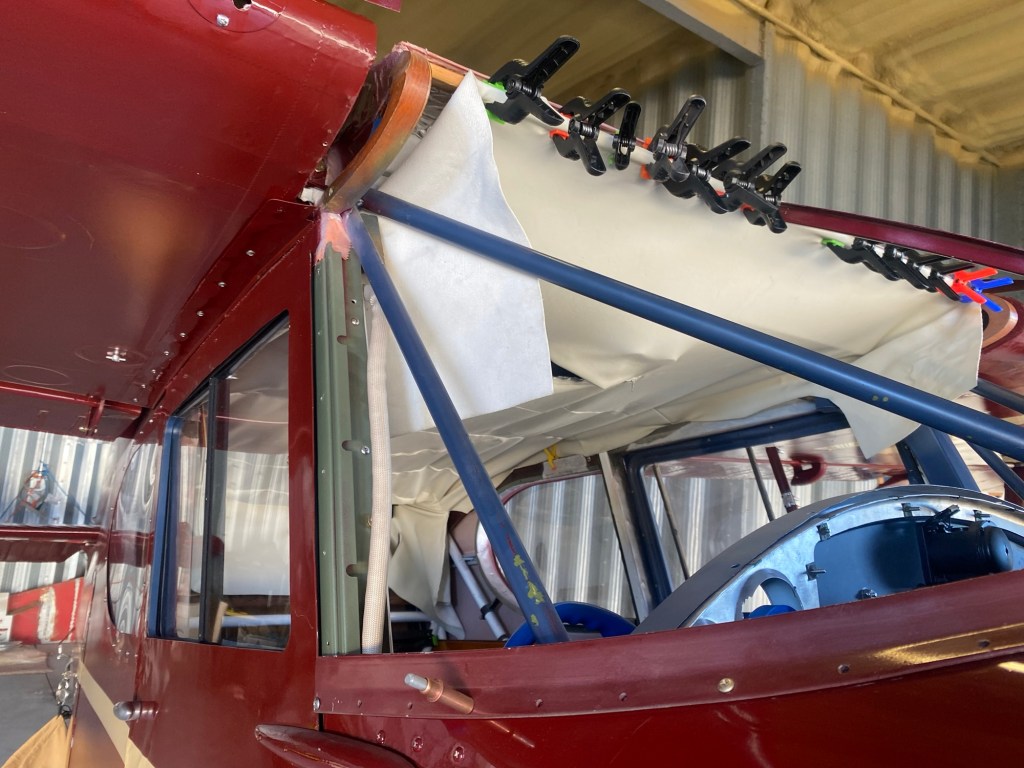
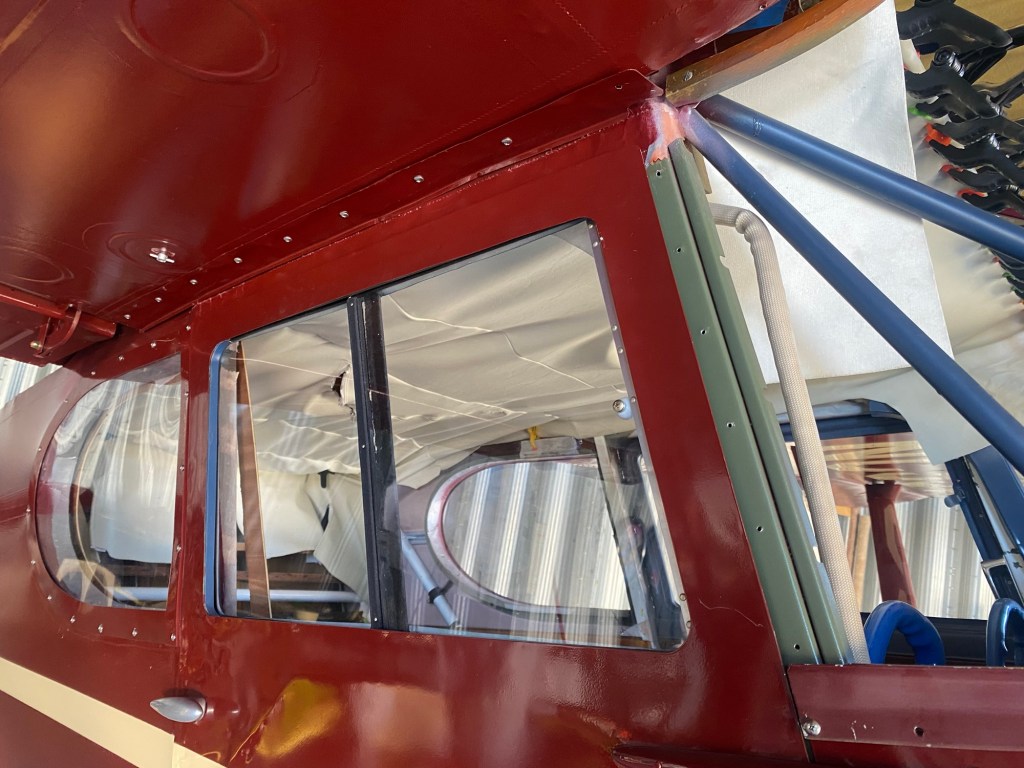
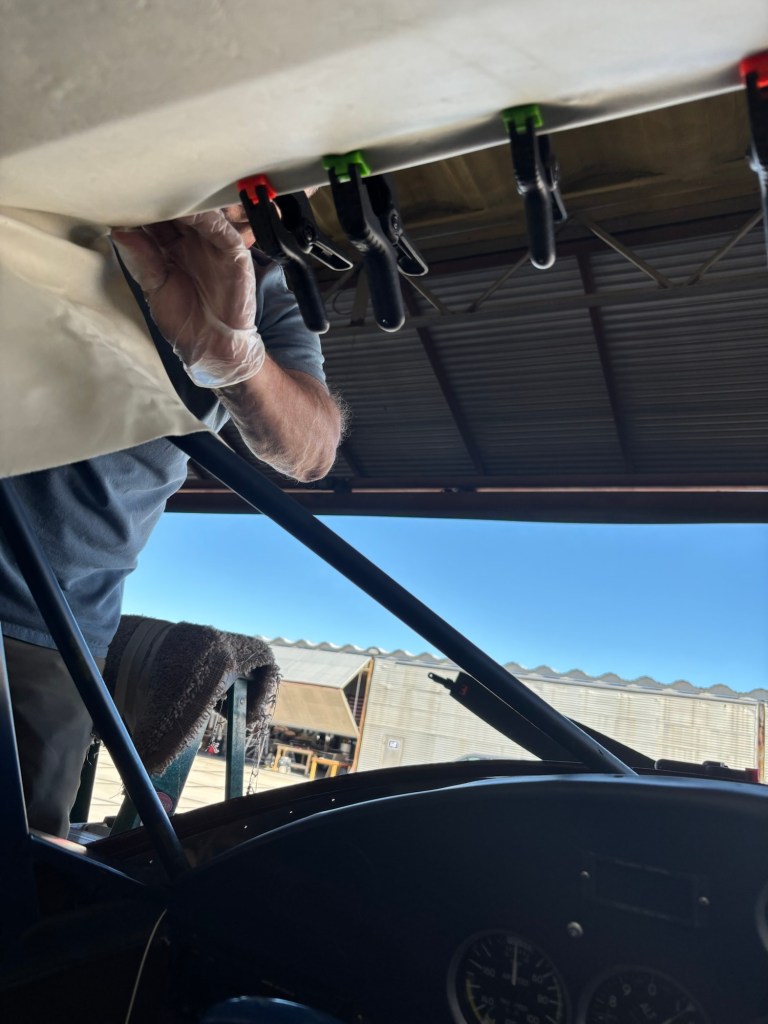
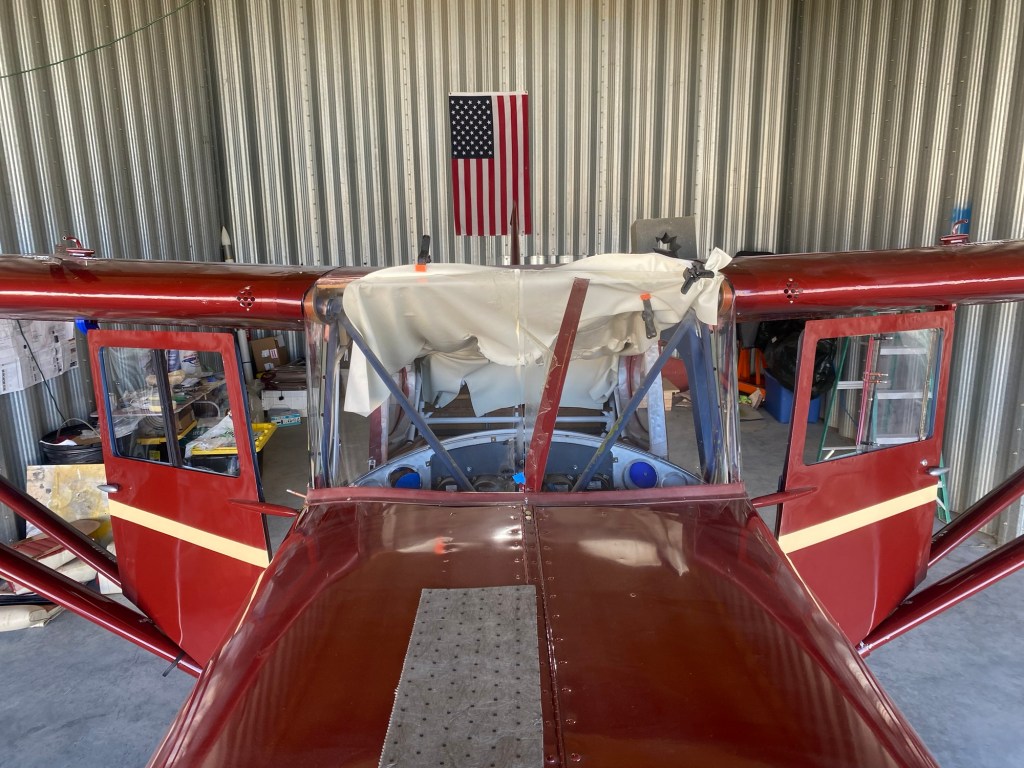
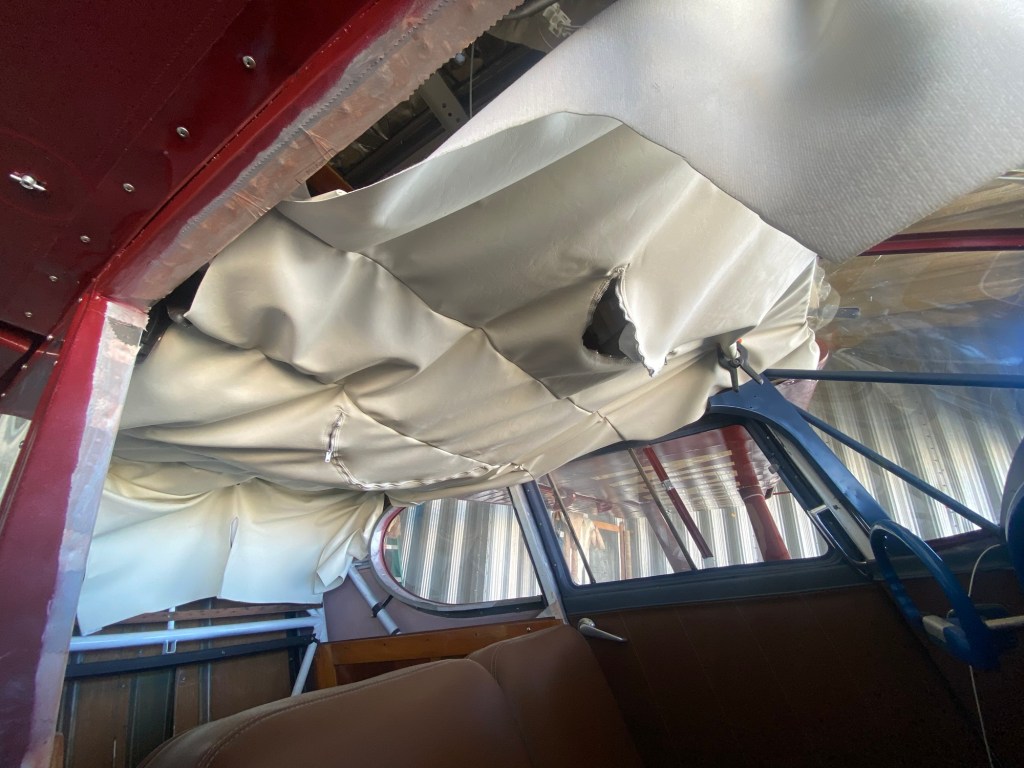
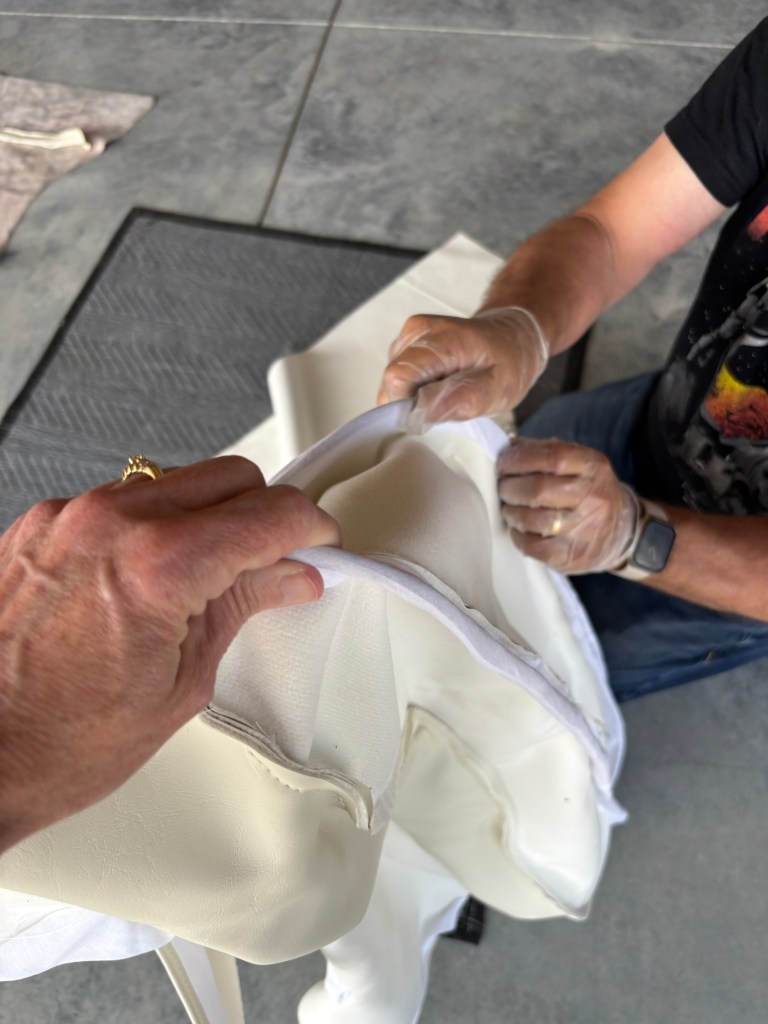
Working on the headliner. I made new ribs for it as I couldn’t get the originals to fit well. I also took out the front windshields to make it easier to install. We’re not finished yet, but getting closer.
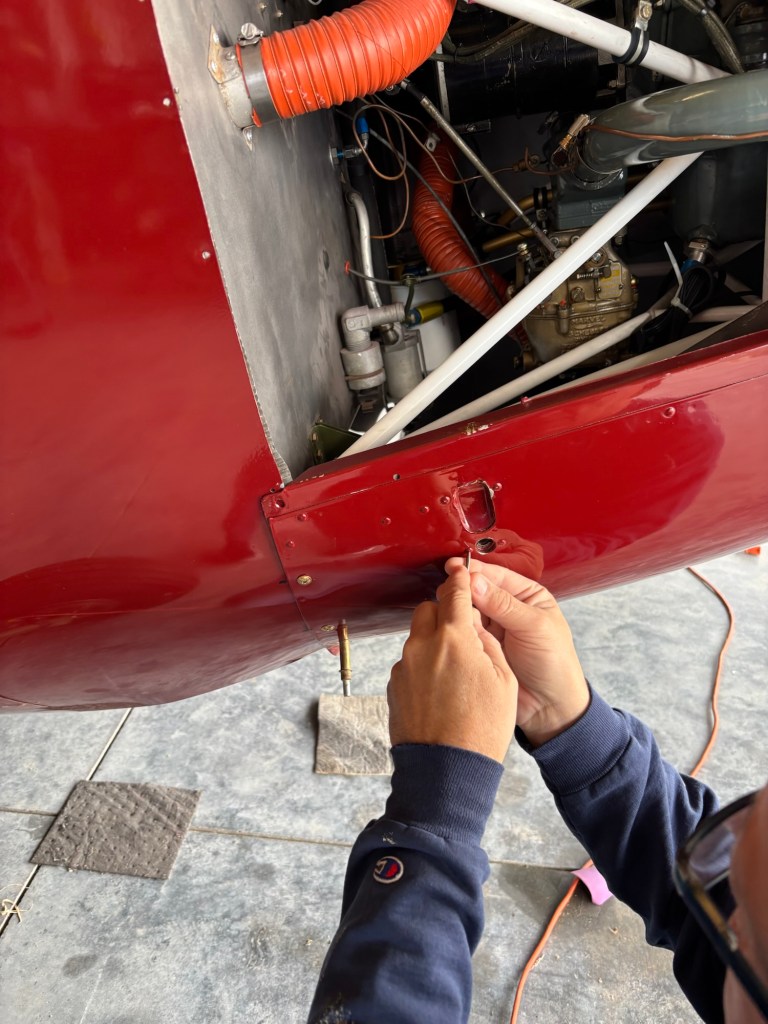
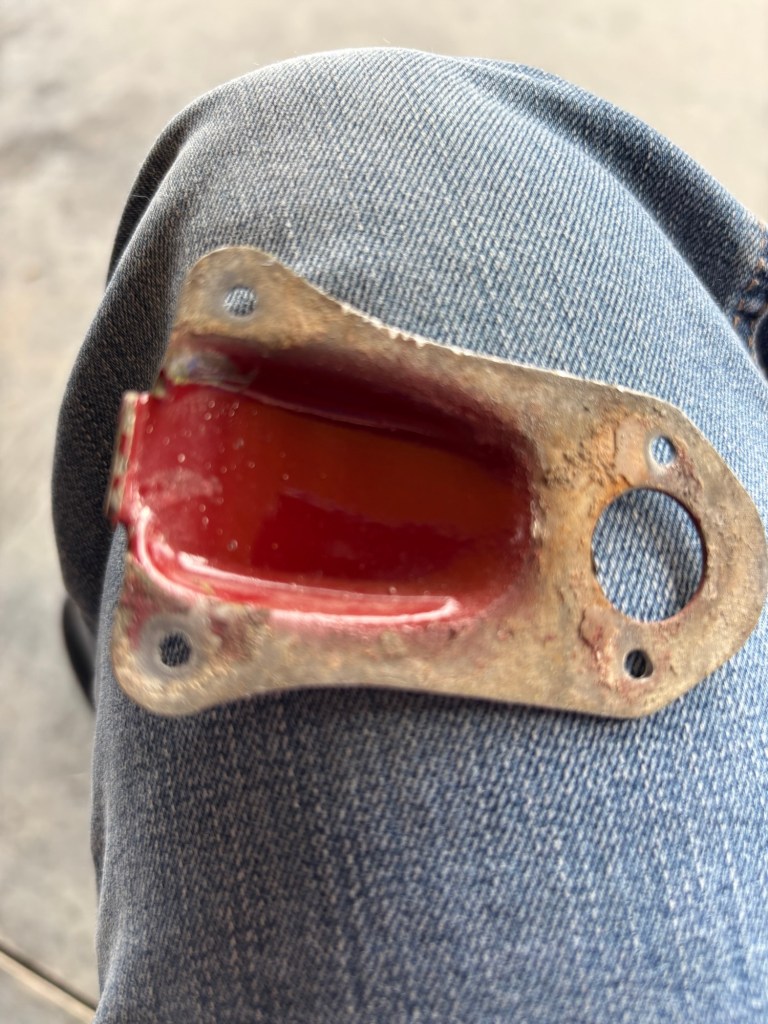
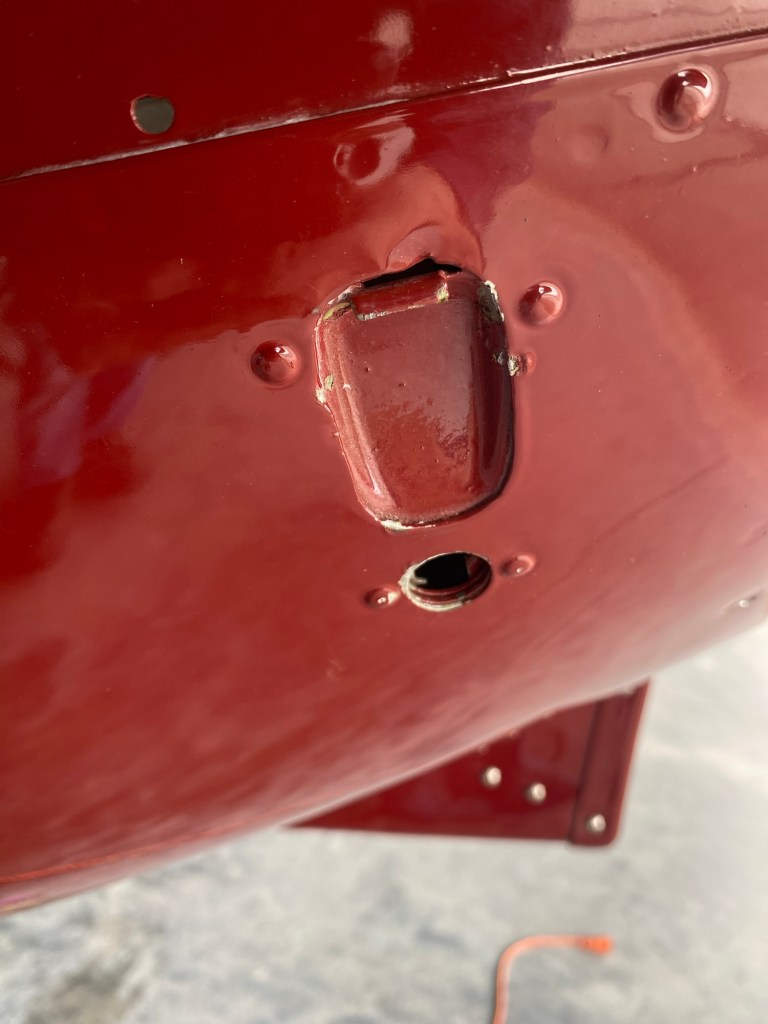
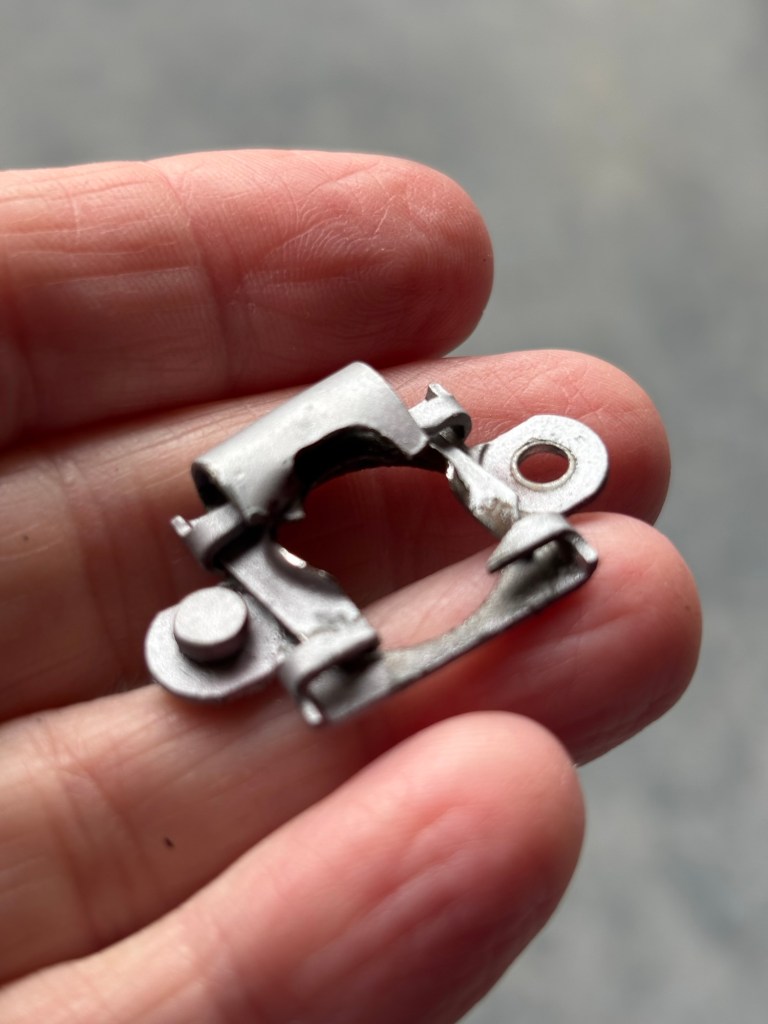
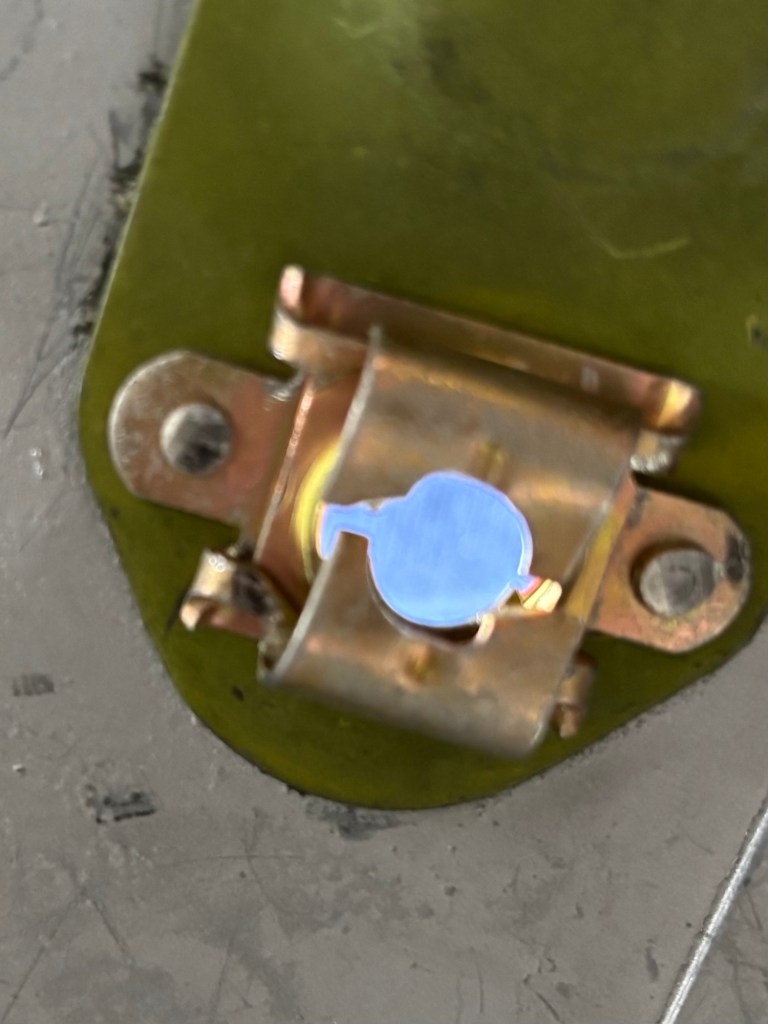
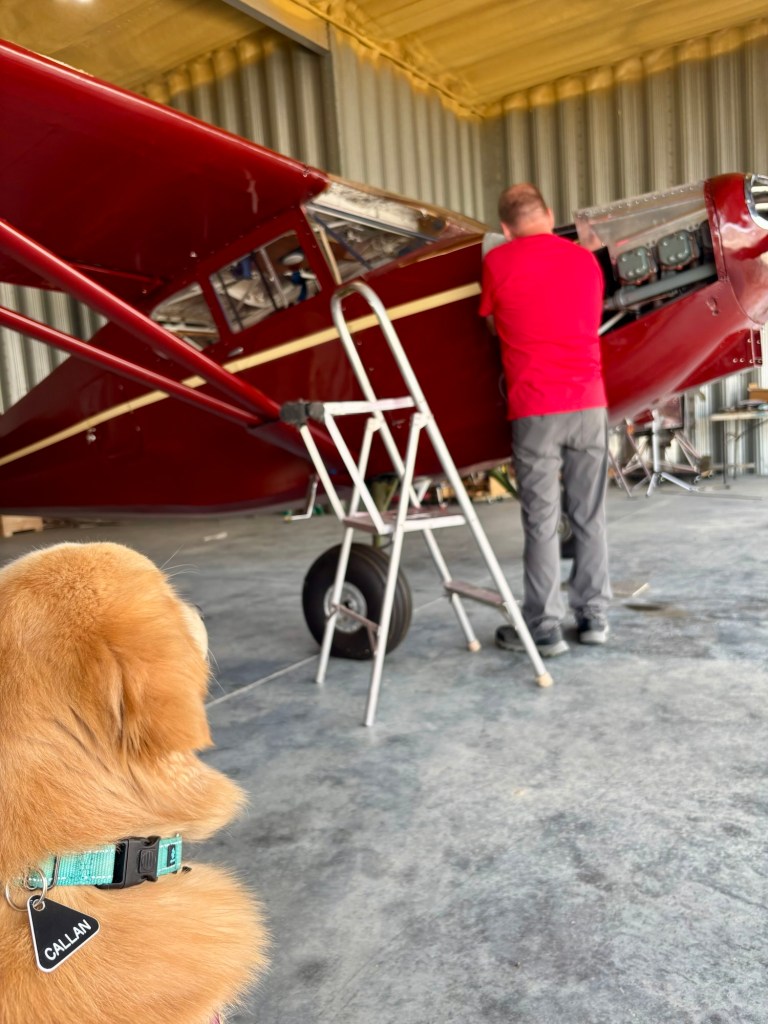
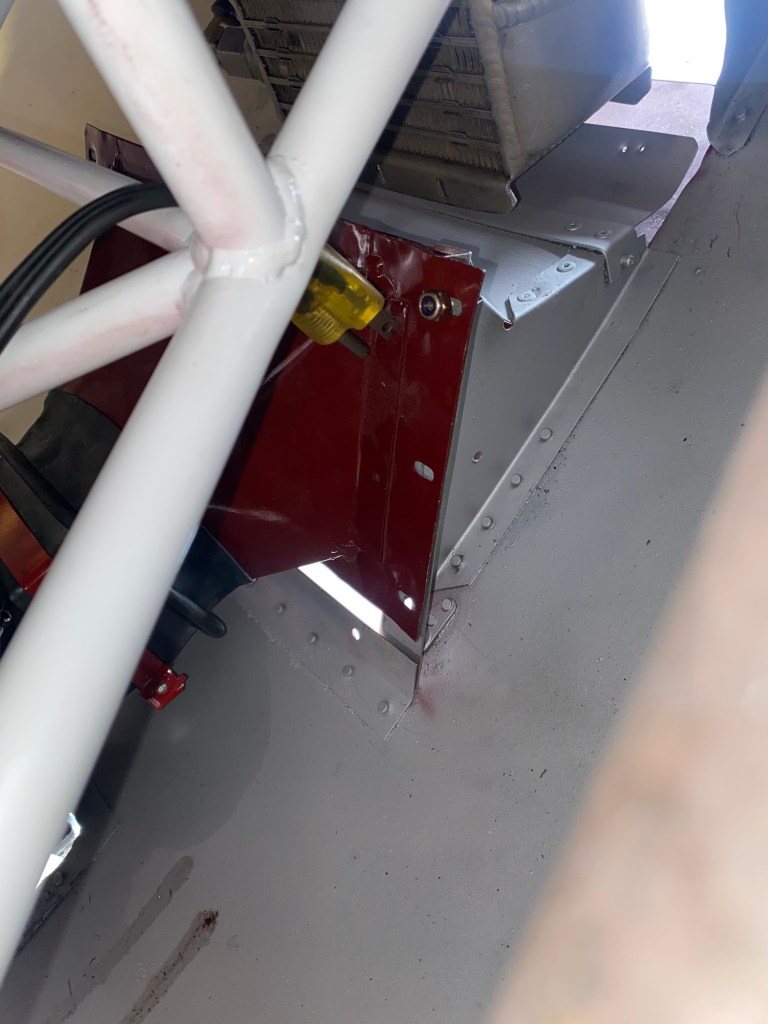
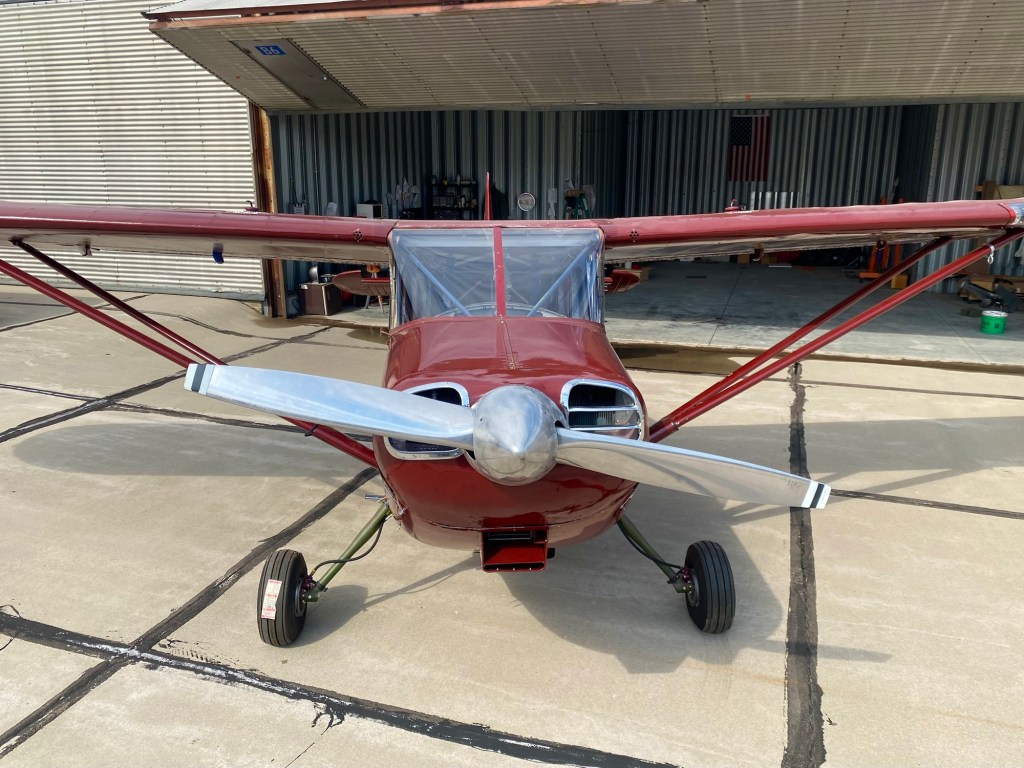
One of the bottom cowling cups needed to be replaced, so we did that today.
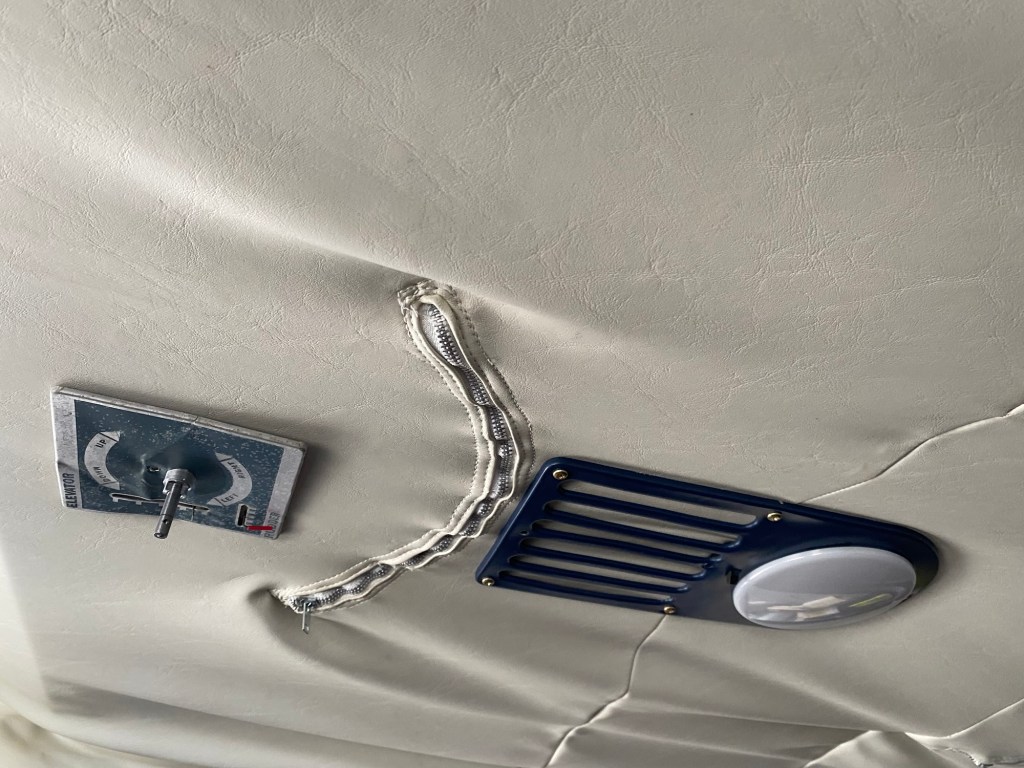
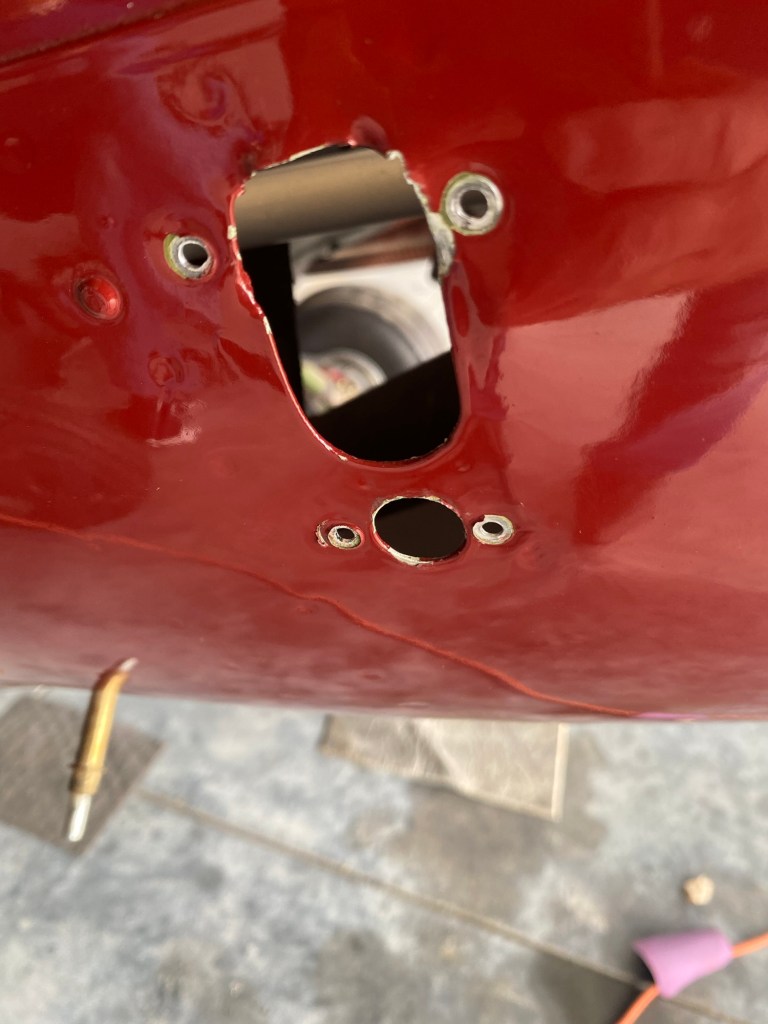
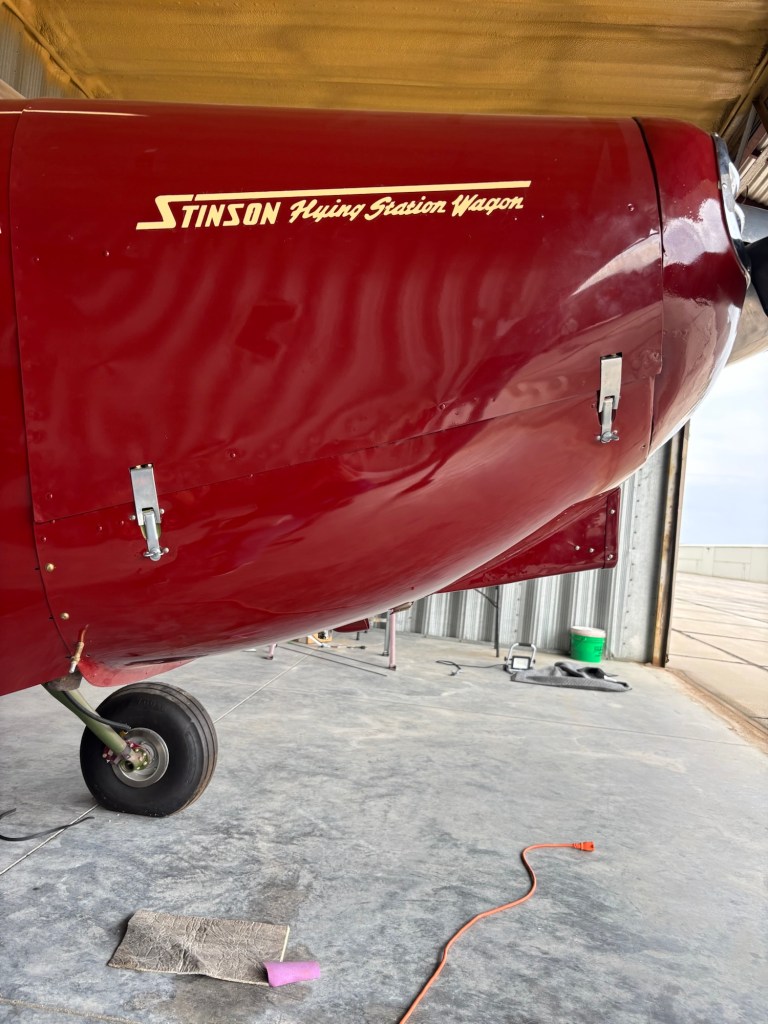
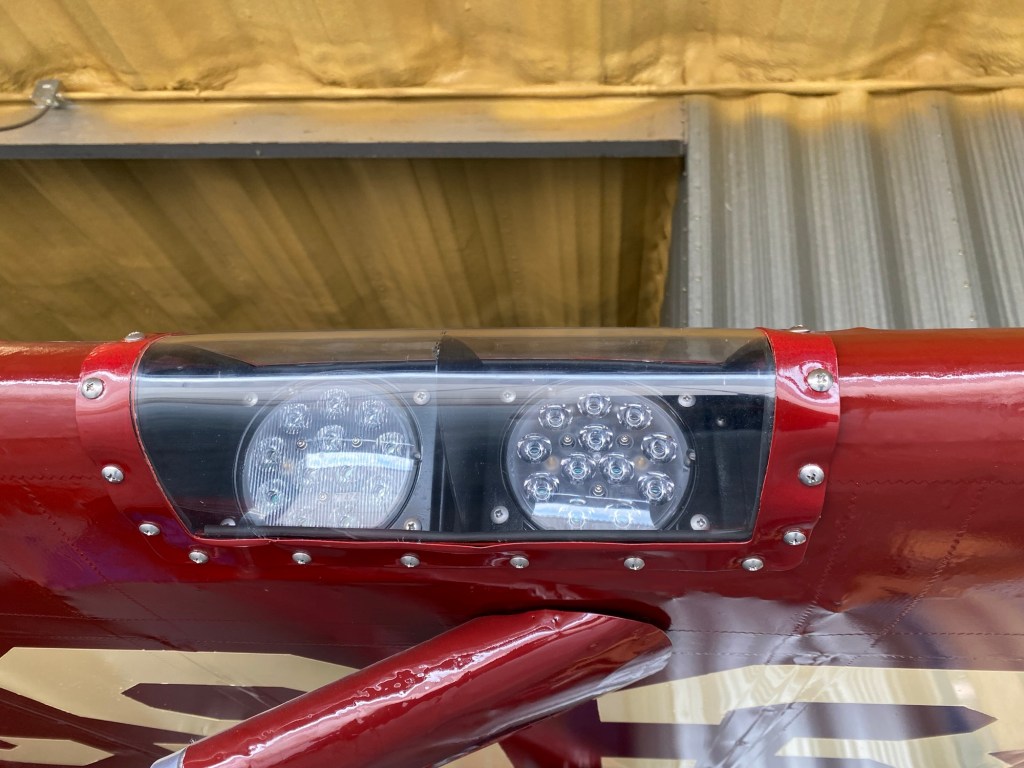
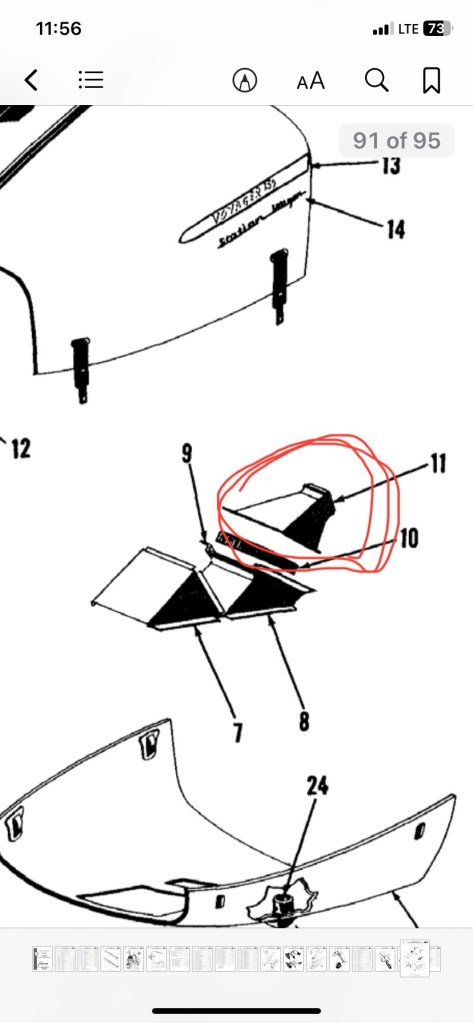
We also finished with the landing light cover installation.
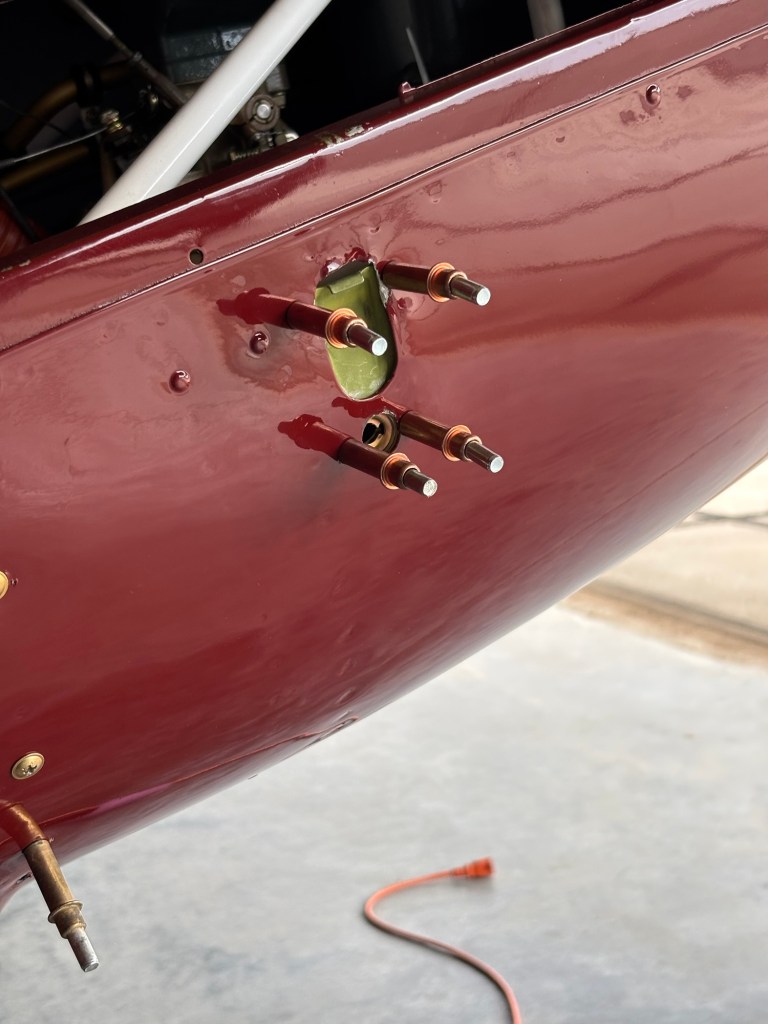
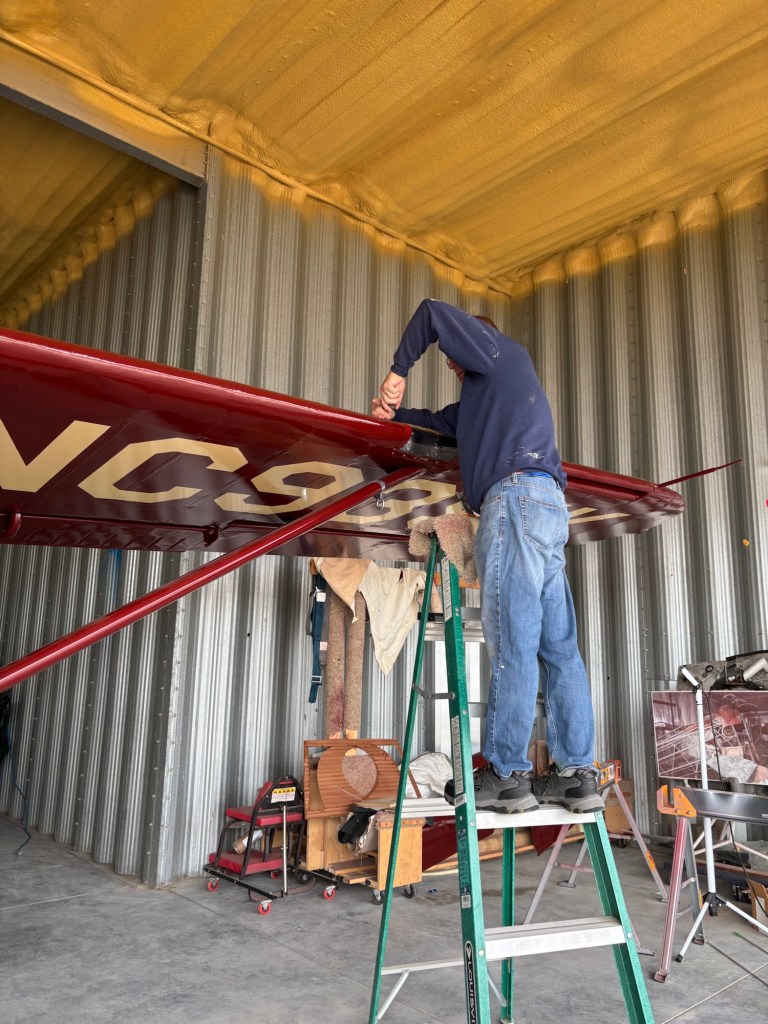
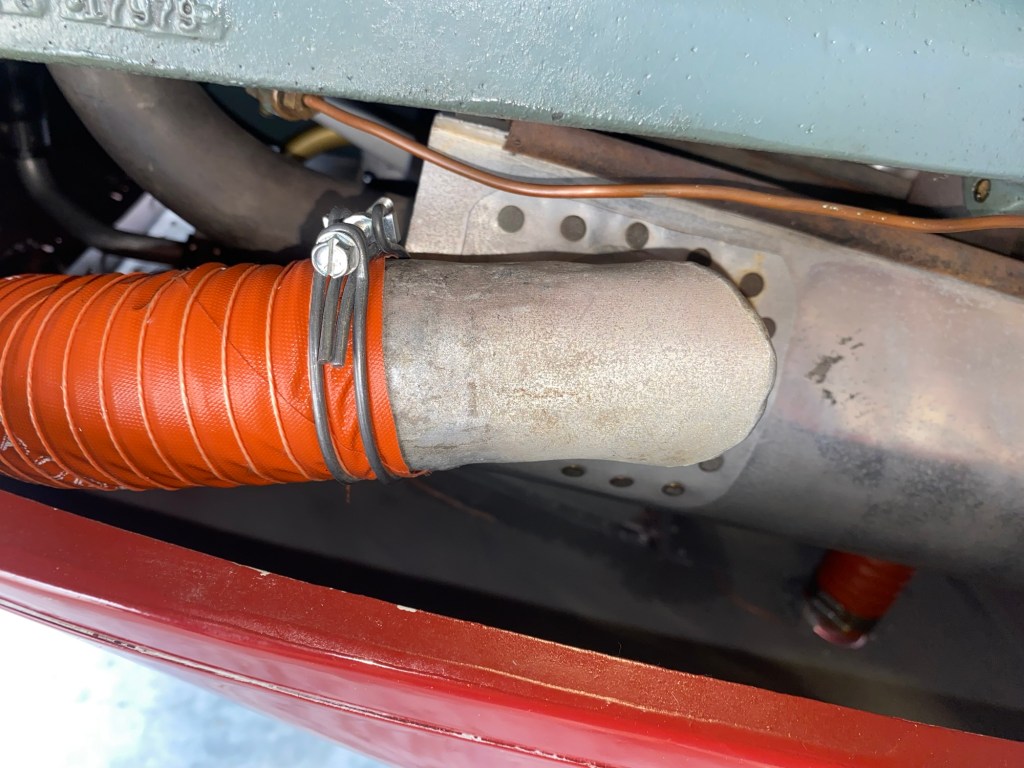
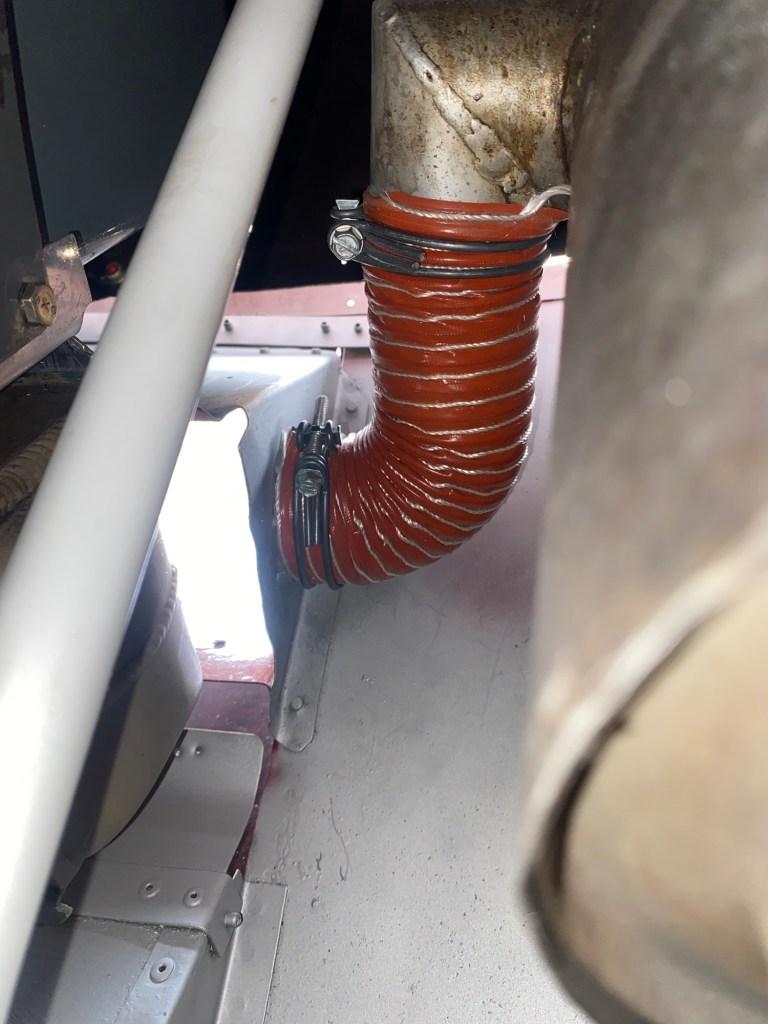
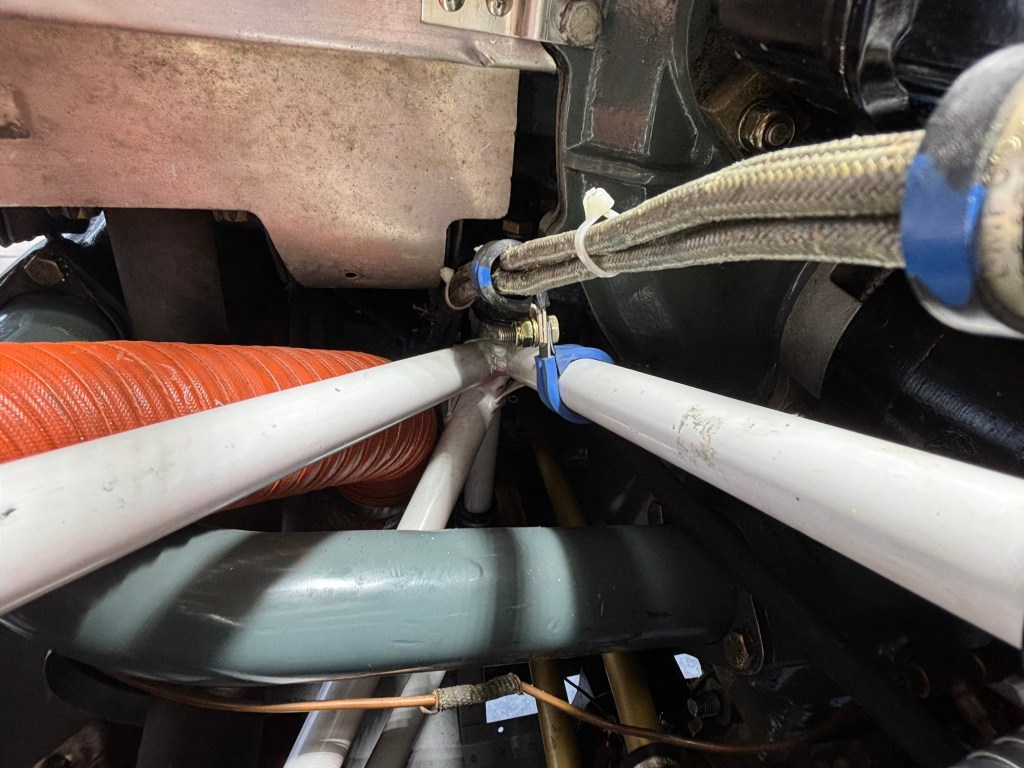
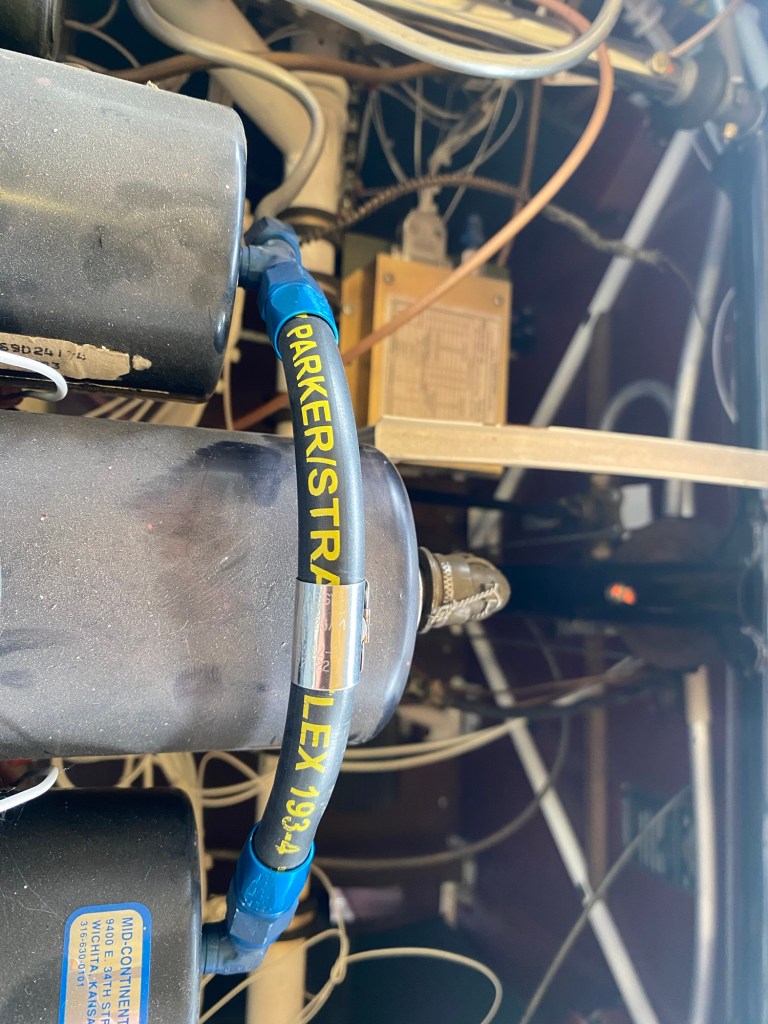
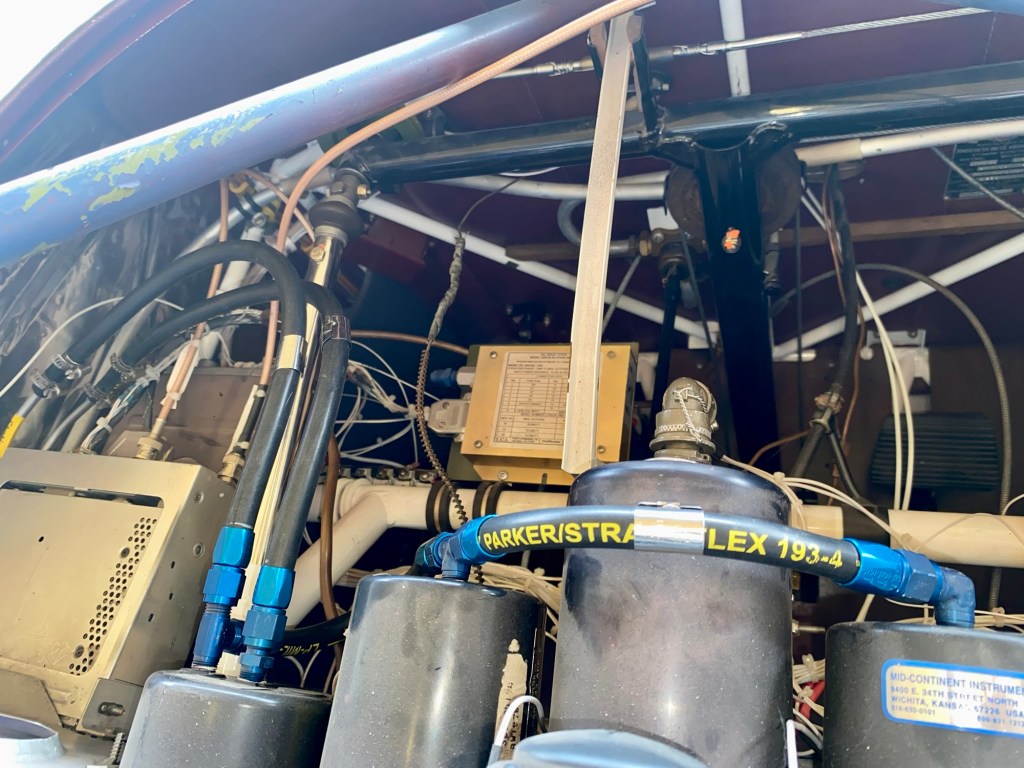
And we double checked the wing bolt torque and the fuel line hoses so we can finally button up the wing trim pieces.
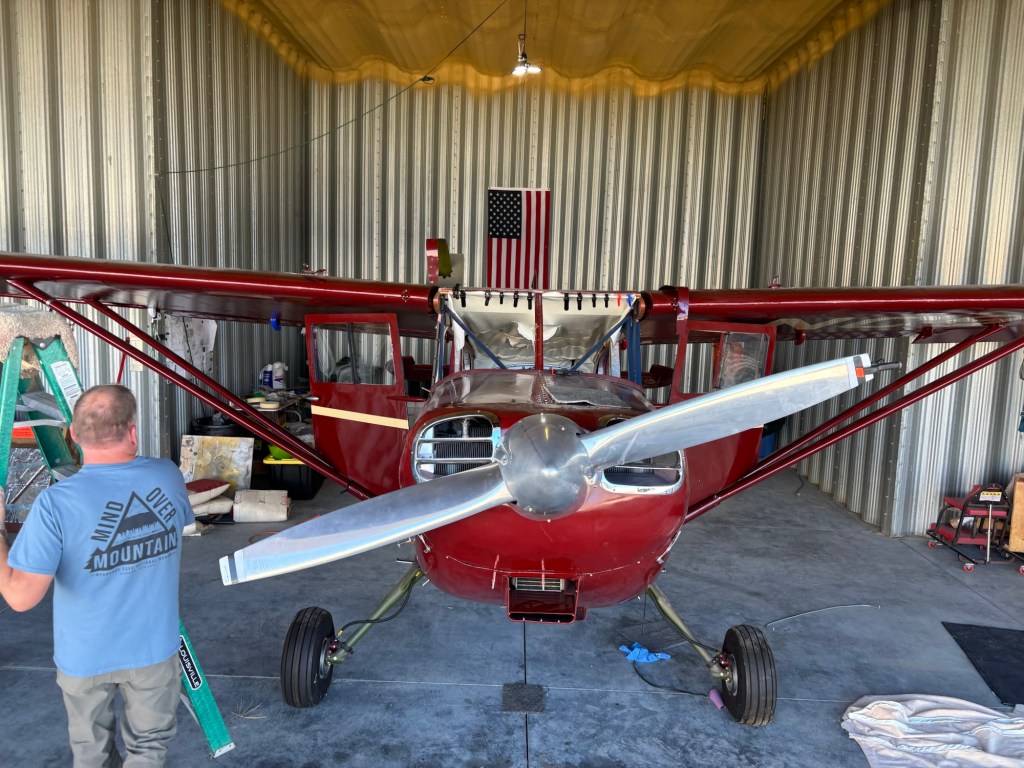
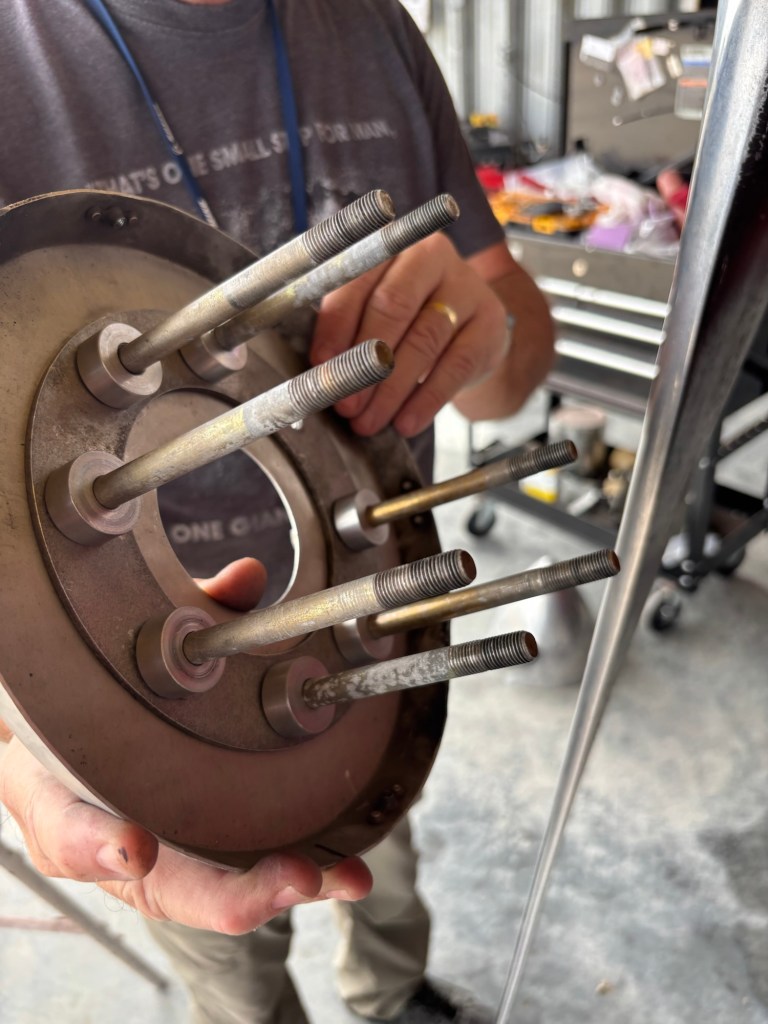
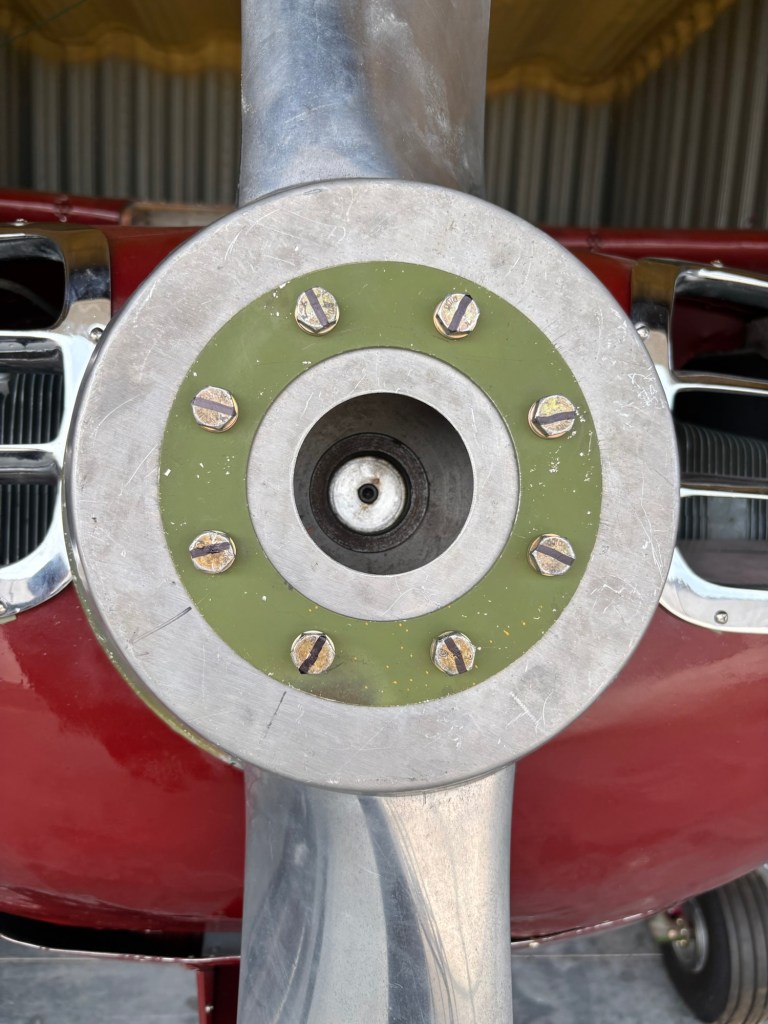
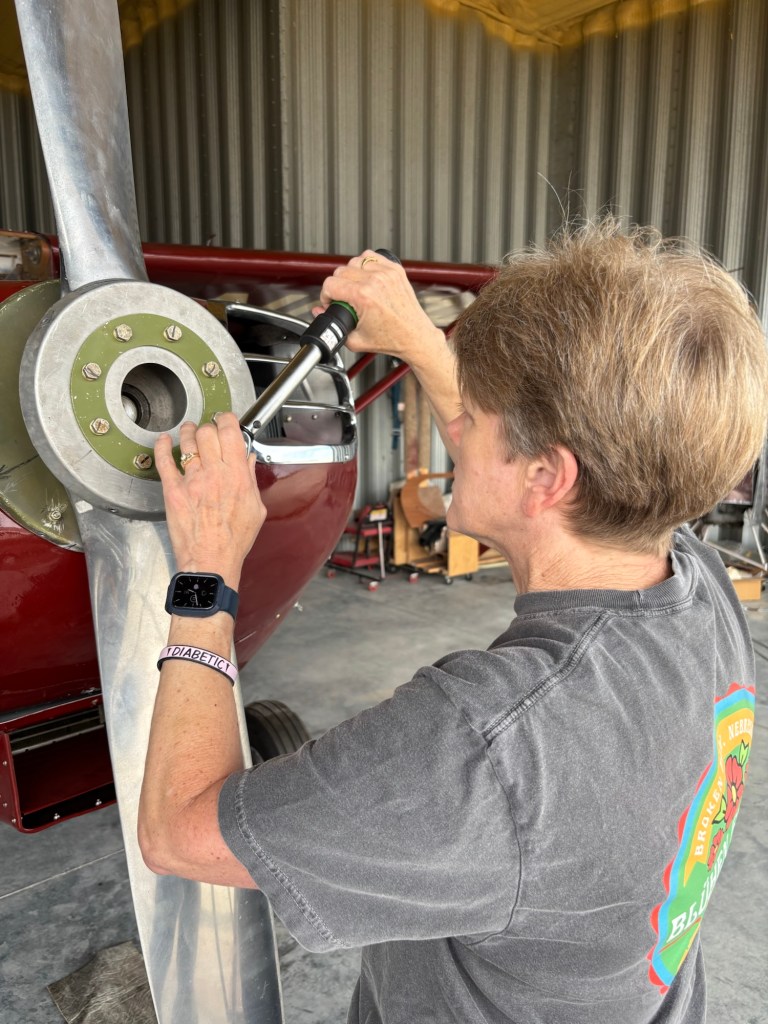
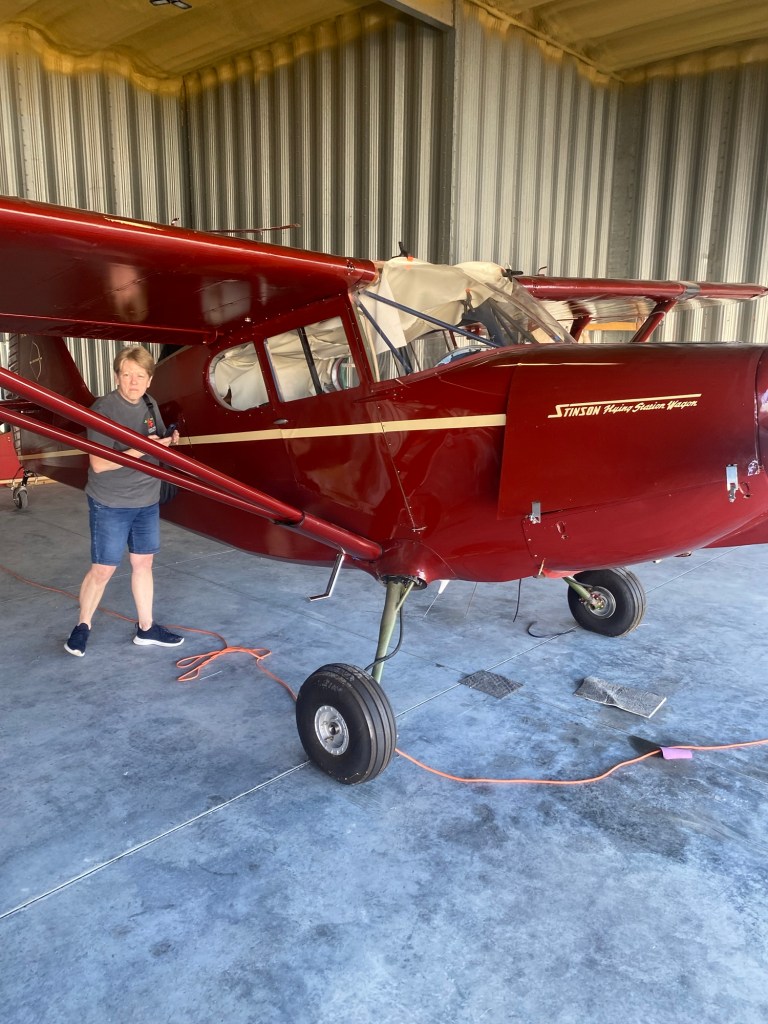
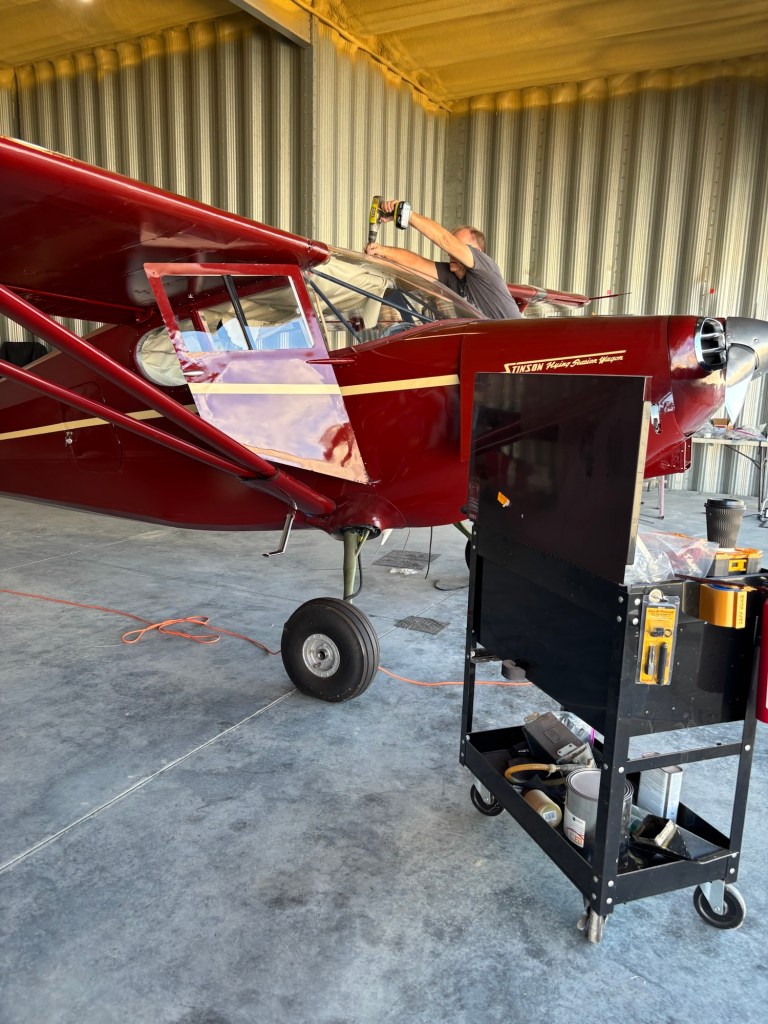
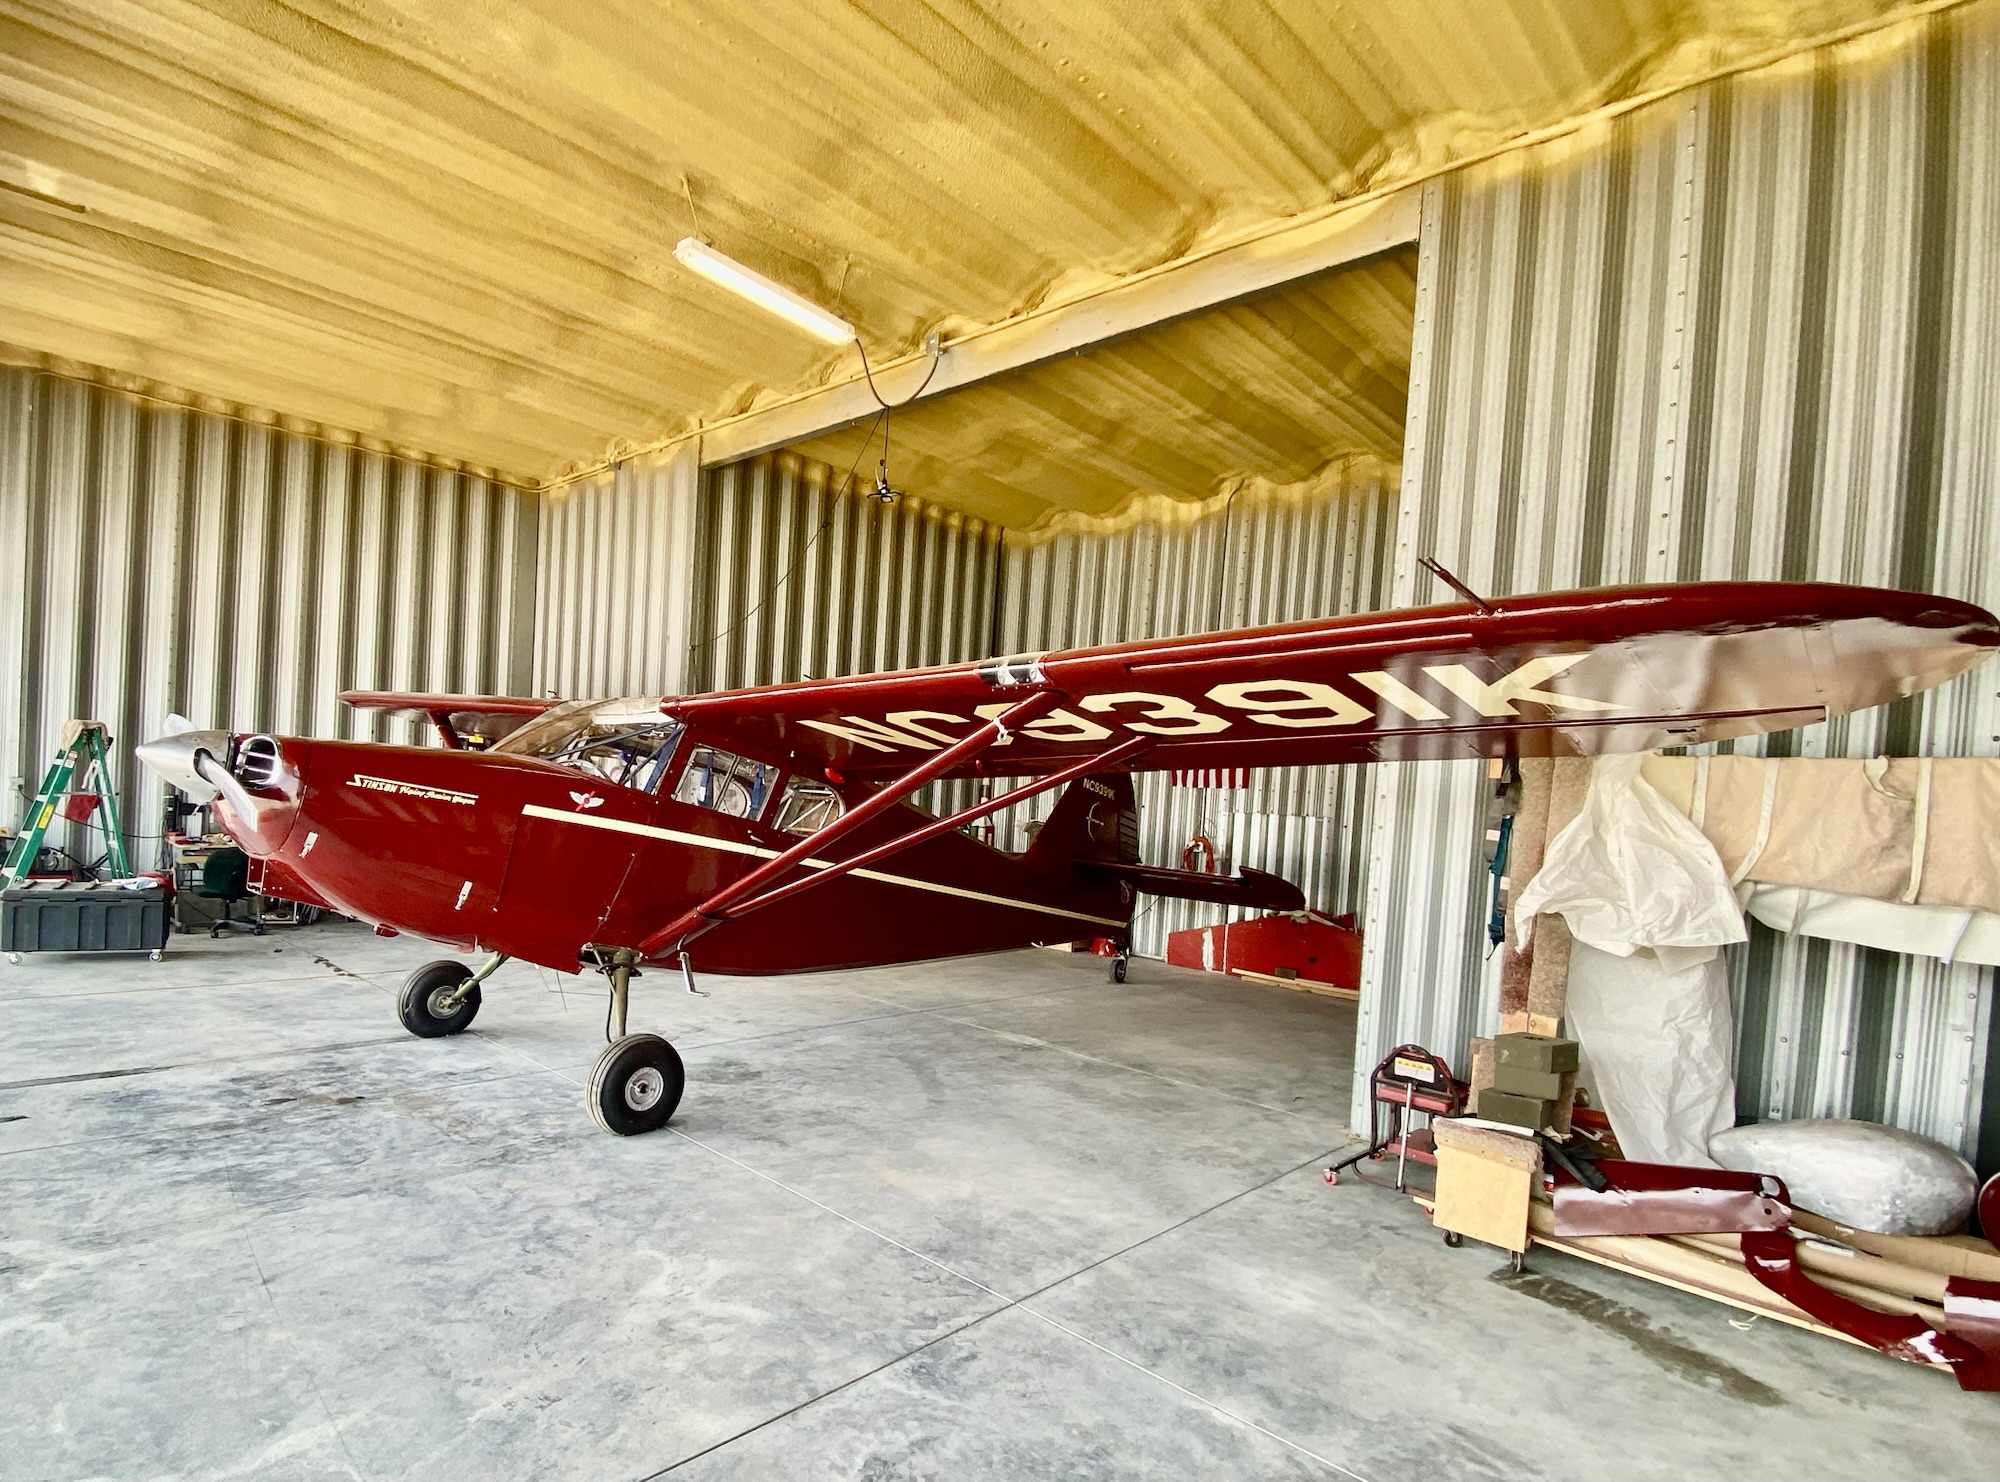
Started with installing the propeller for good. At least until I buy a wooden prop.
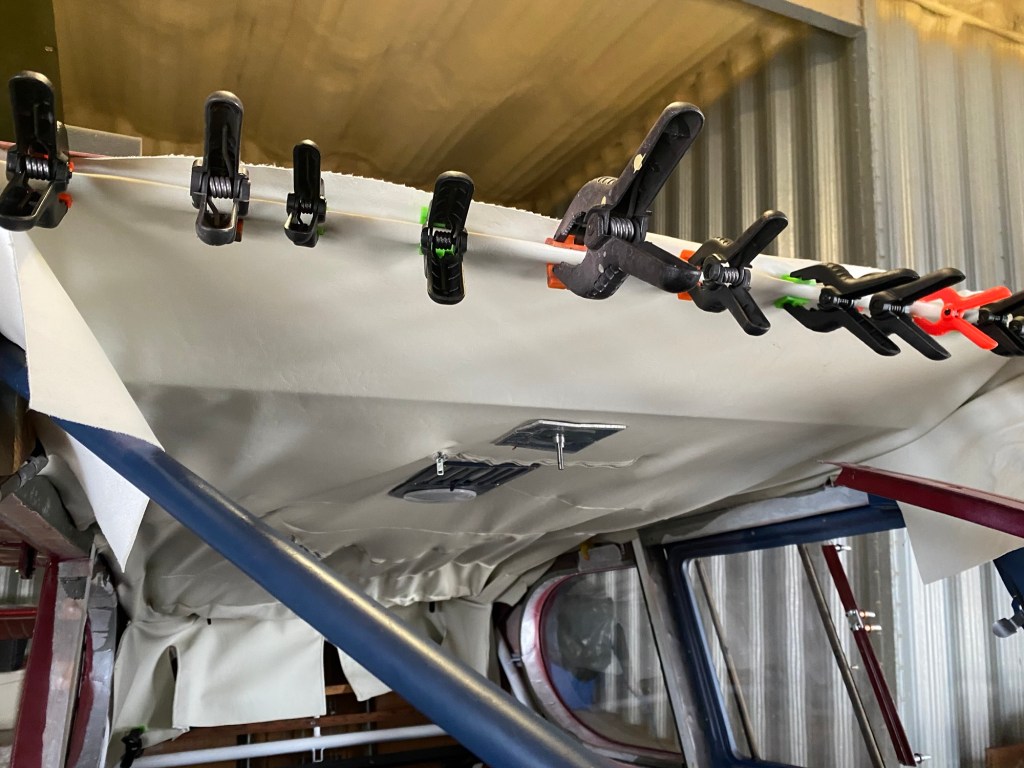
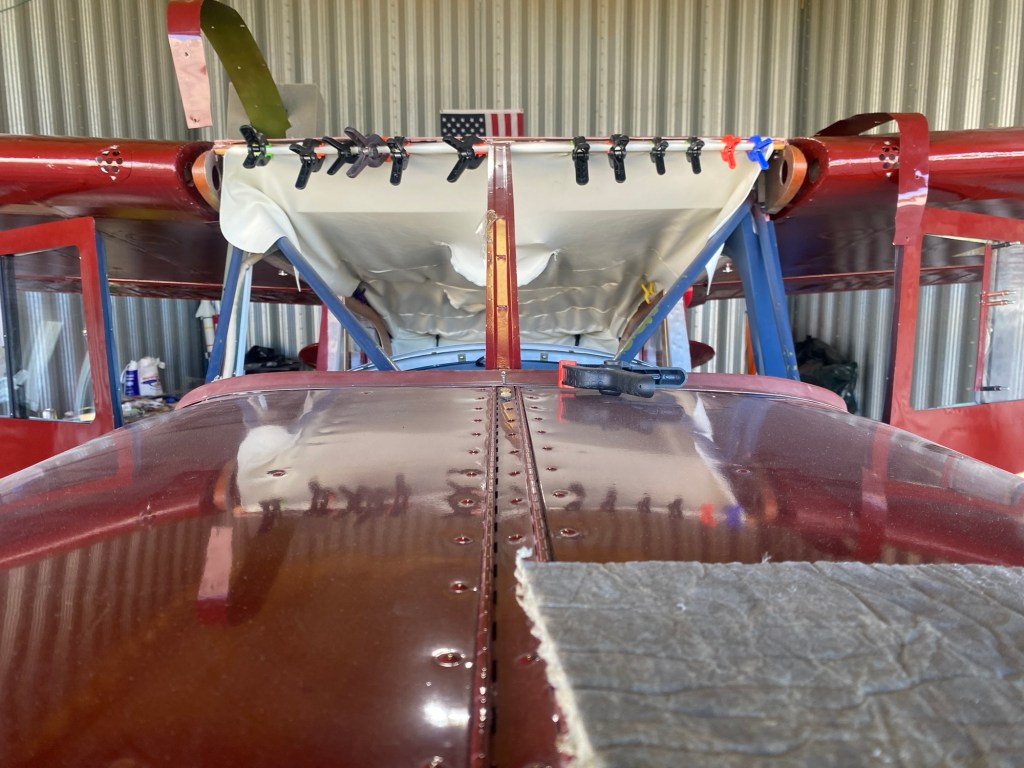
Also, started installing the headliner. Didn’t finish it as I need some clips to help hold it up while I get it installed.

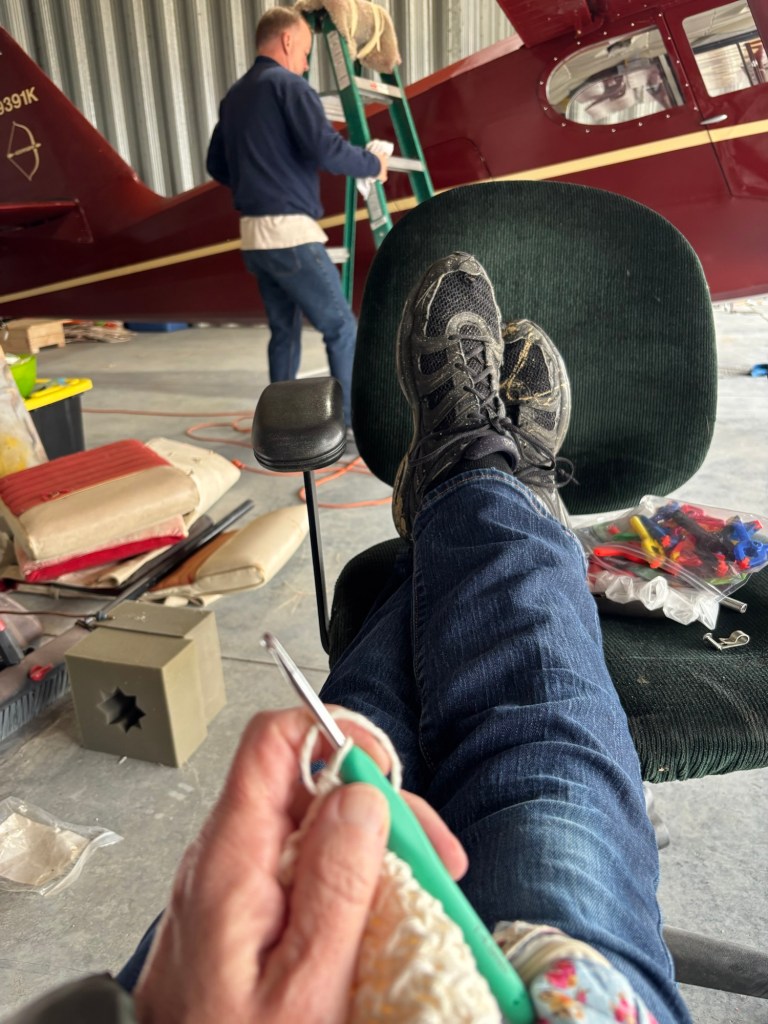
Too busy this weekend to do much on the Stinson. Next weekend will be nicer and we will try to finish up a lot of items on my list. I didn’t take any photos, but Marie did.
Remaining steps left to finish the Stinson:

A rainy weekend but great temps.
| Description | Tubing Size | Hose ID | Max PSI | Wgt/Ft | Part No. |
|---|---|---|---|---|---|
| Aeroquip 303 Hose | 1/4 | 3/16 | 3000 | .132 | 303-4 |
| Description | Tube | Thread | Part No. |
|---|---|---|---|
| Aeroquip 491 Hose Fitting | 1/4 | 7/16-20 | 491-4 |
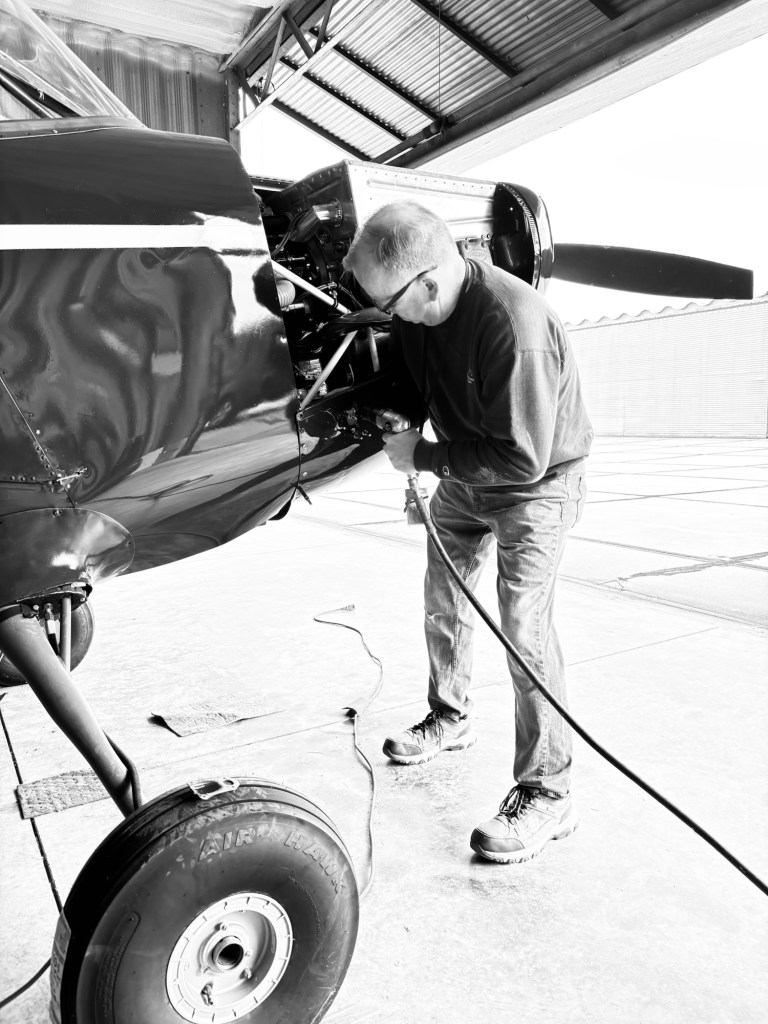
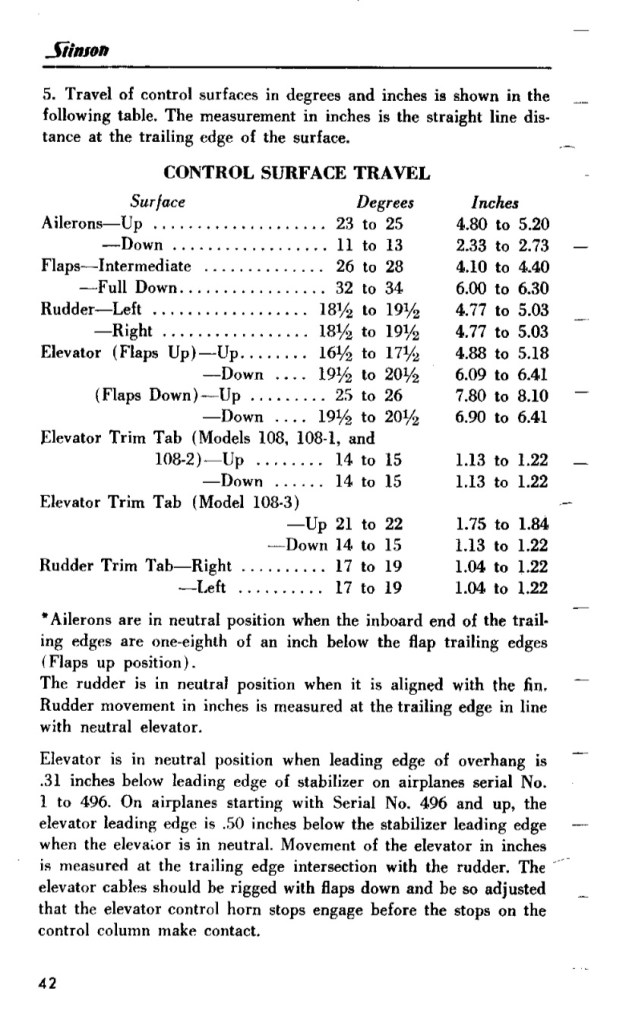
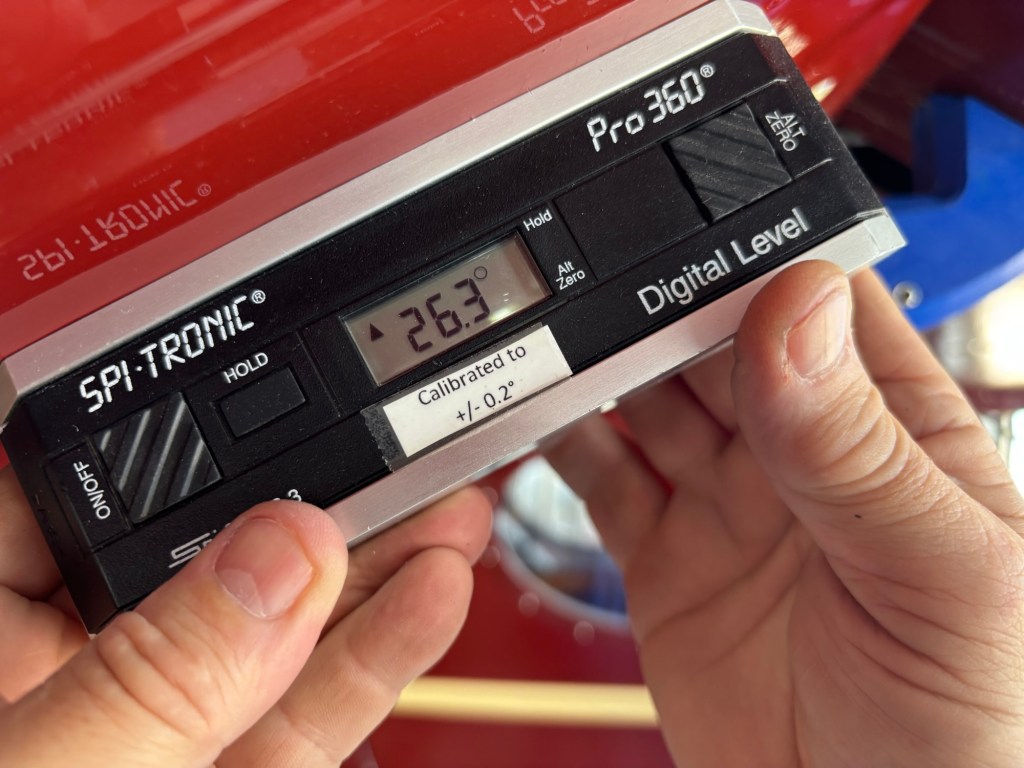
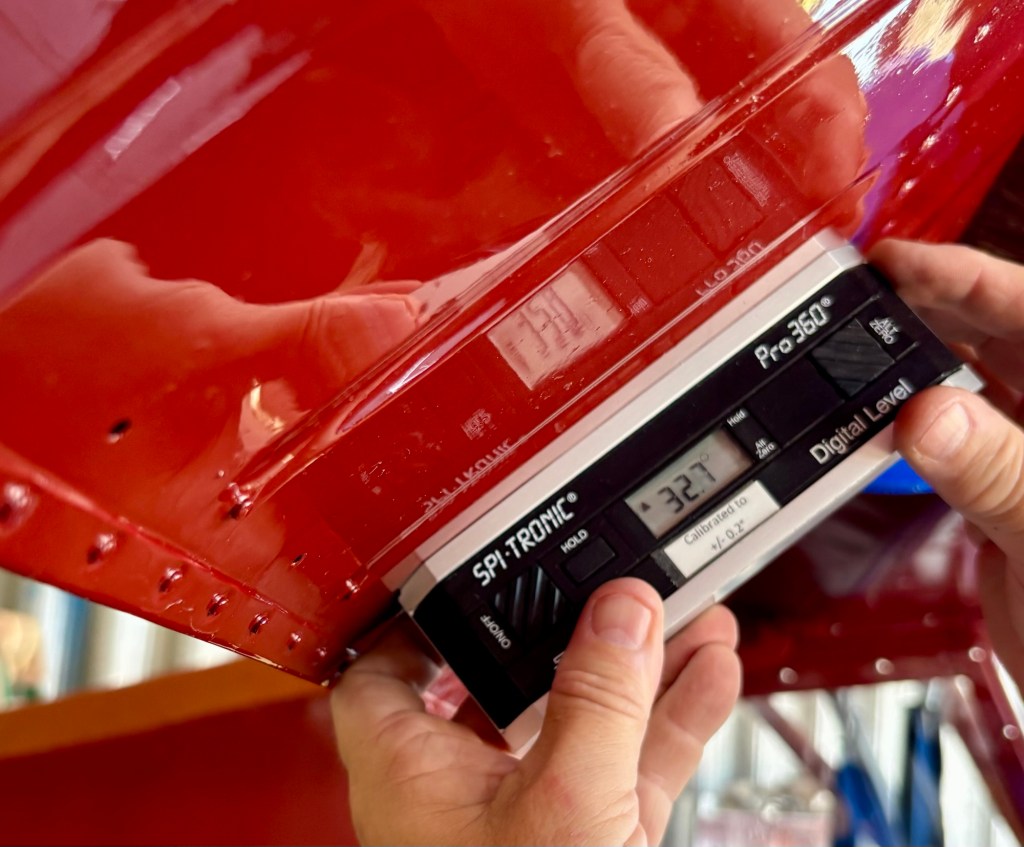
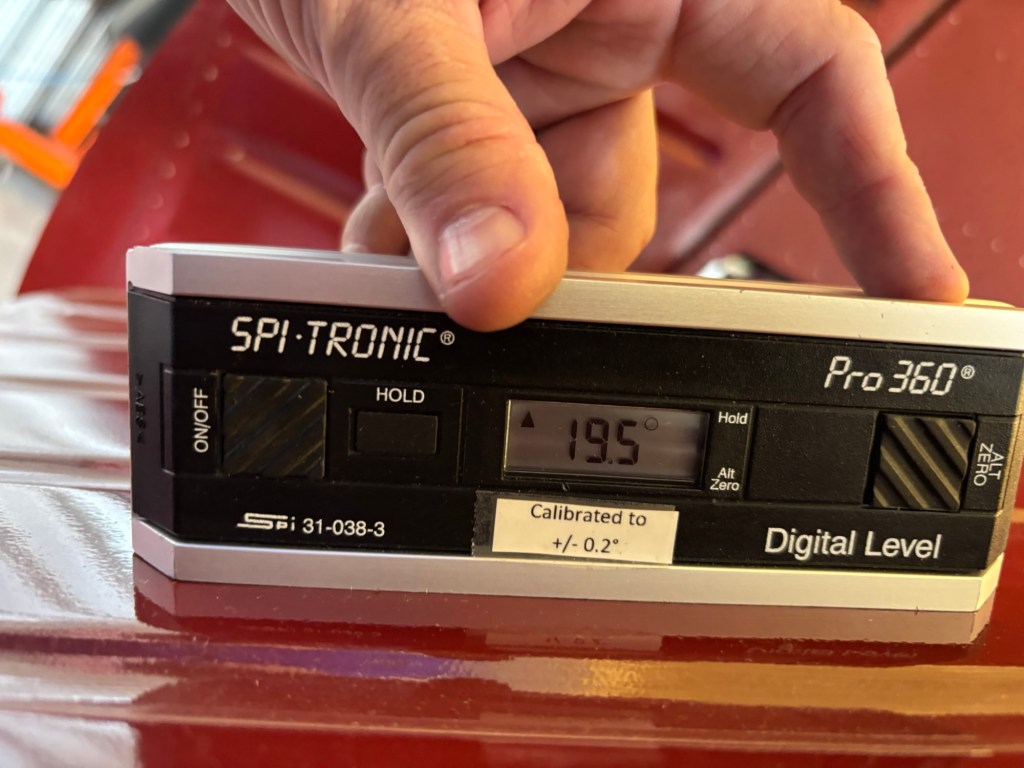
The weather really cooperated this weekend. Marie and I spent most of Saturday and part of today at the hangar.
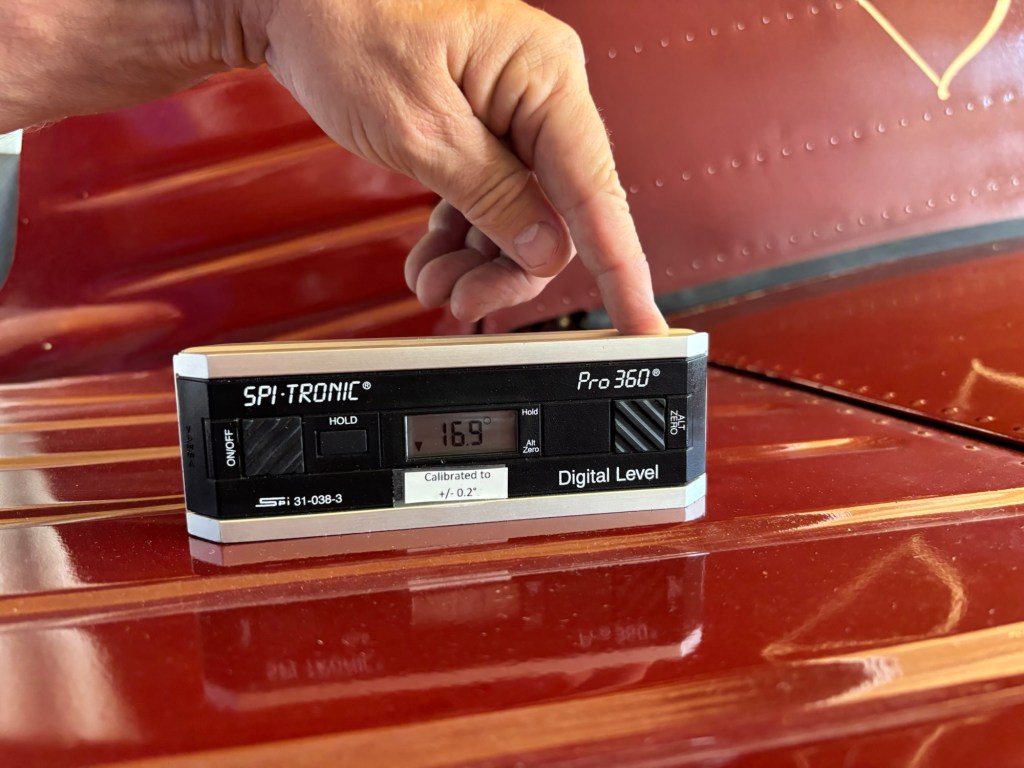
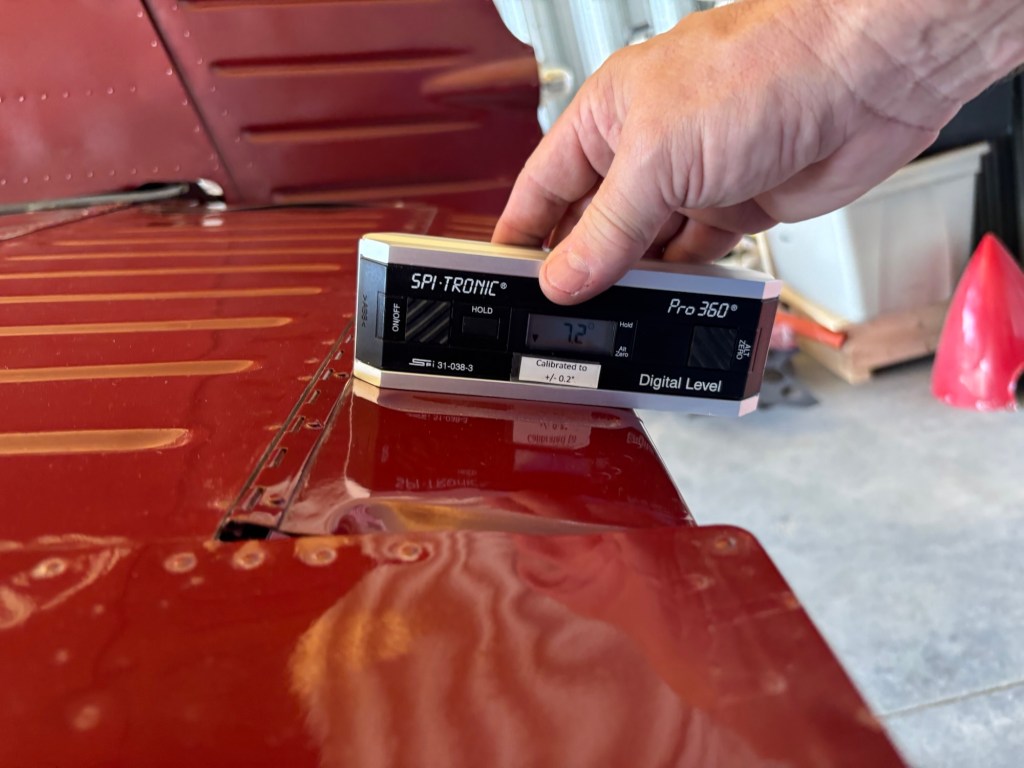
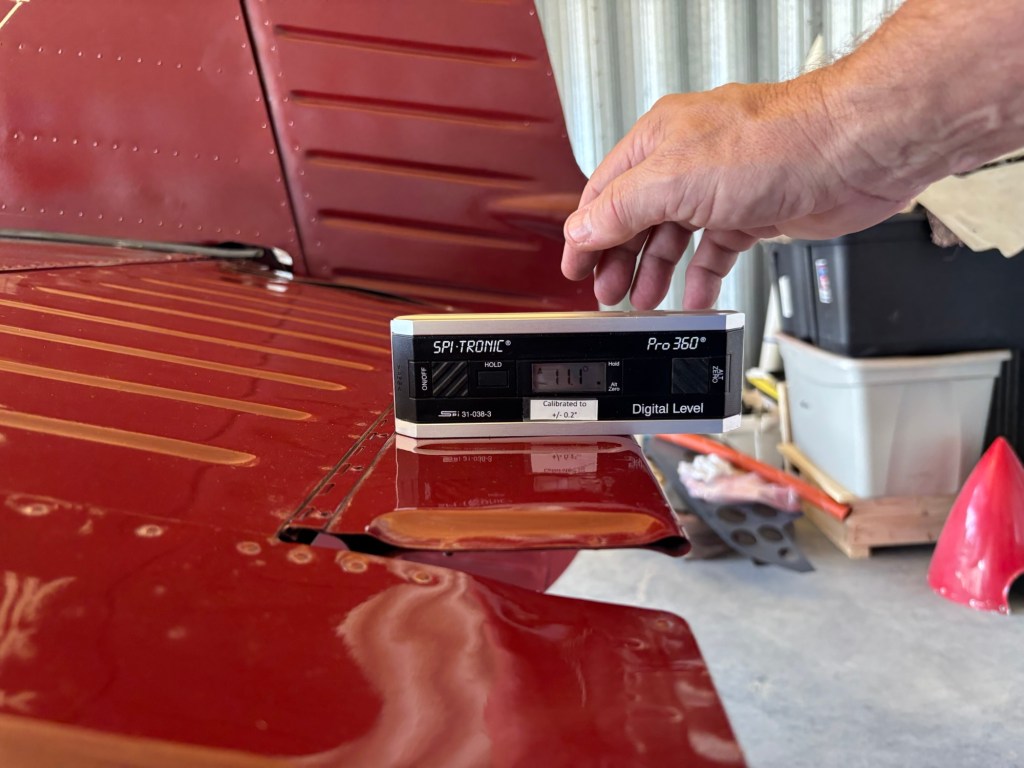
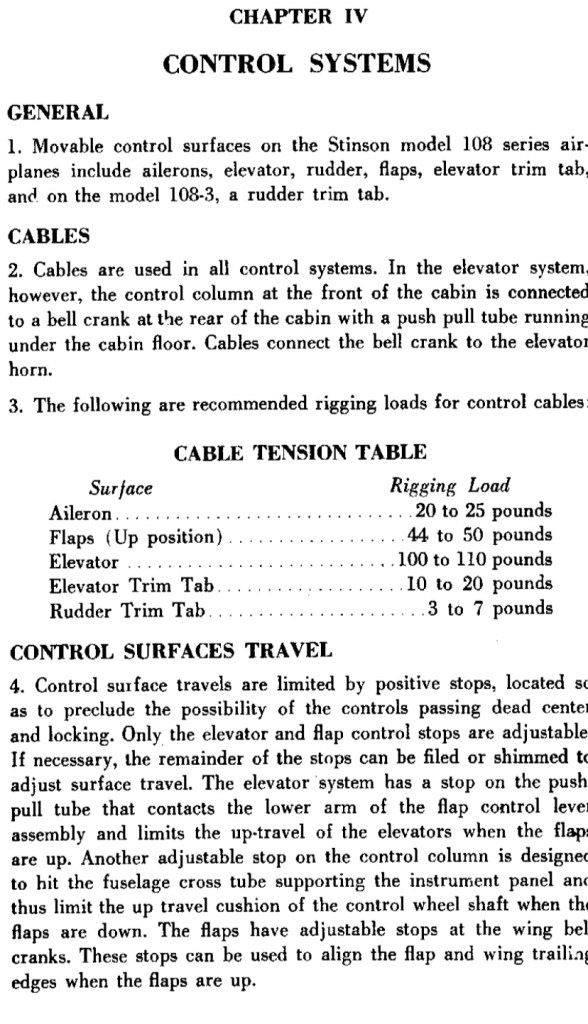
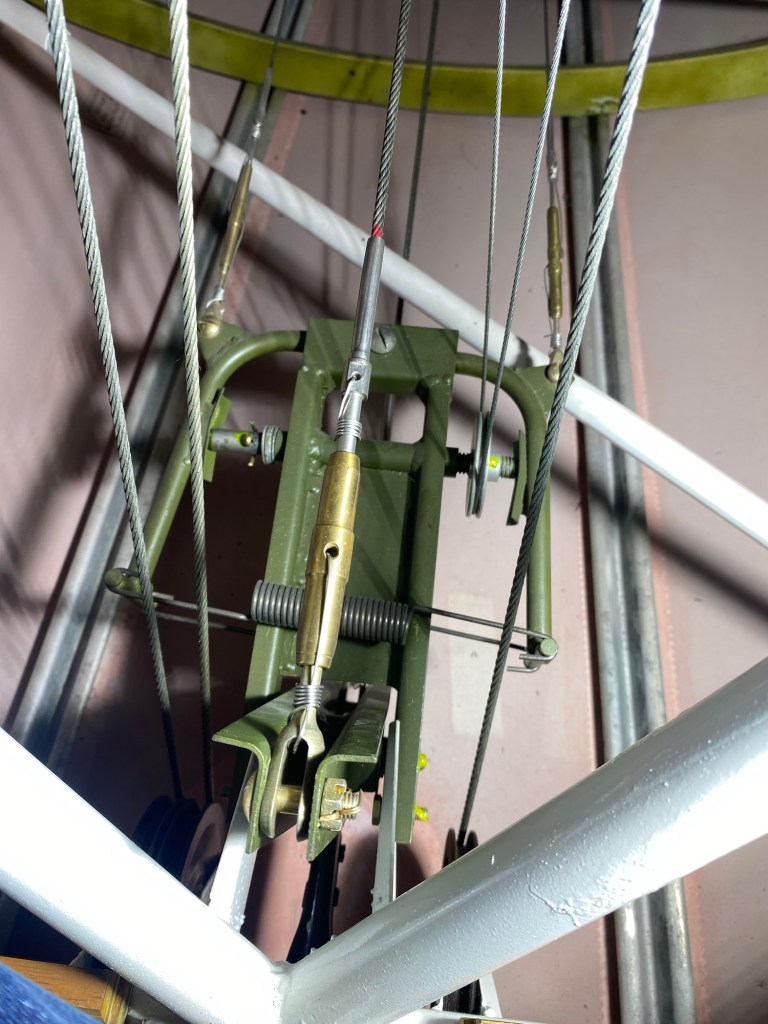
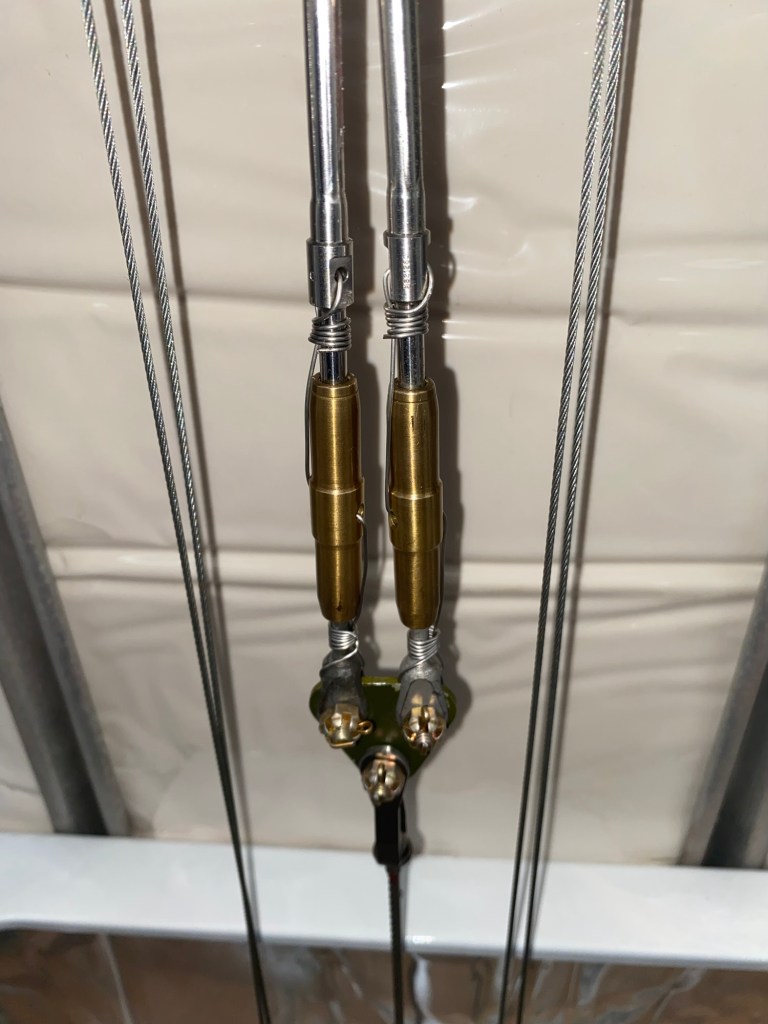
We started off by checking control surface deflections and then checked cable tensions. Made some small adjustments and then we safetied the turnbuckles.
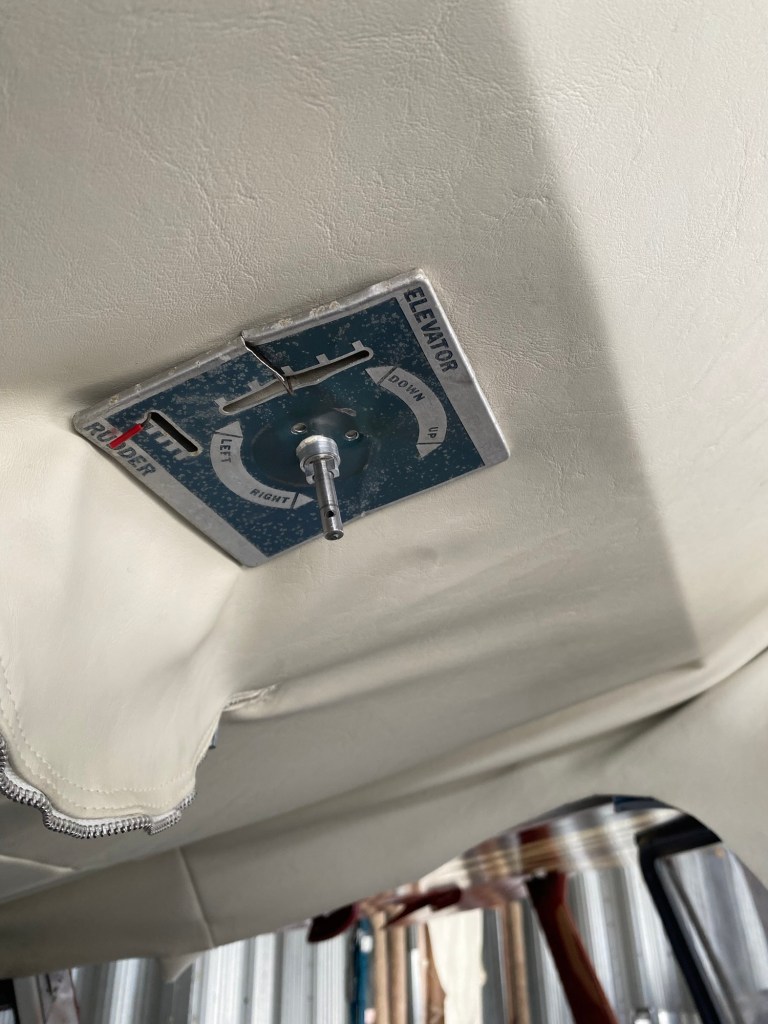
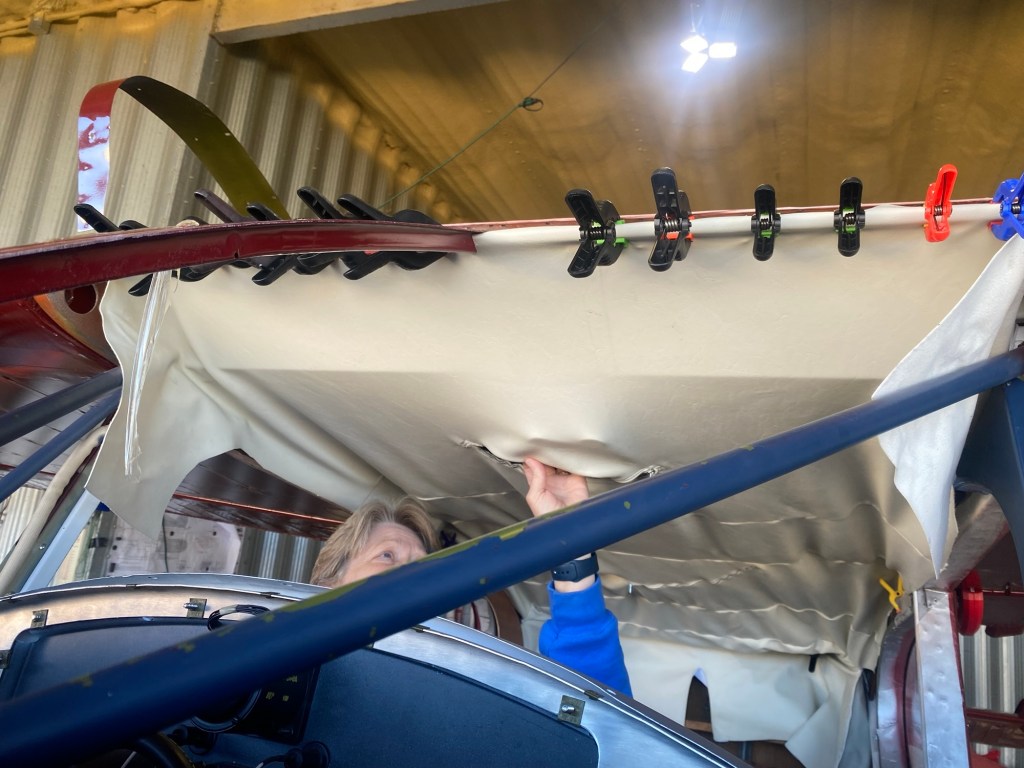
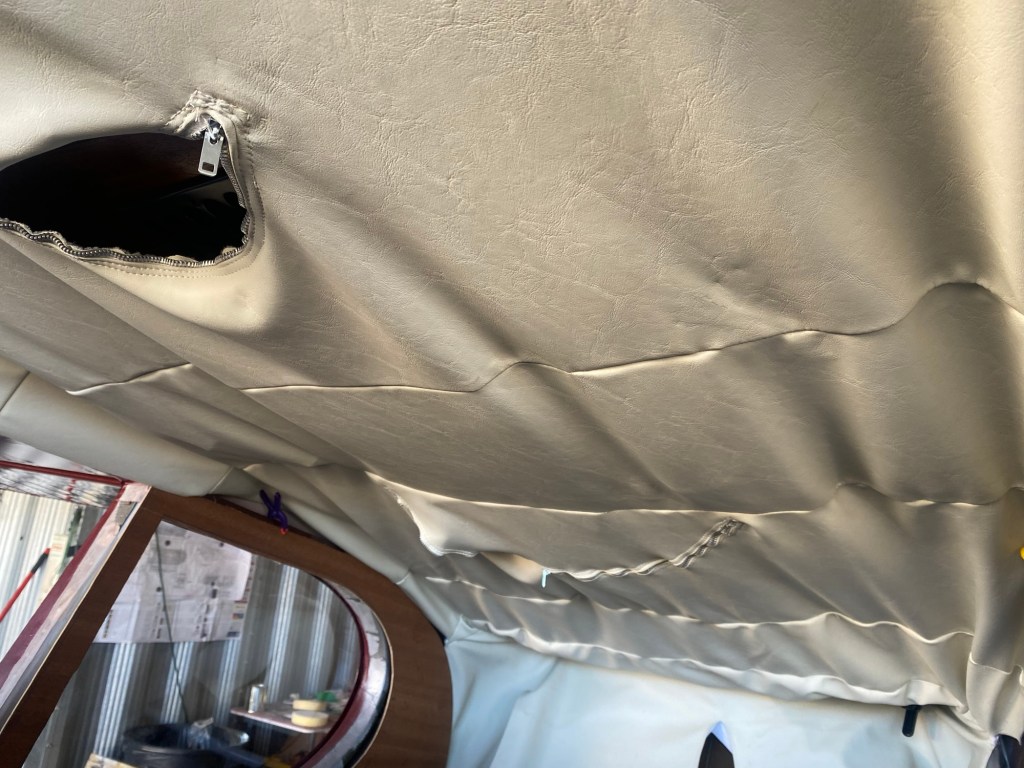
Today we began to install the headliner. We didn’t finish it quite yet.
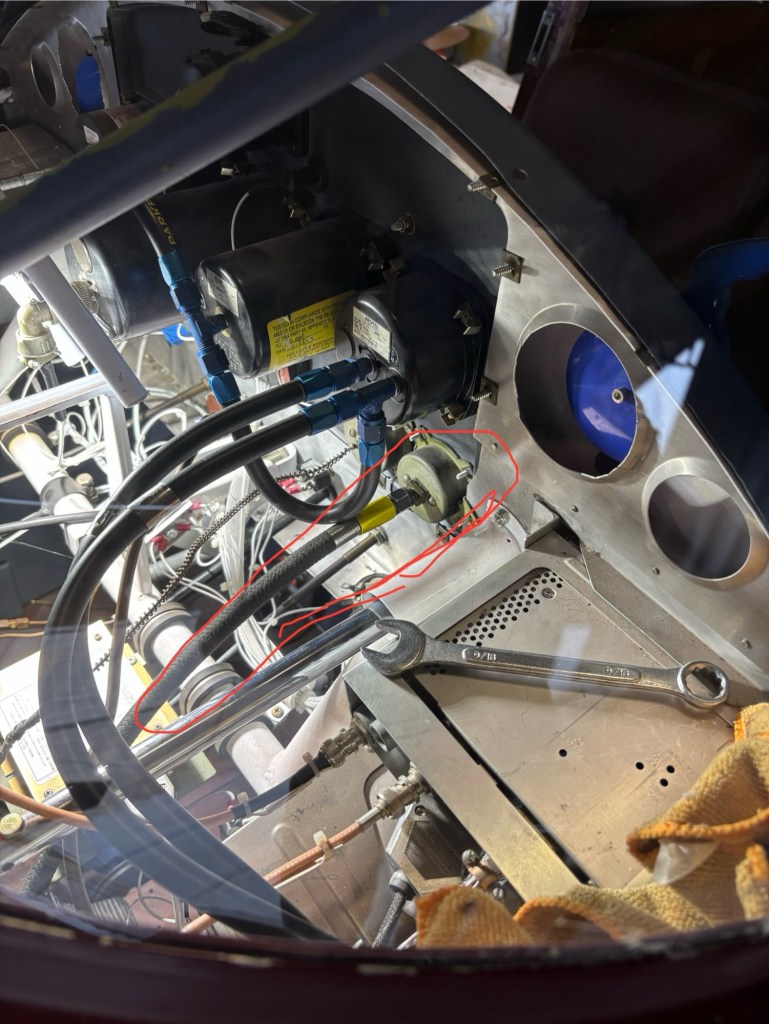
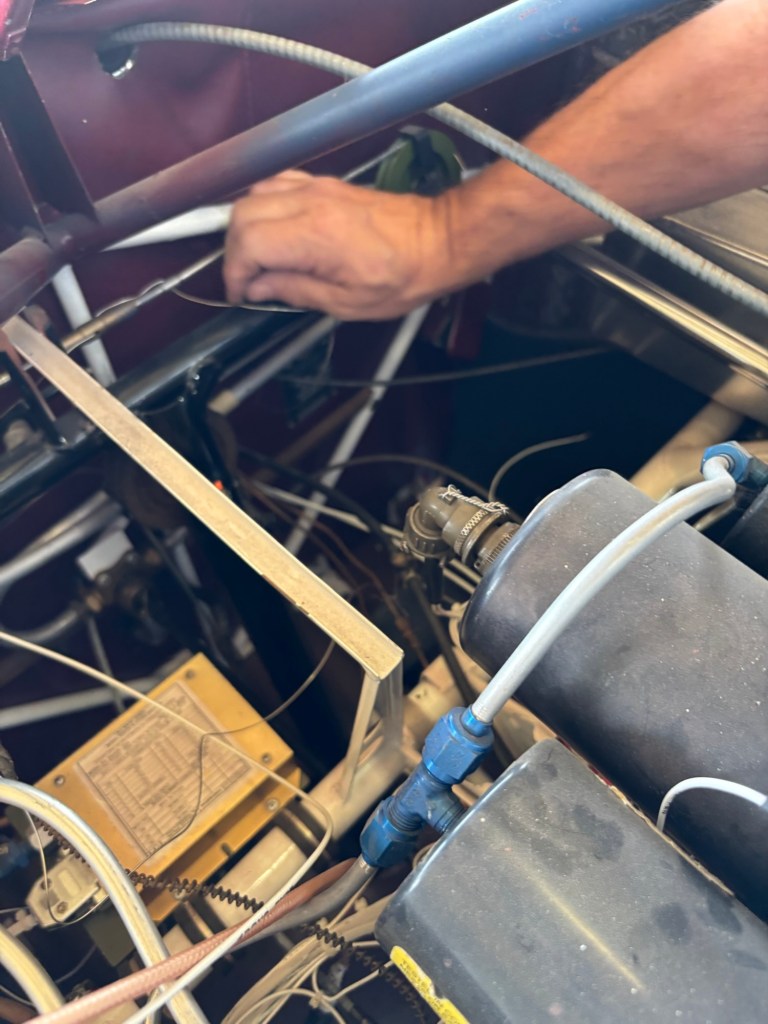
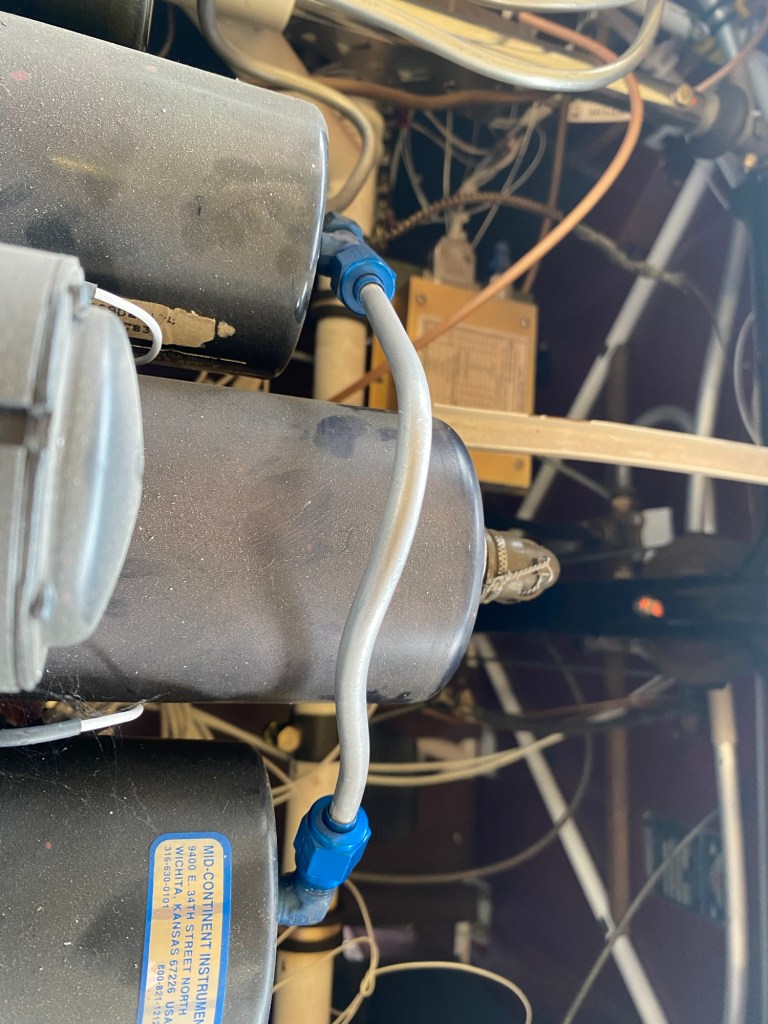
I also changed out the aluminum tubing for the pitot and static lines with rubber hoses.
Photos to follow below.


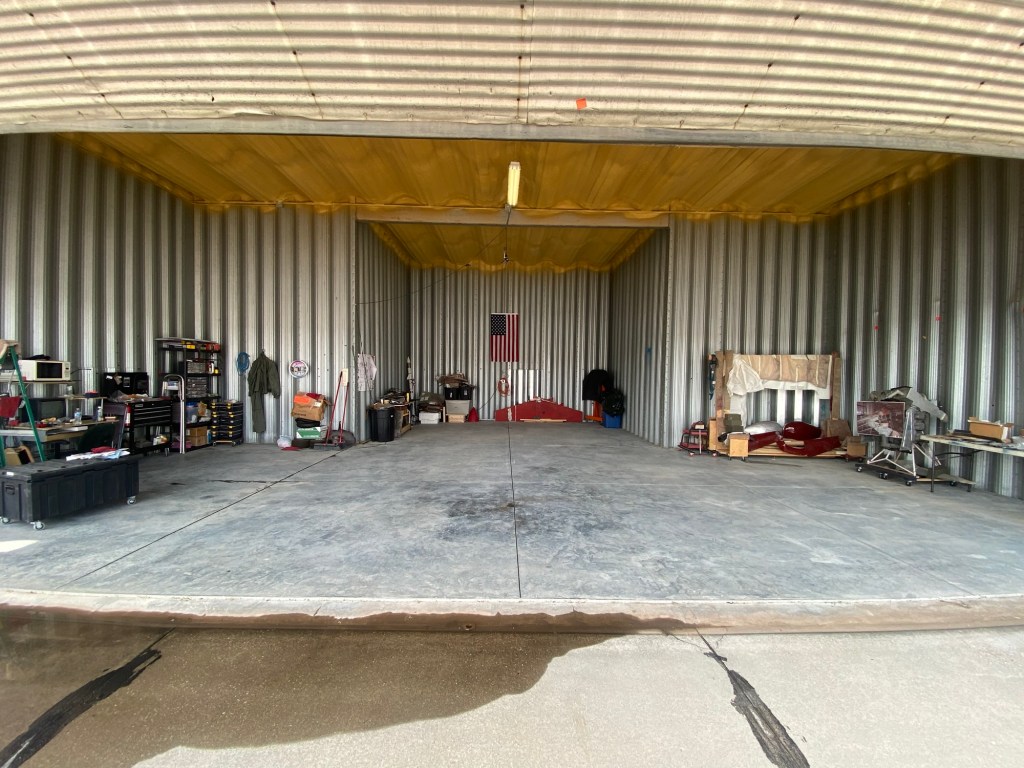
Did some hangar cleaning today as things were starting to get cluttered.
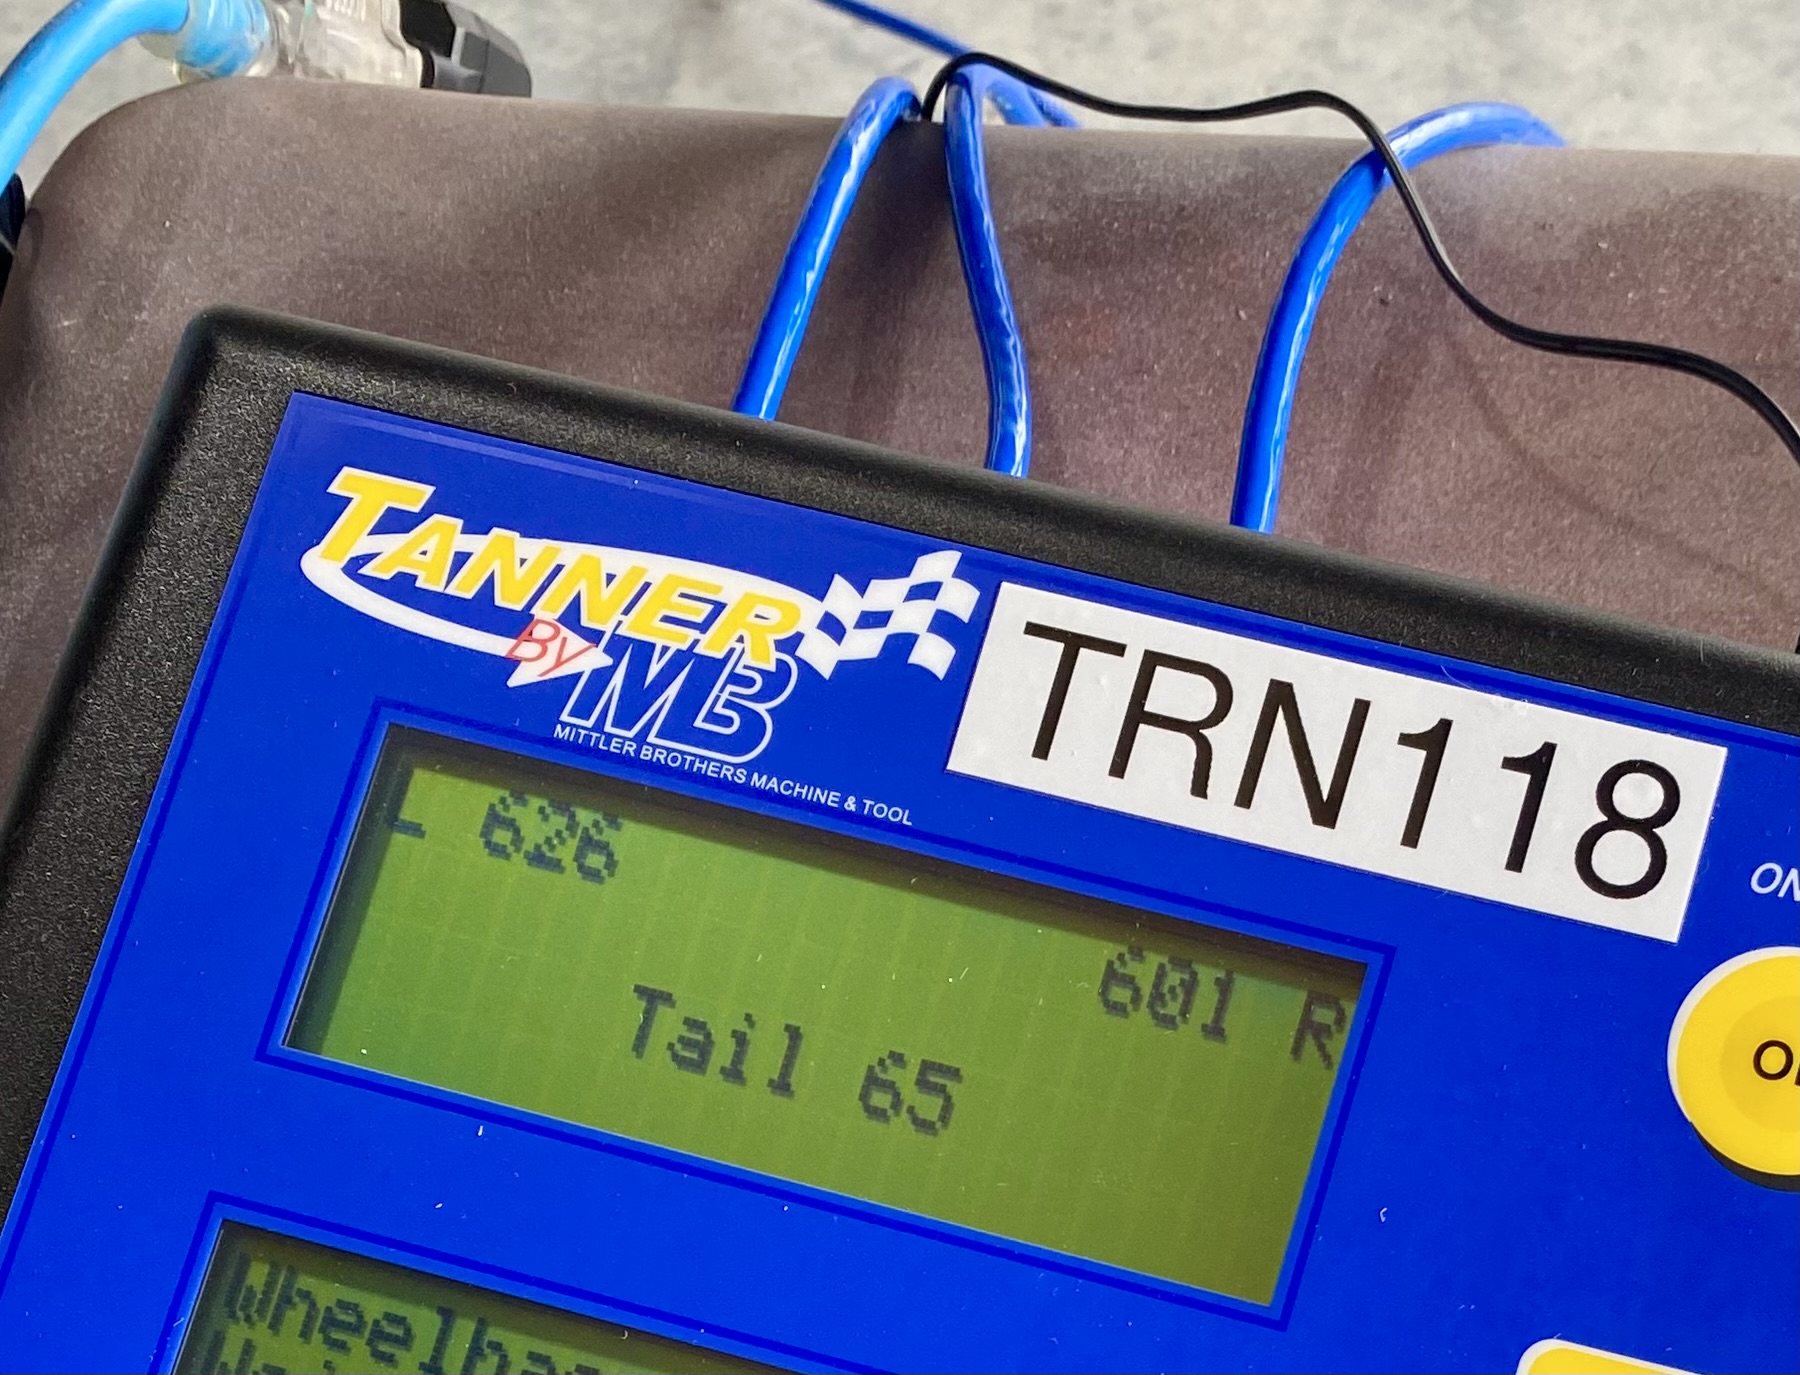
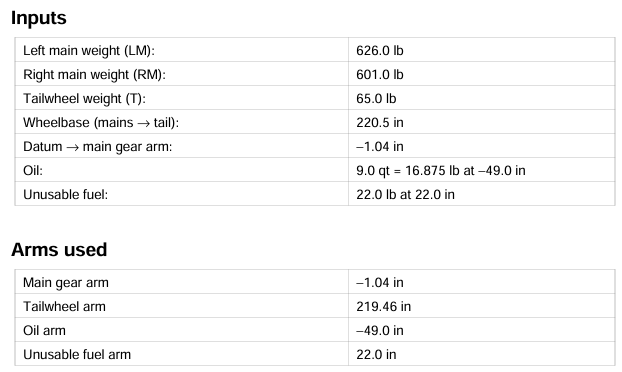
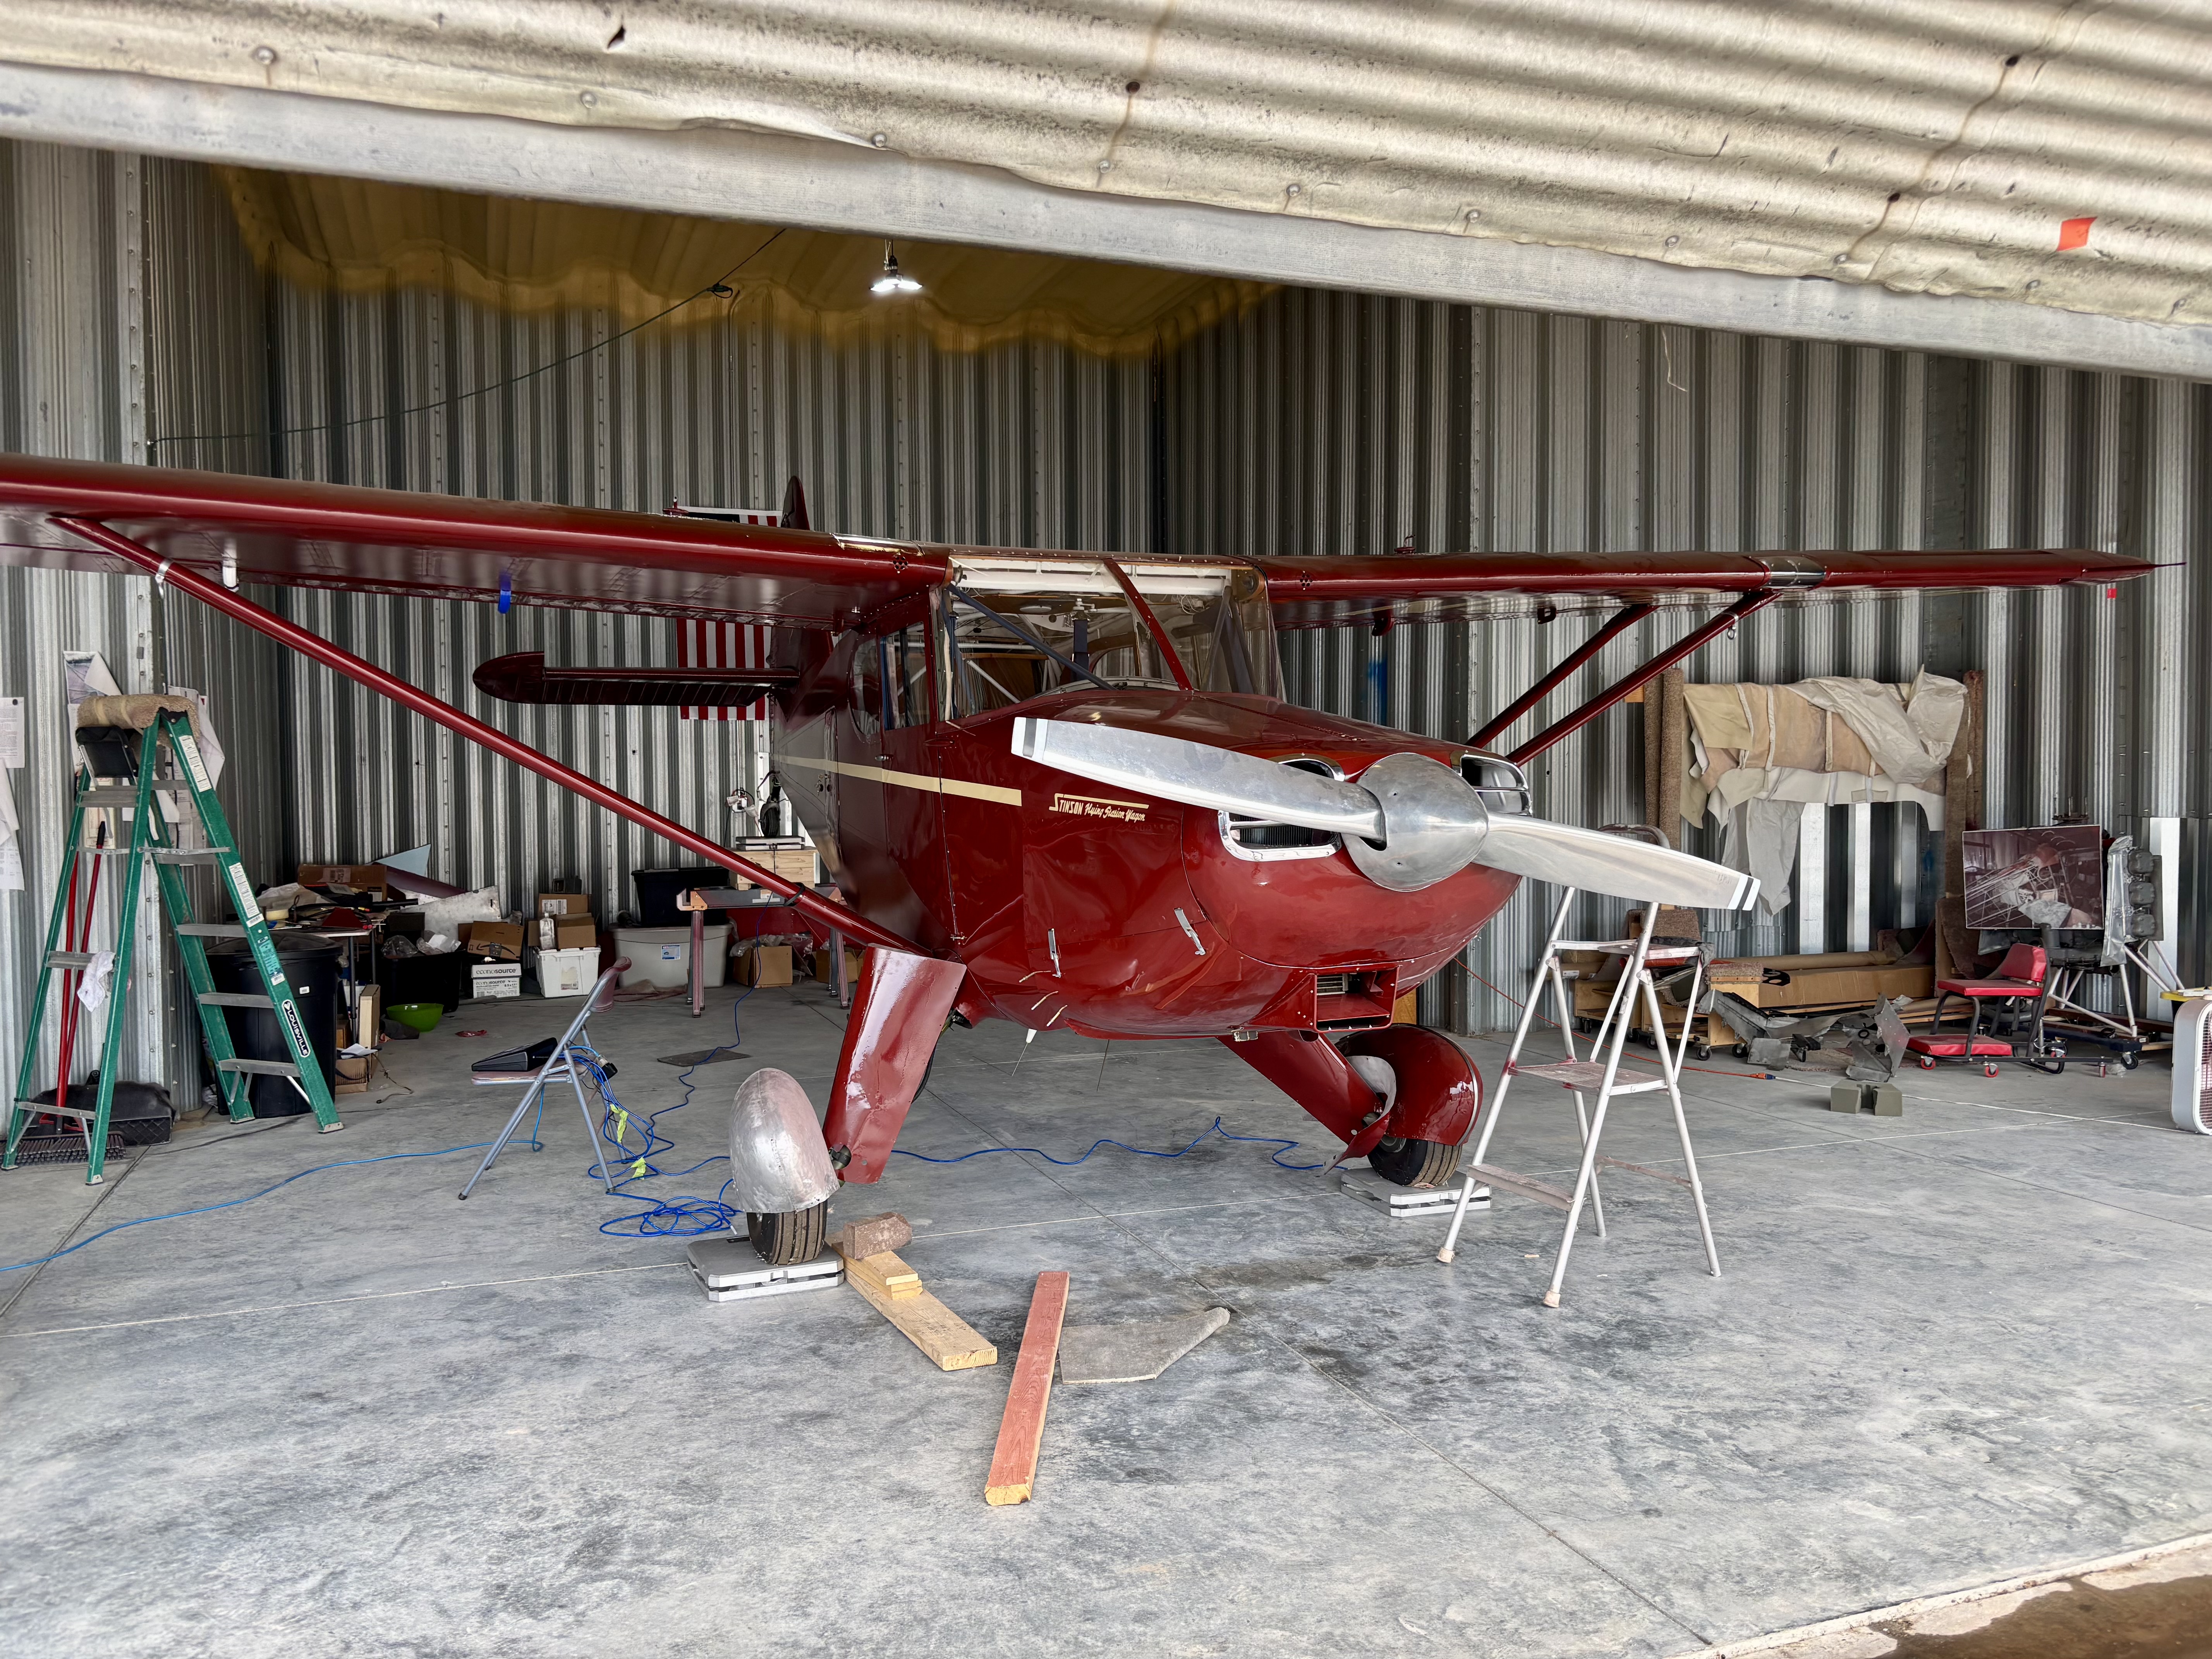
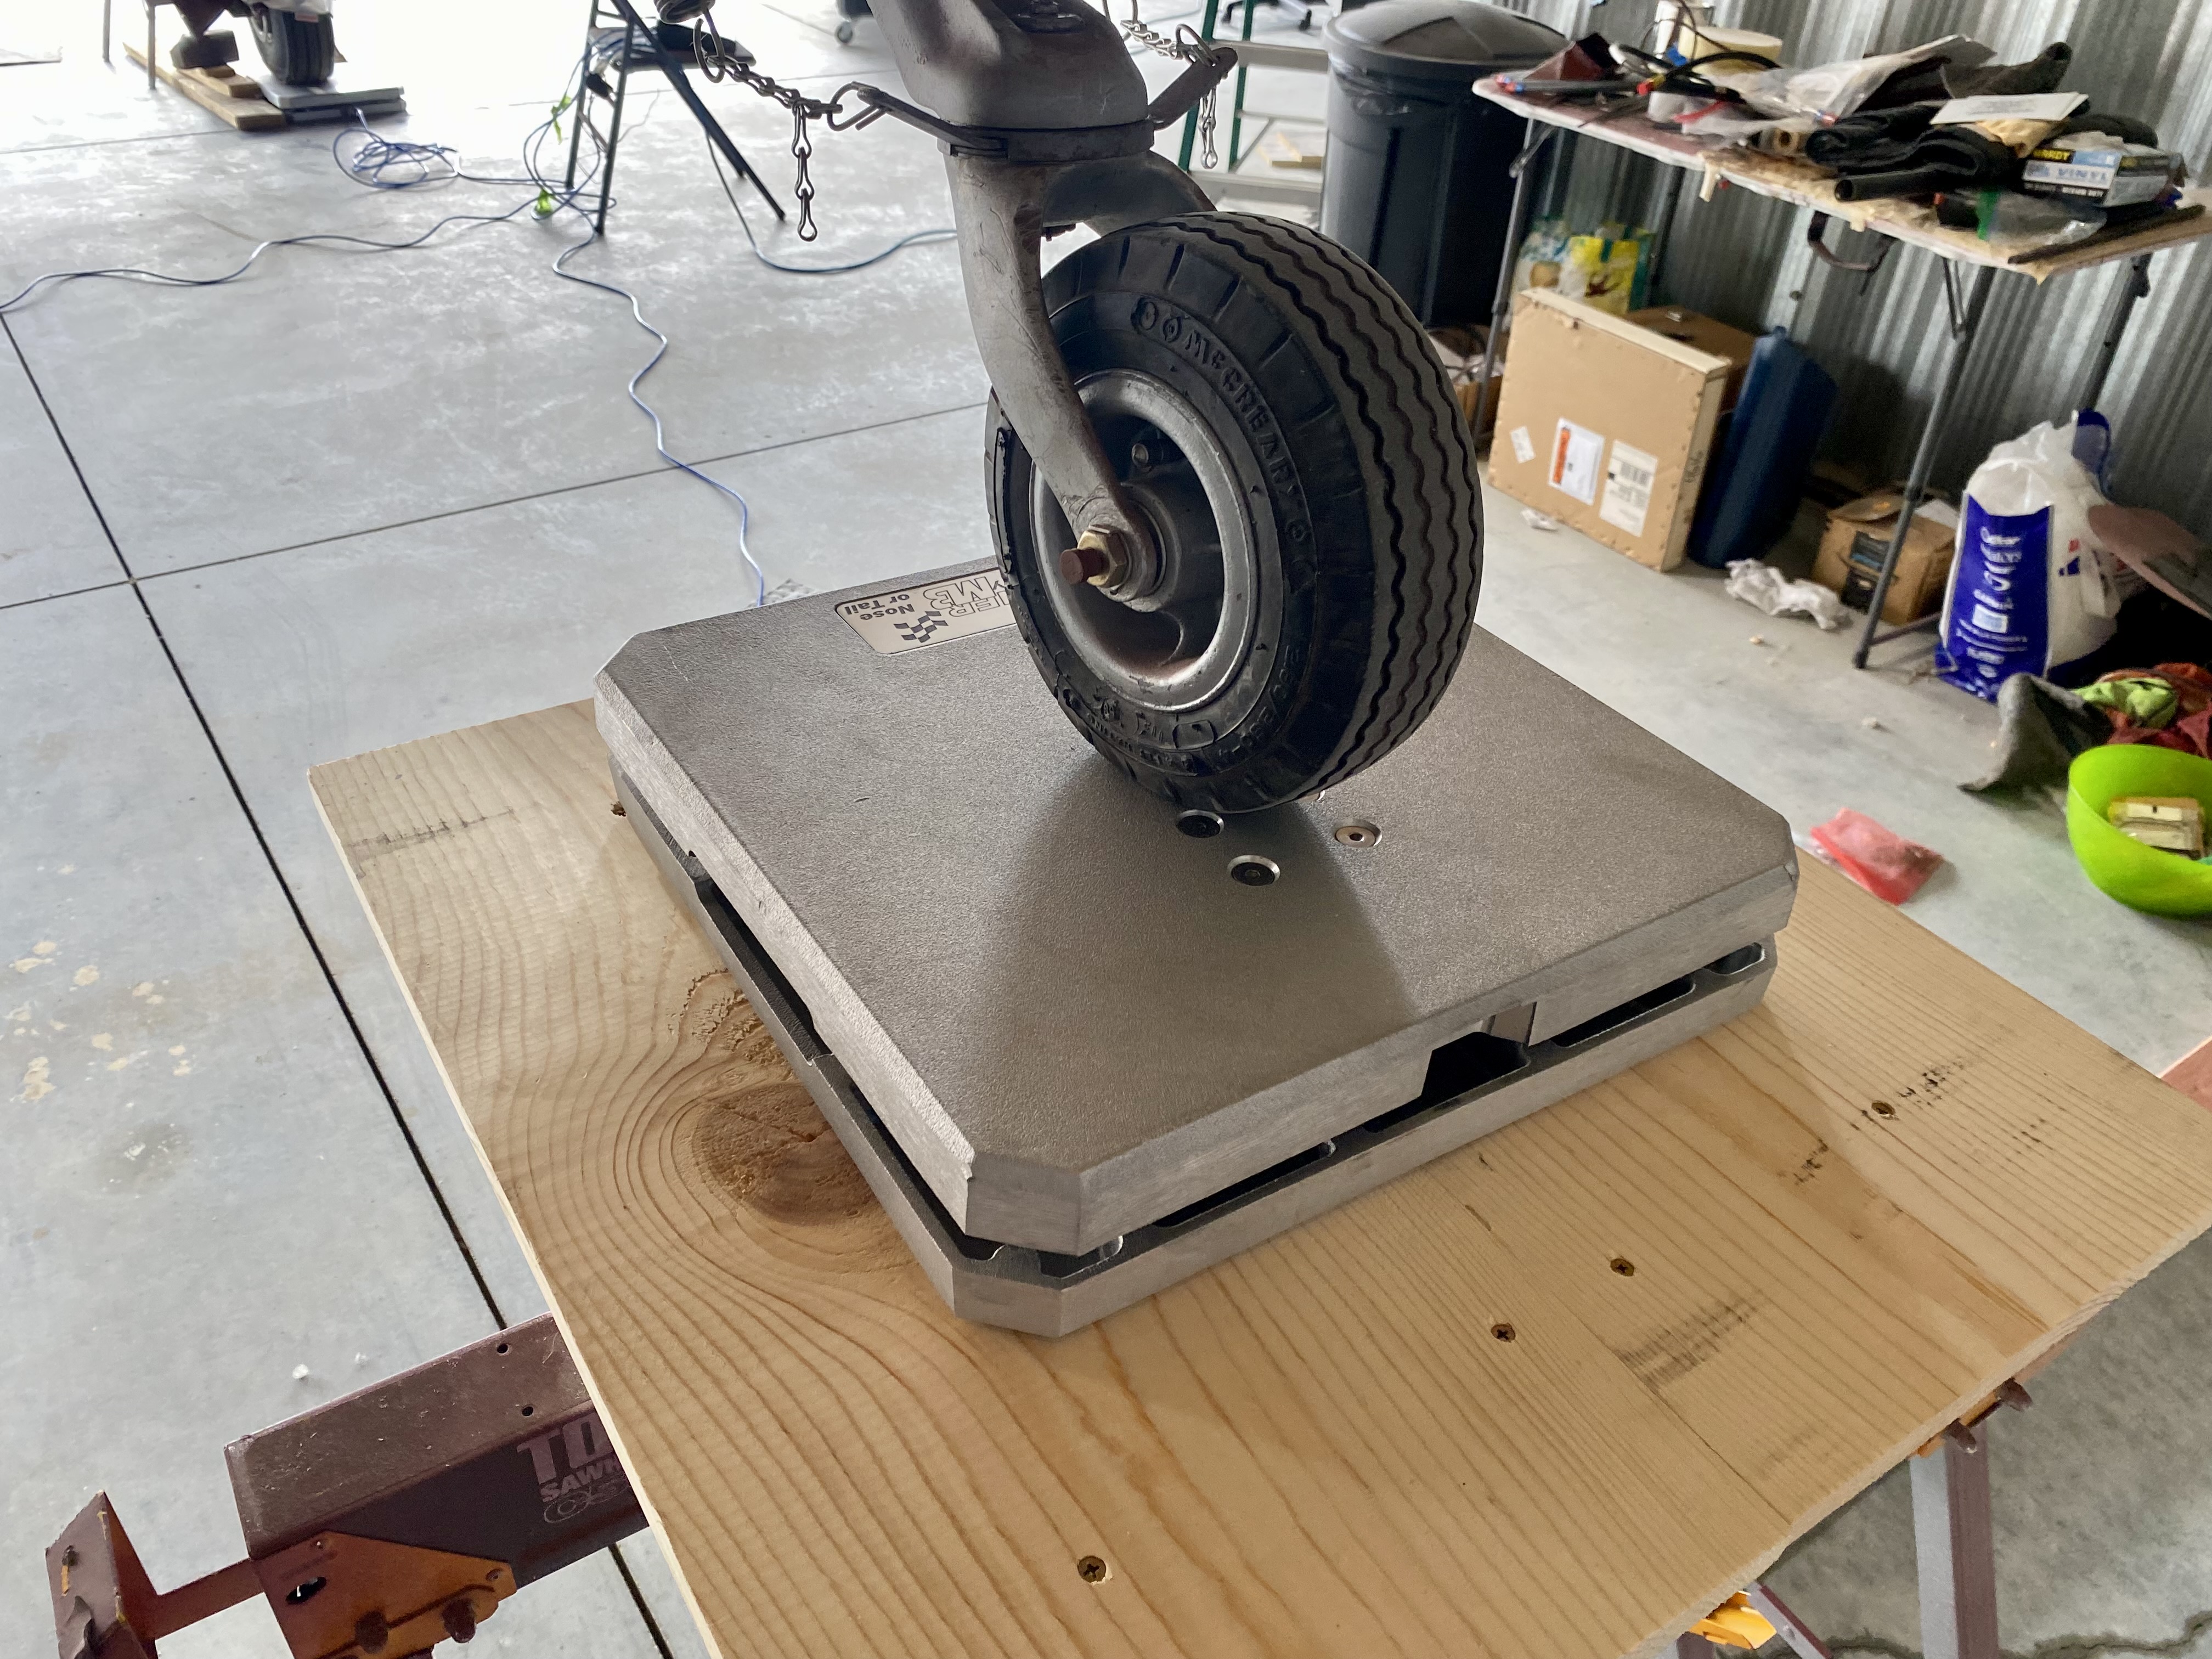
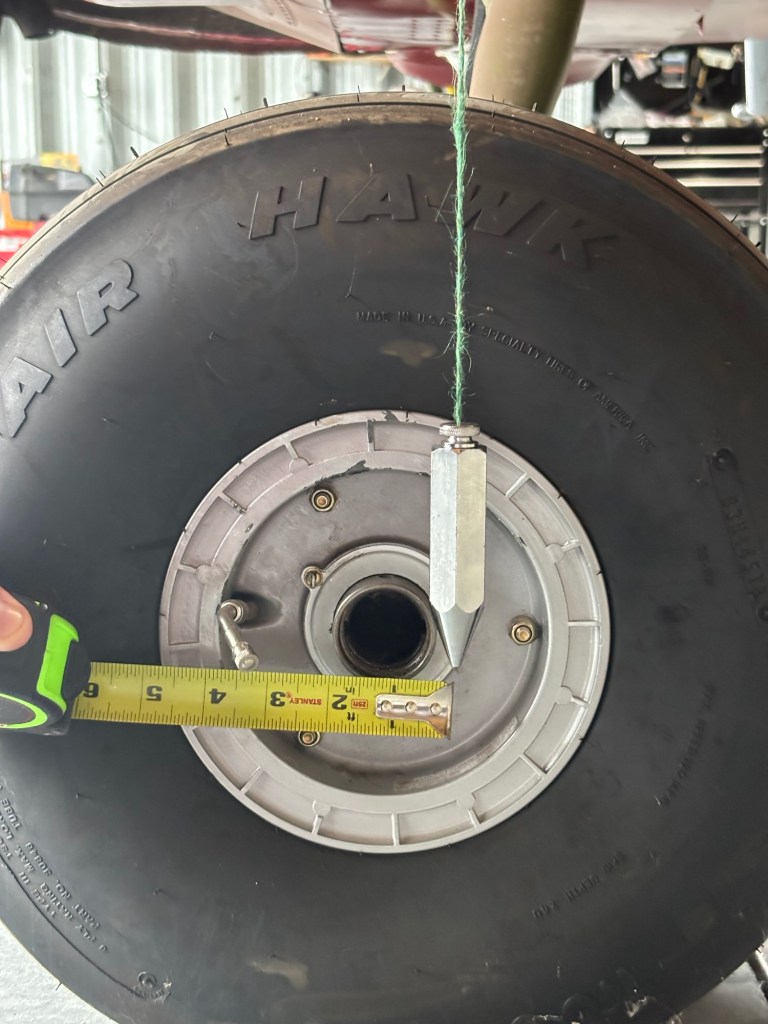
Performed a weight and balance on the Stinson this morning. Here are the preliminary figures: