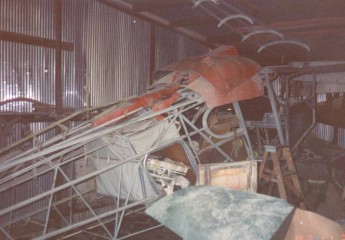
The restoration of a 1947 Stinson Station Wagon owned by our grandfather, Fritz Womack.
Wiring
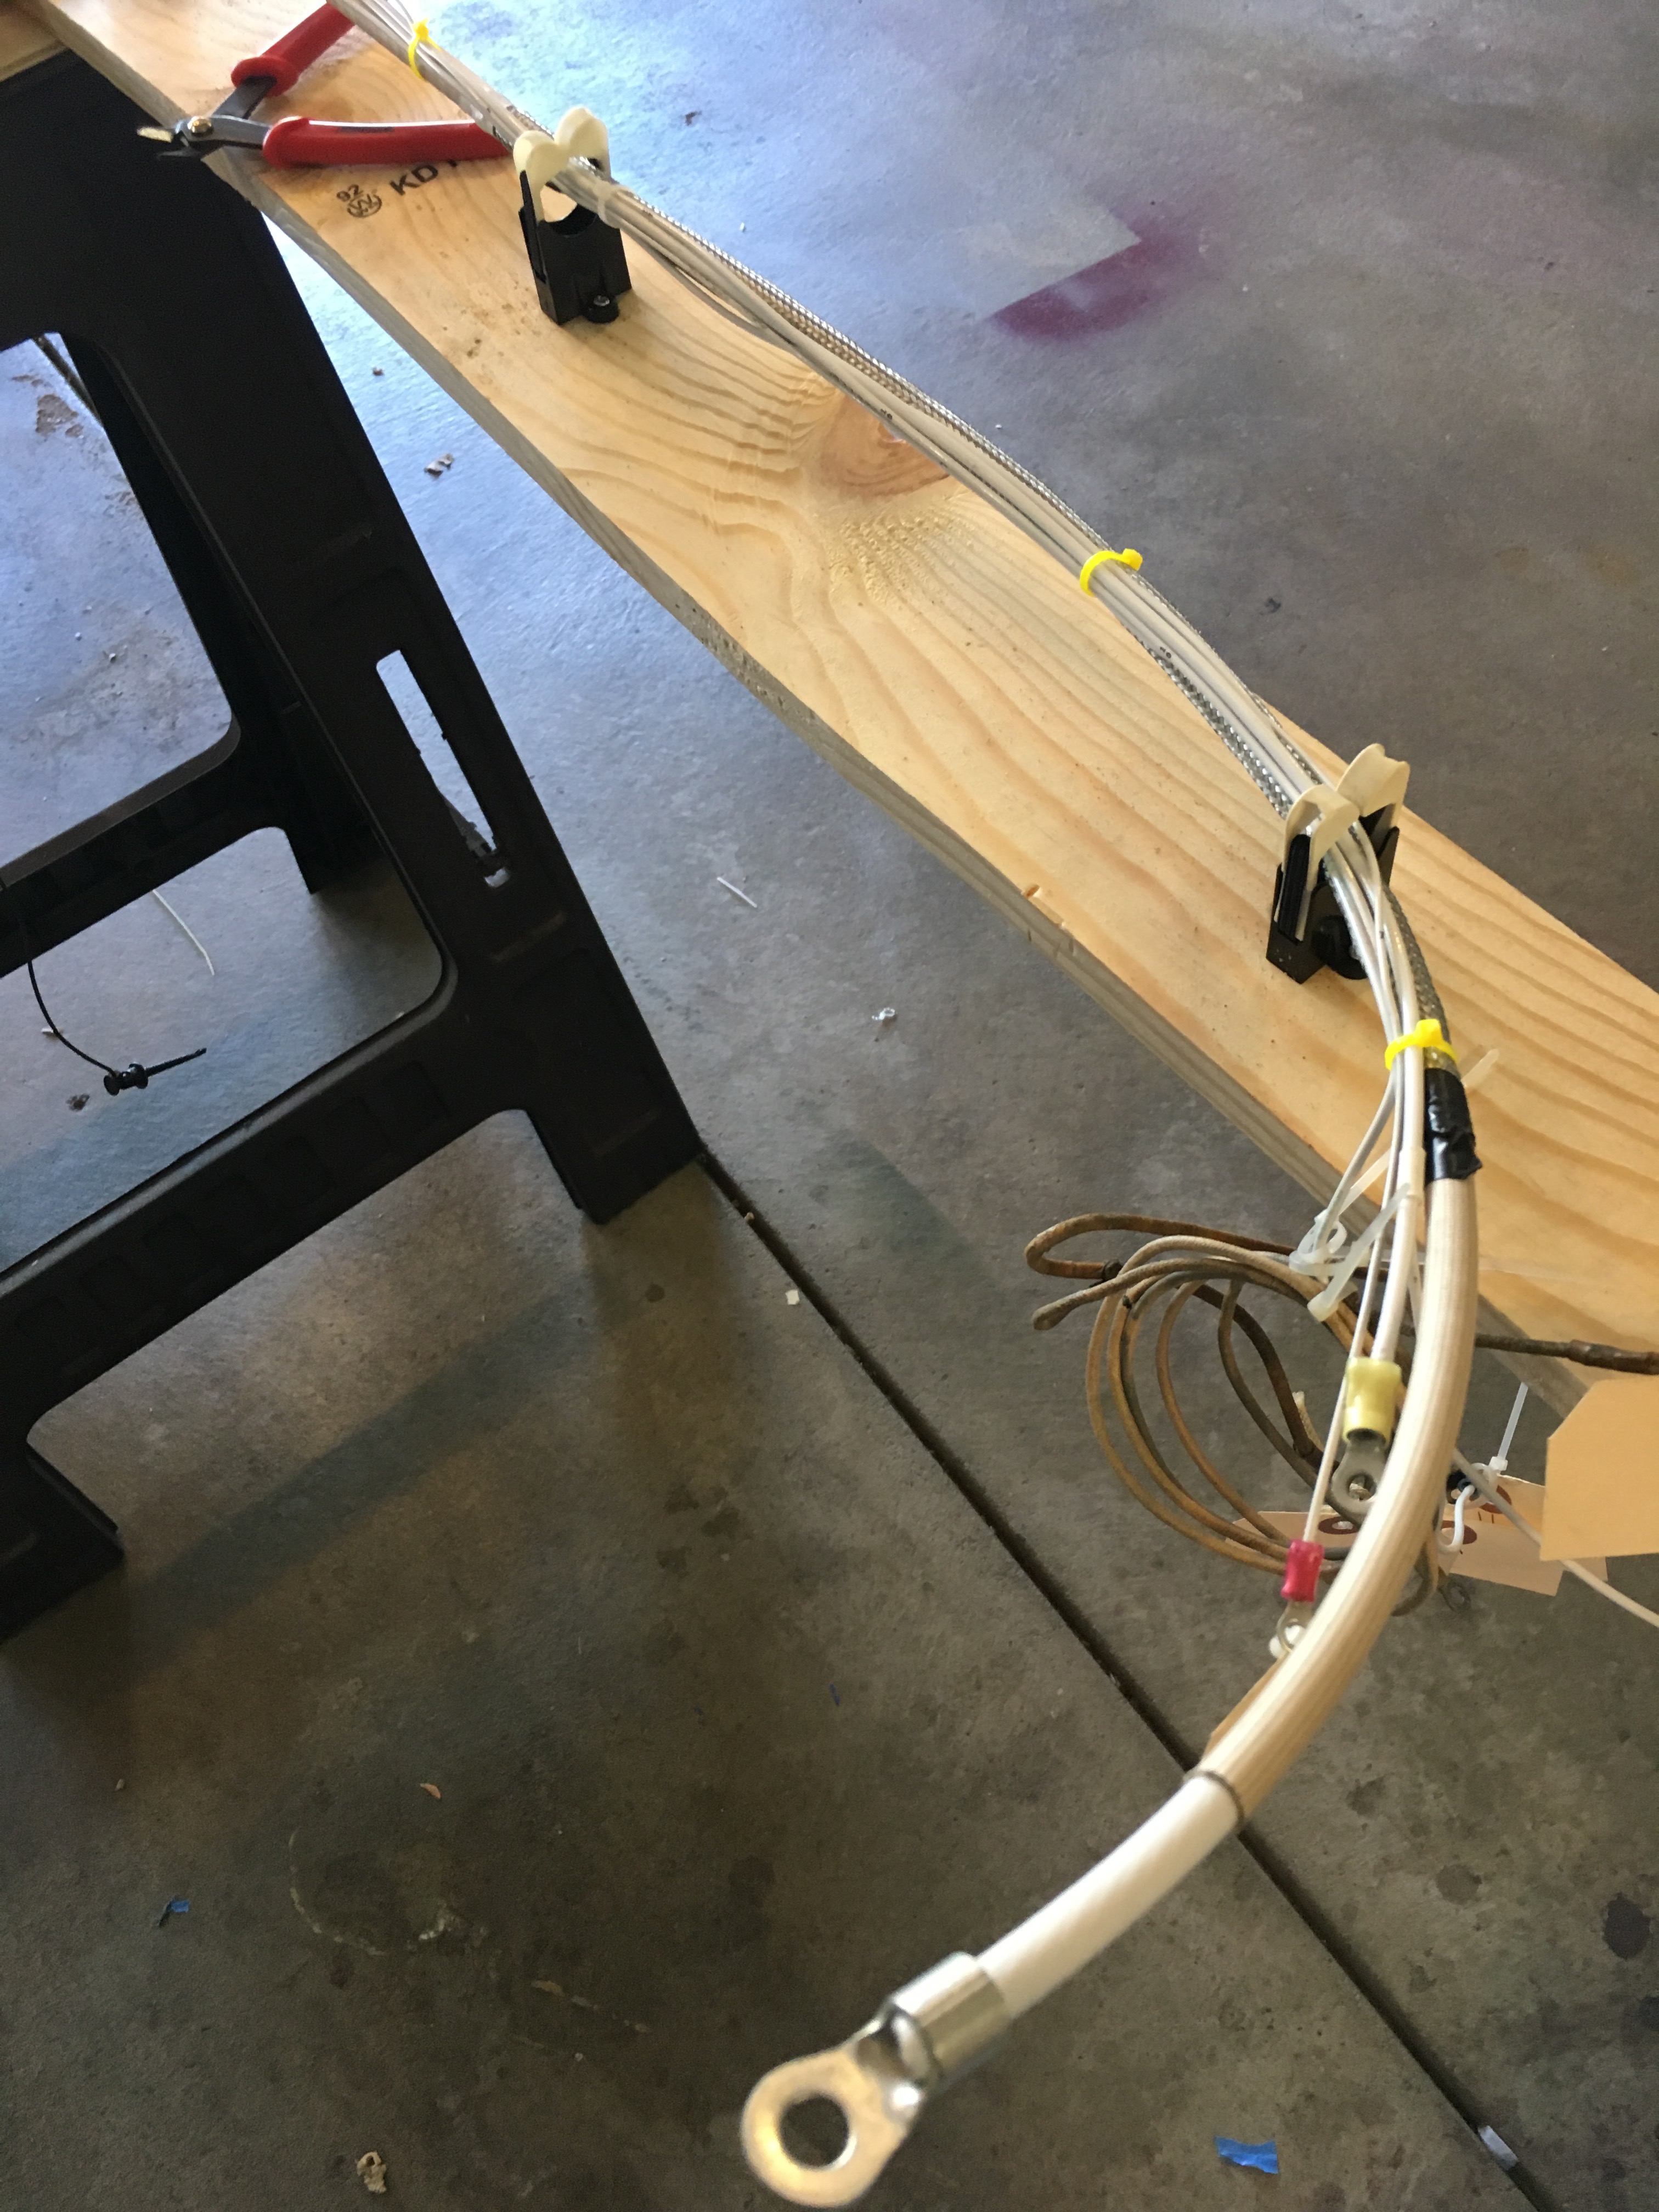
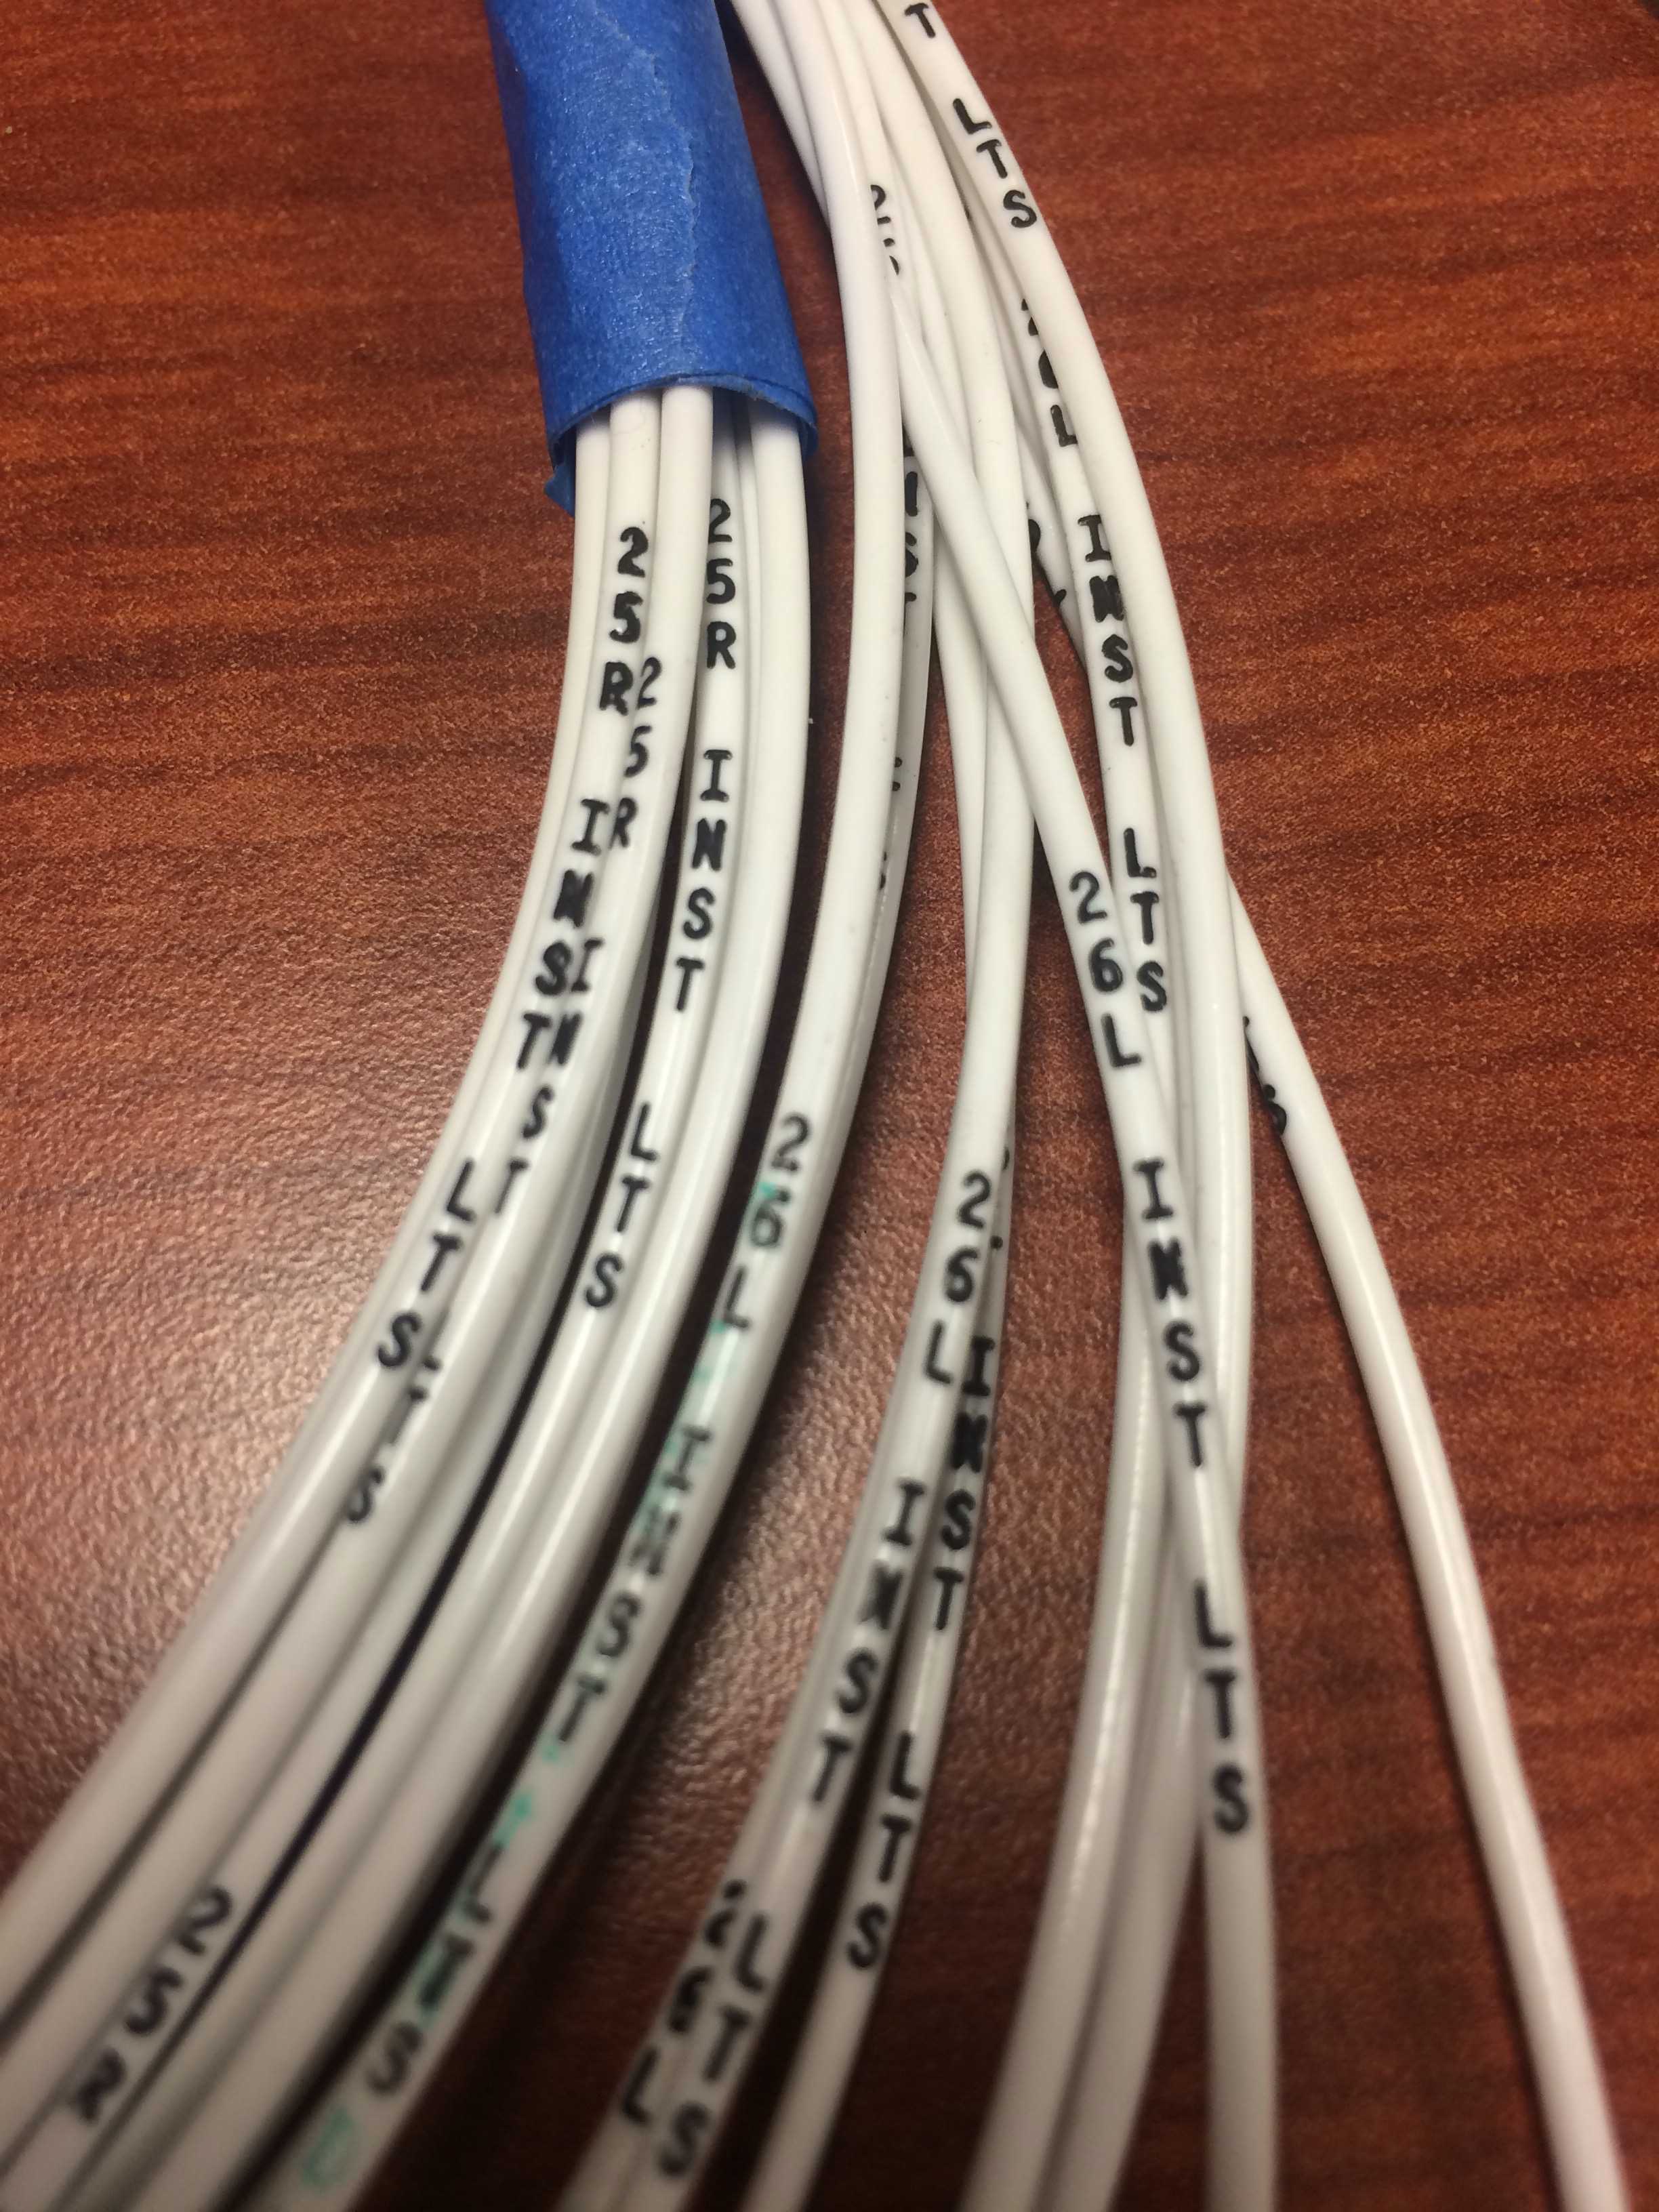
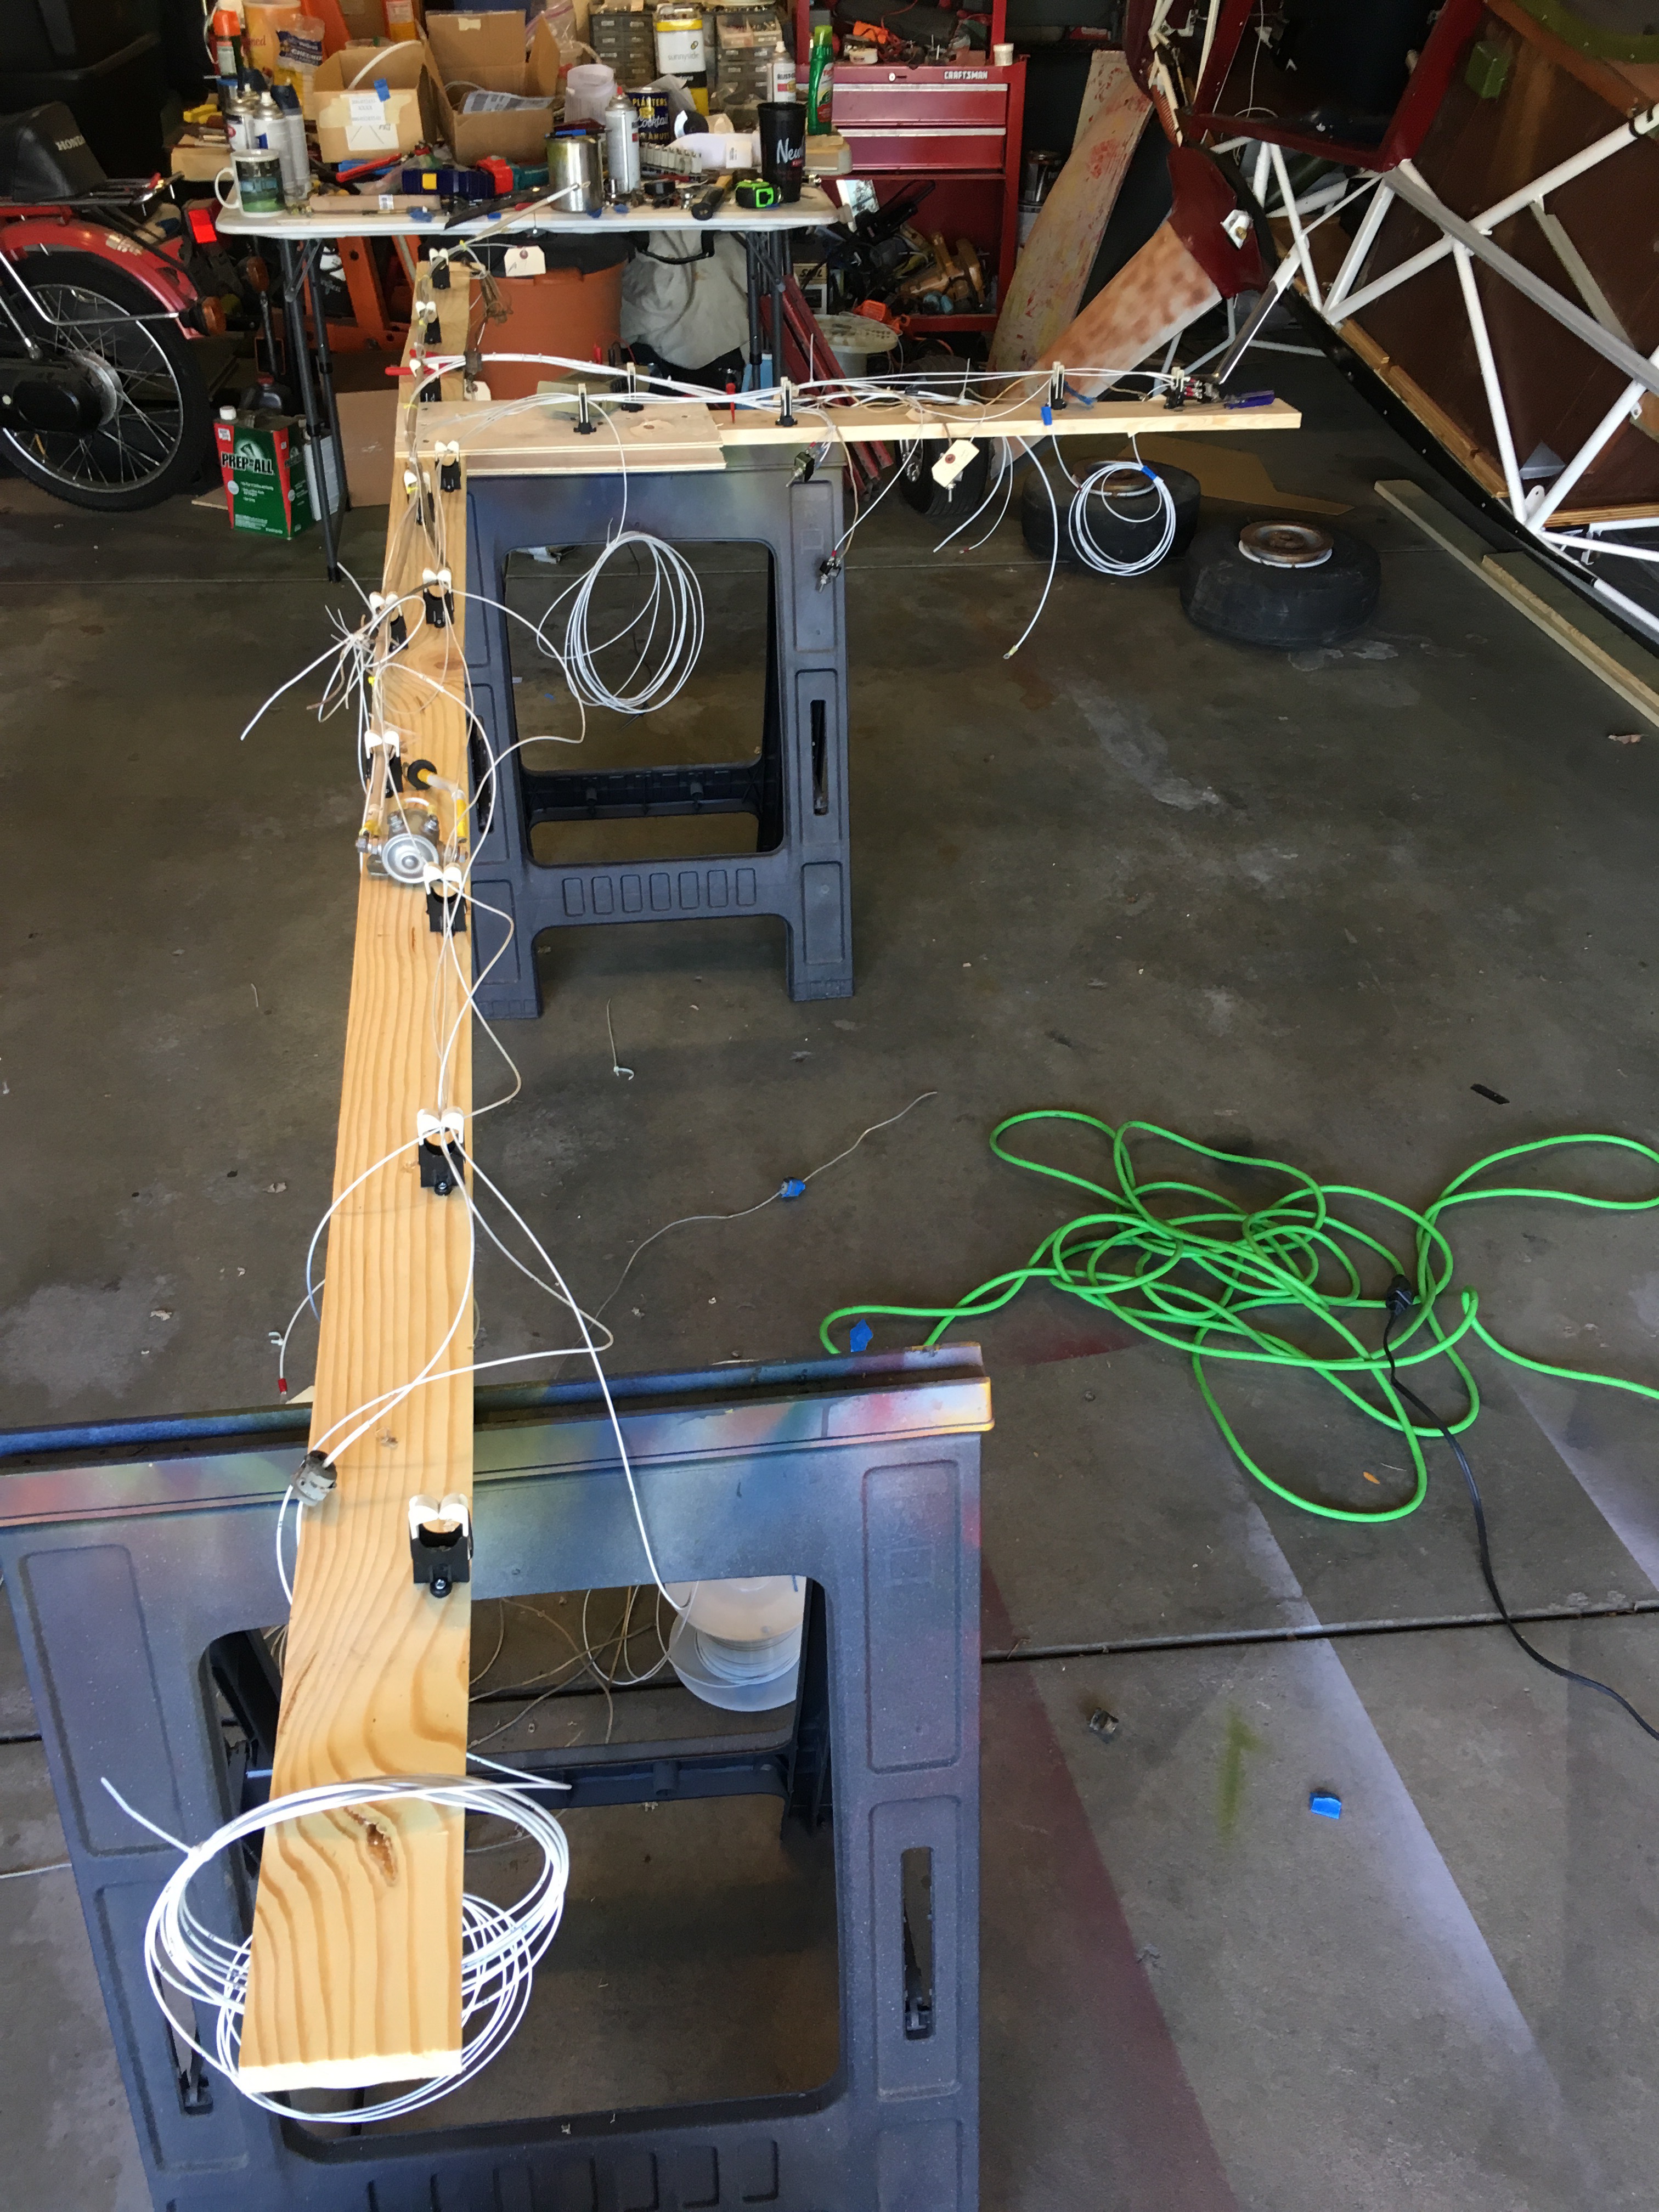
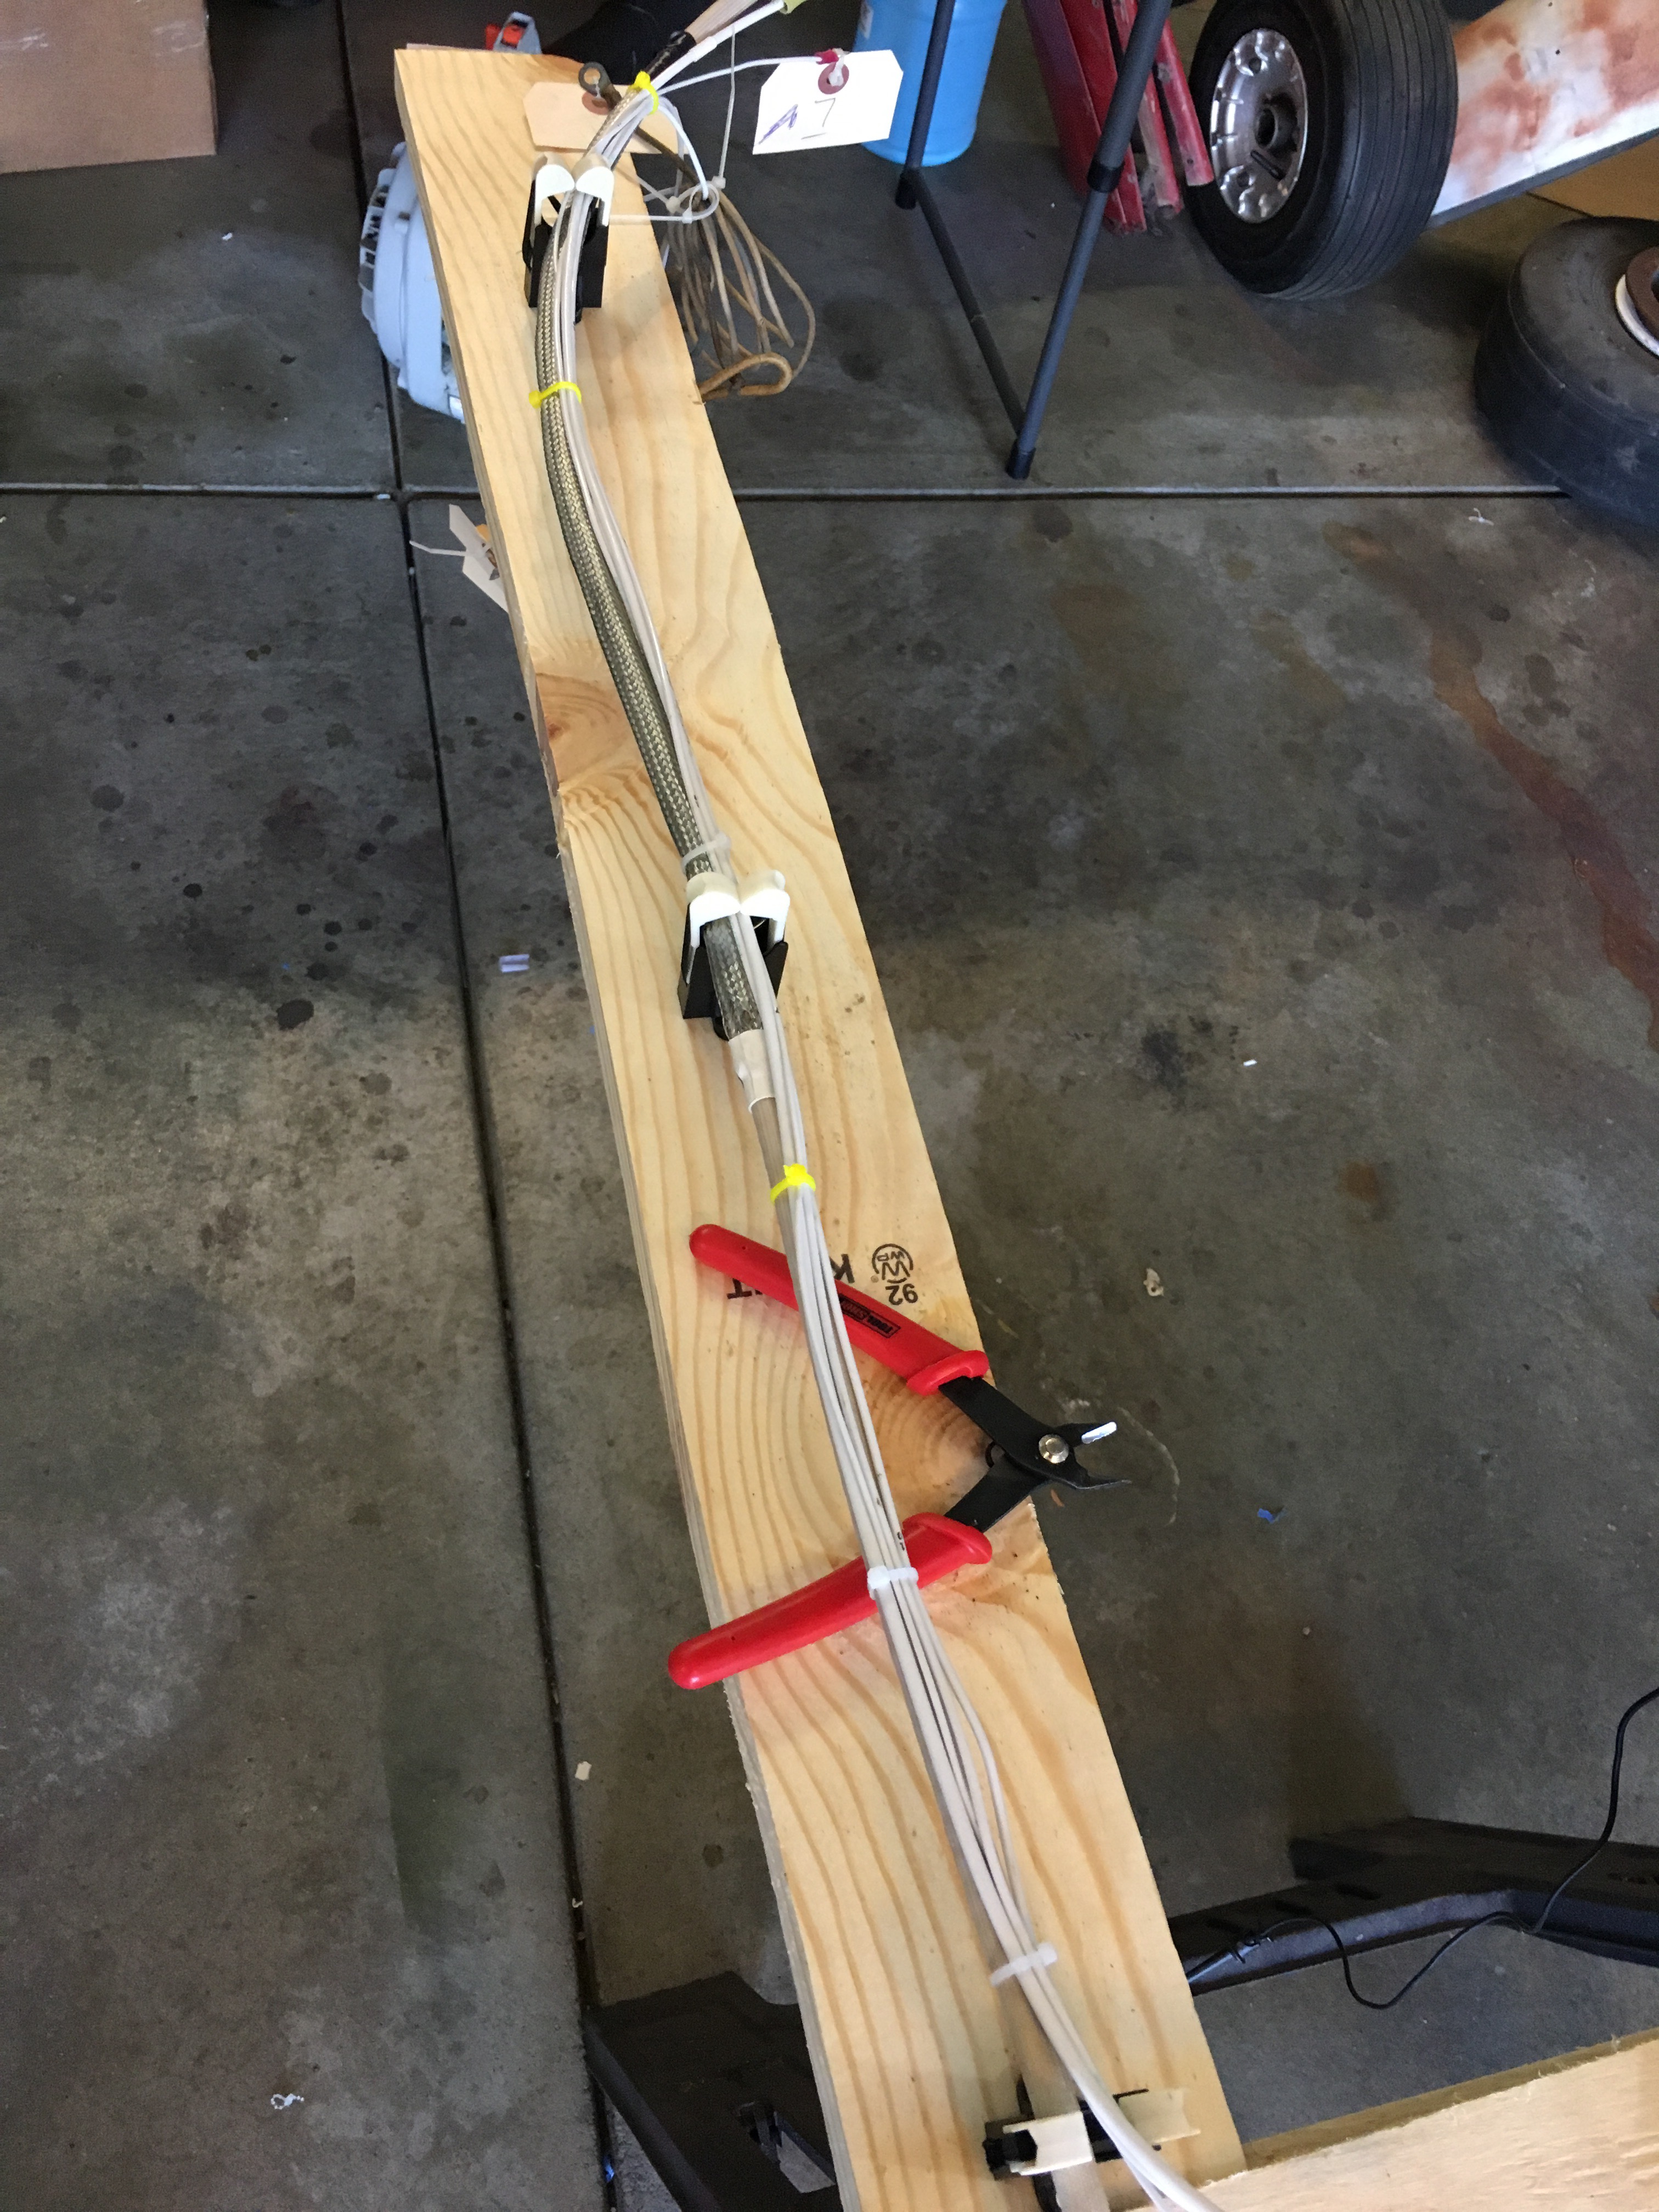
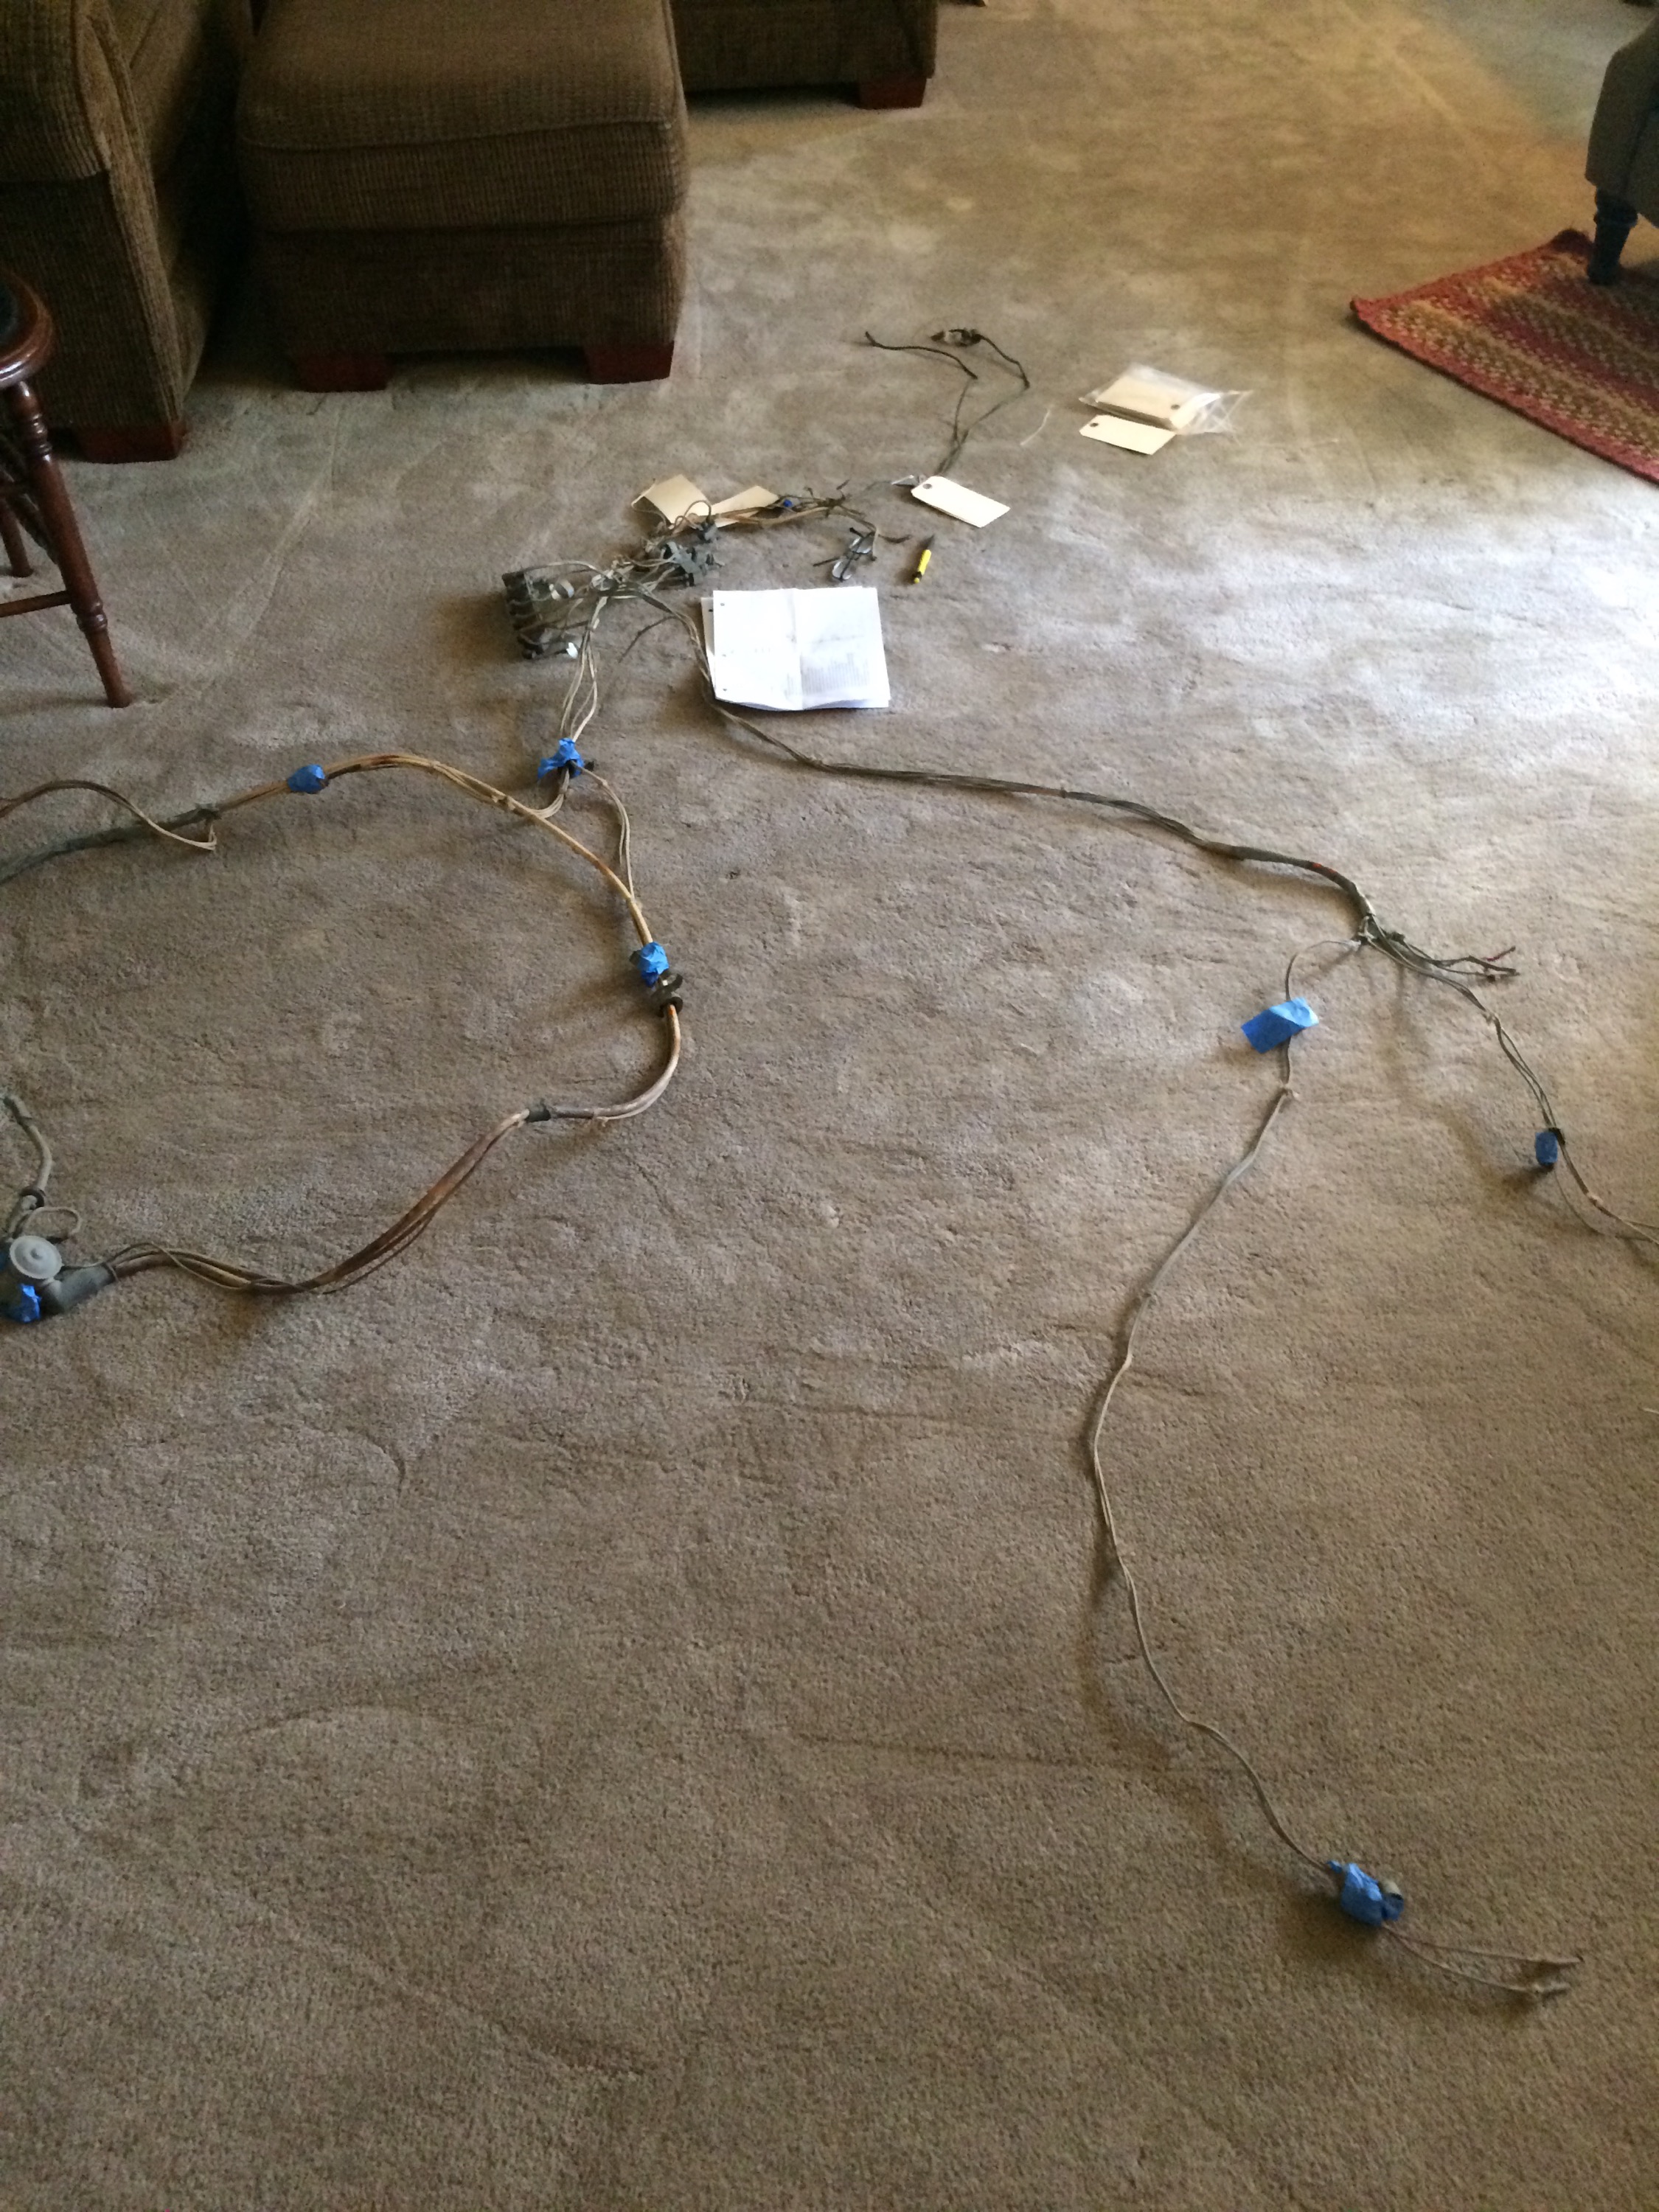
Photos of the wiring process. I removed the complete wiring harness, built a wiring board around the old harness, measured all the individual wire lengths, and then replaced each individual wire after I stamped and cut the wires to their proper lengths, leaving a bit extra on each cut.
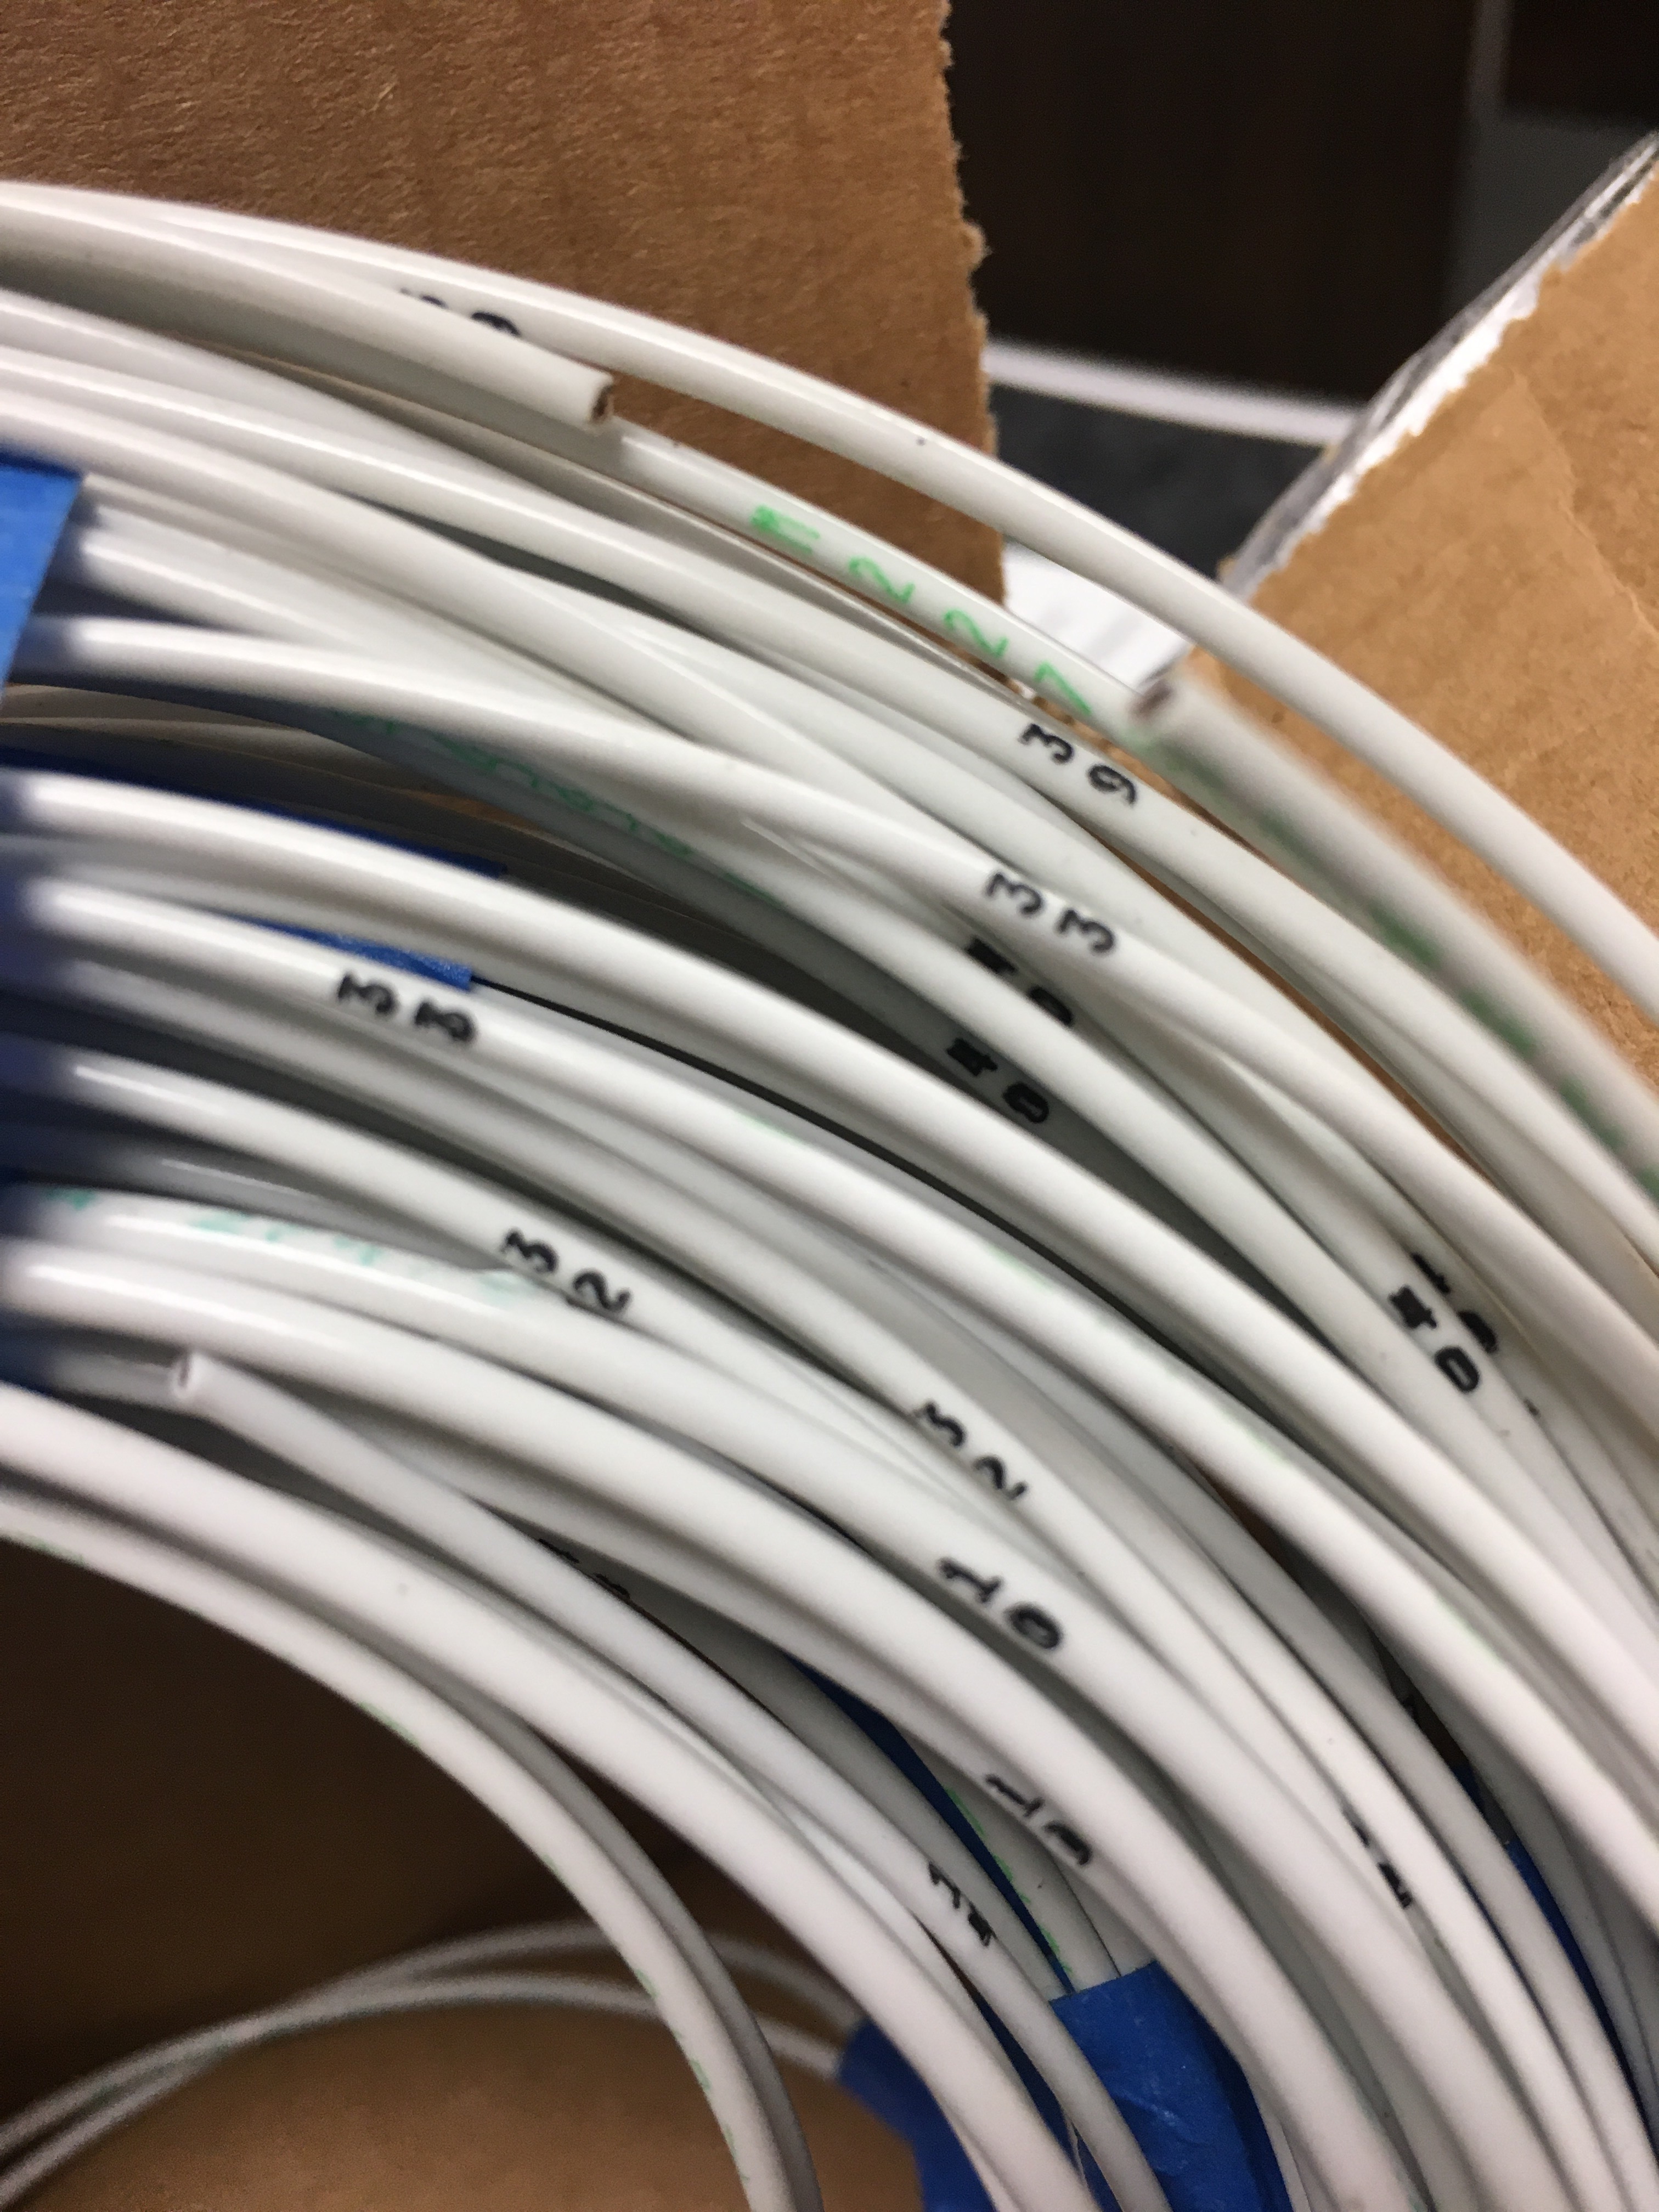
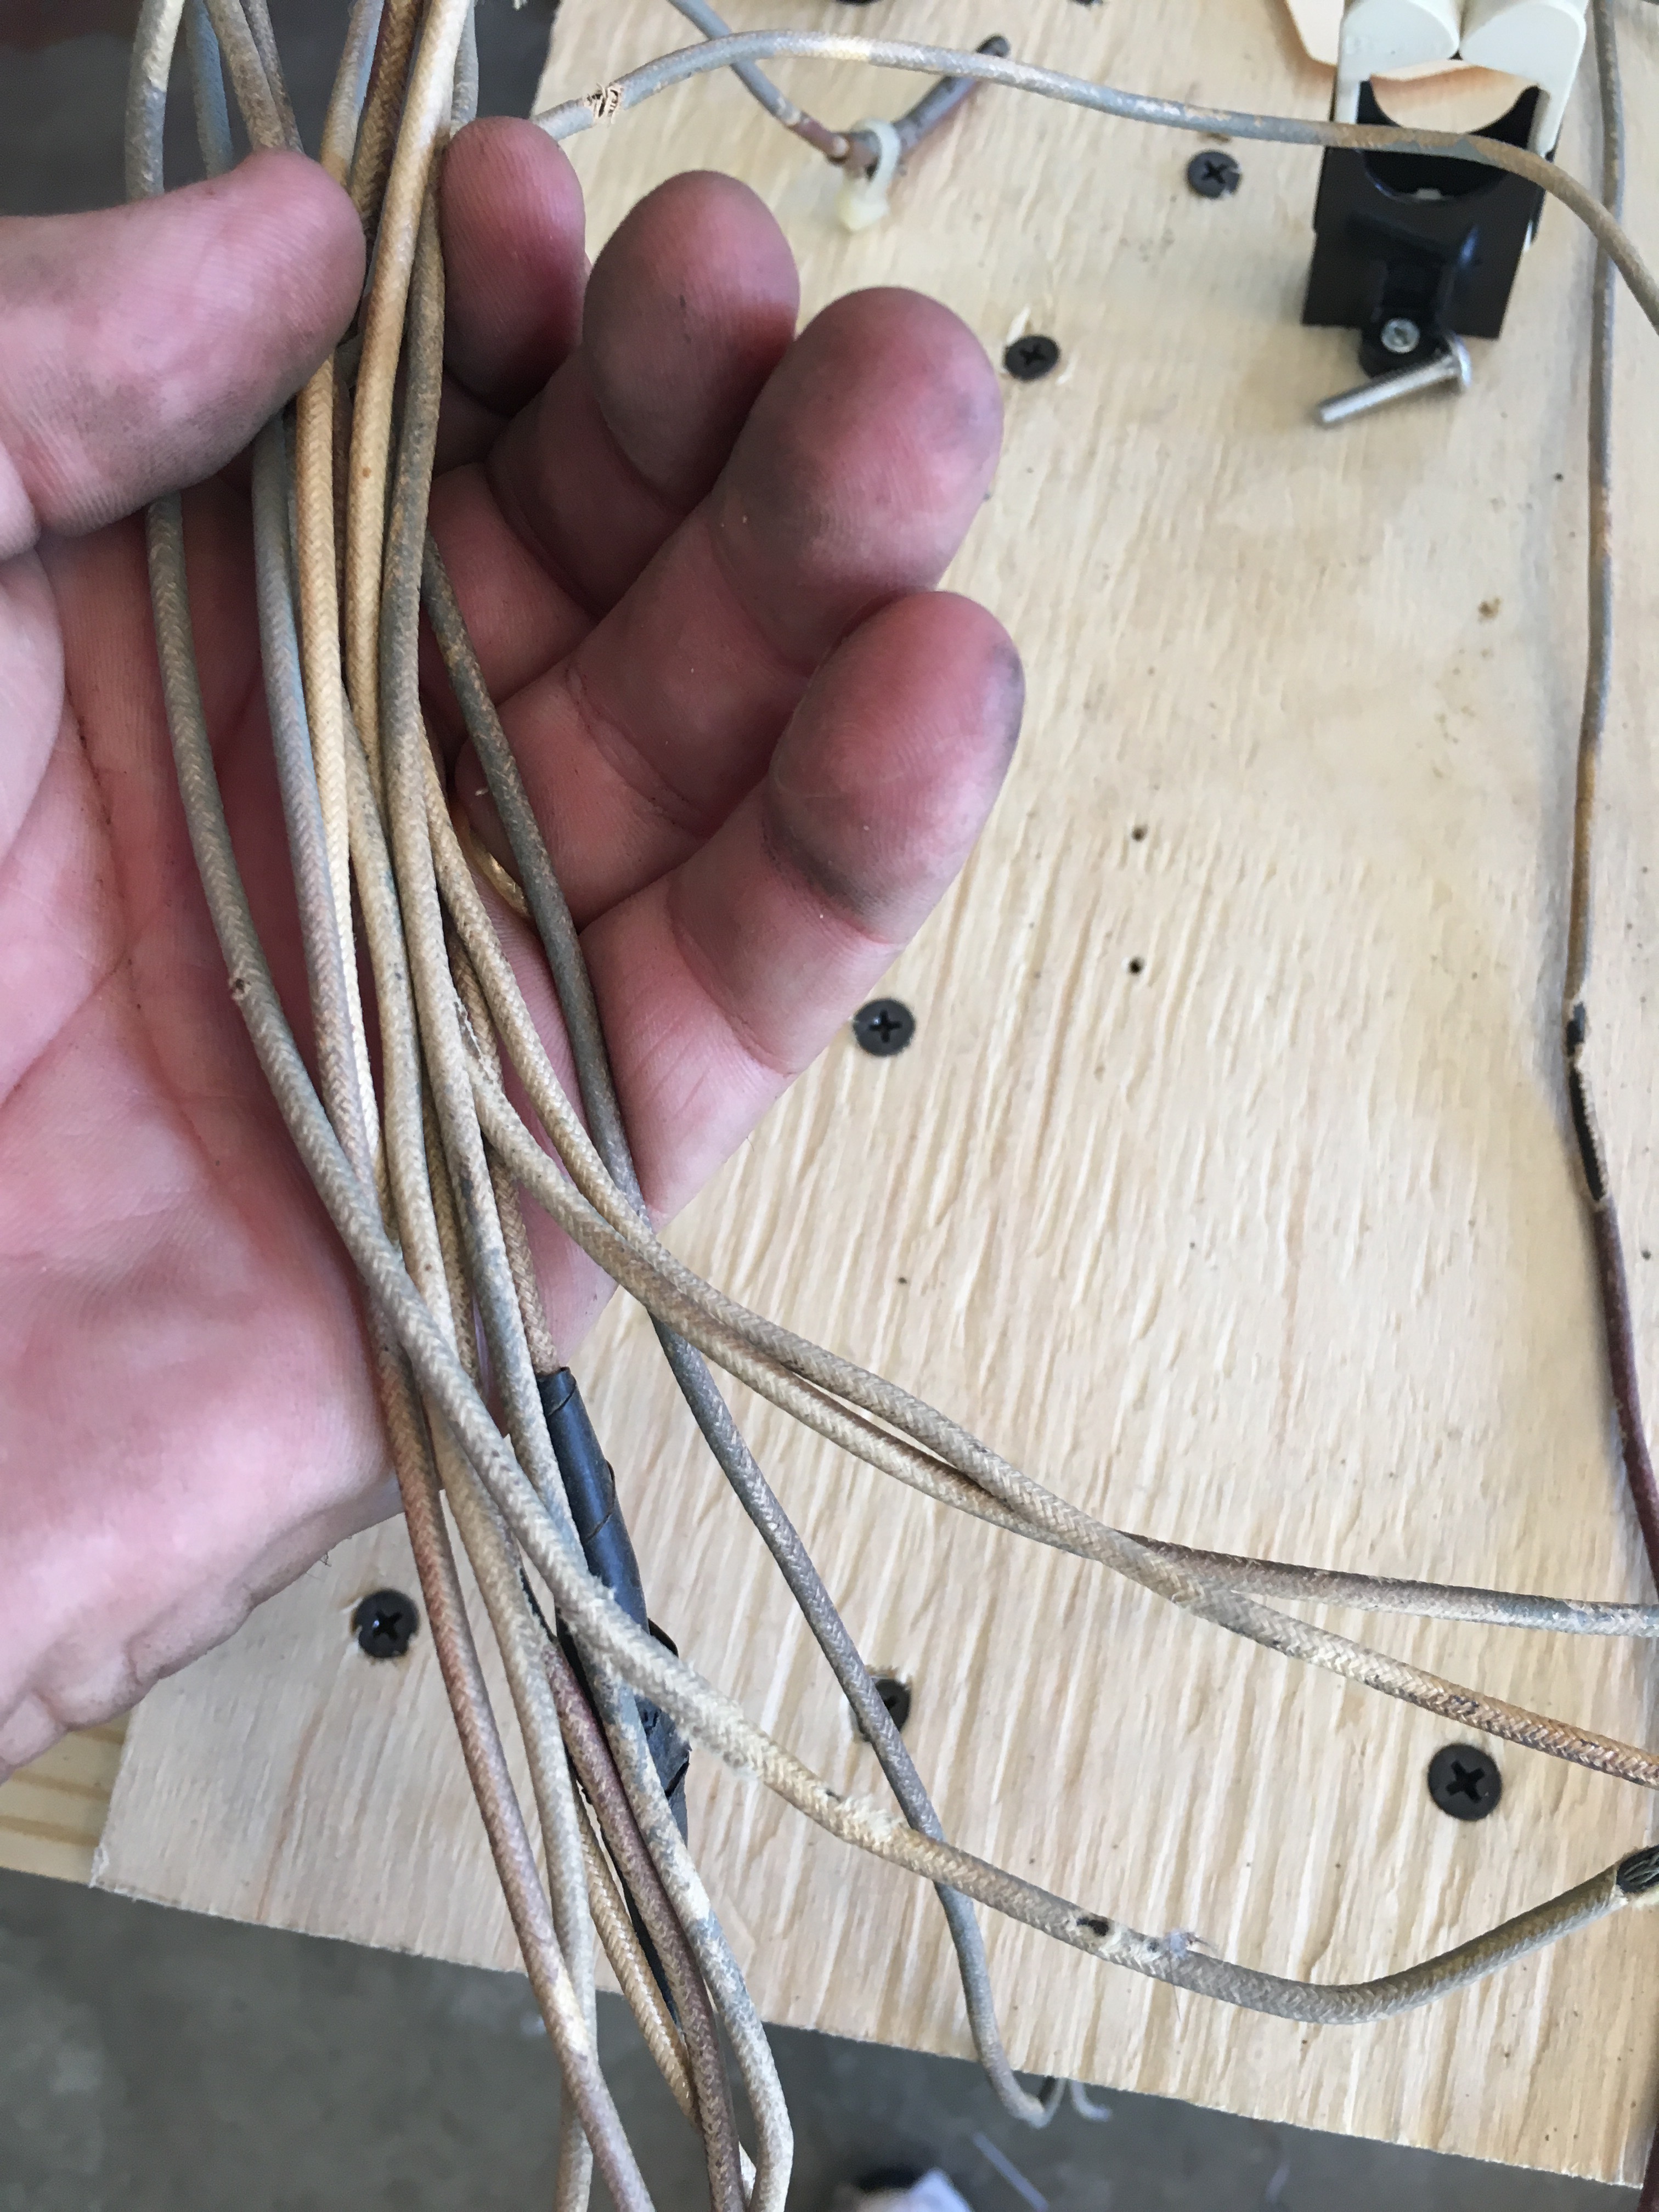
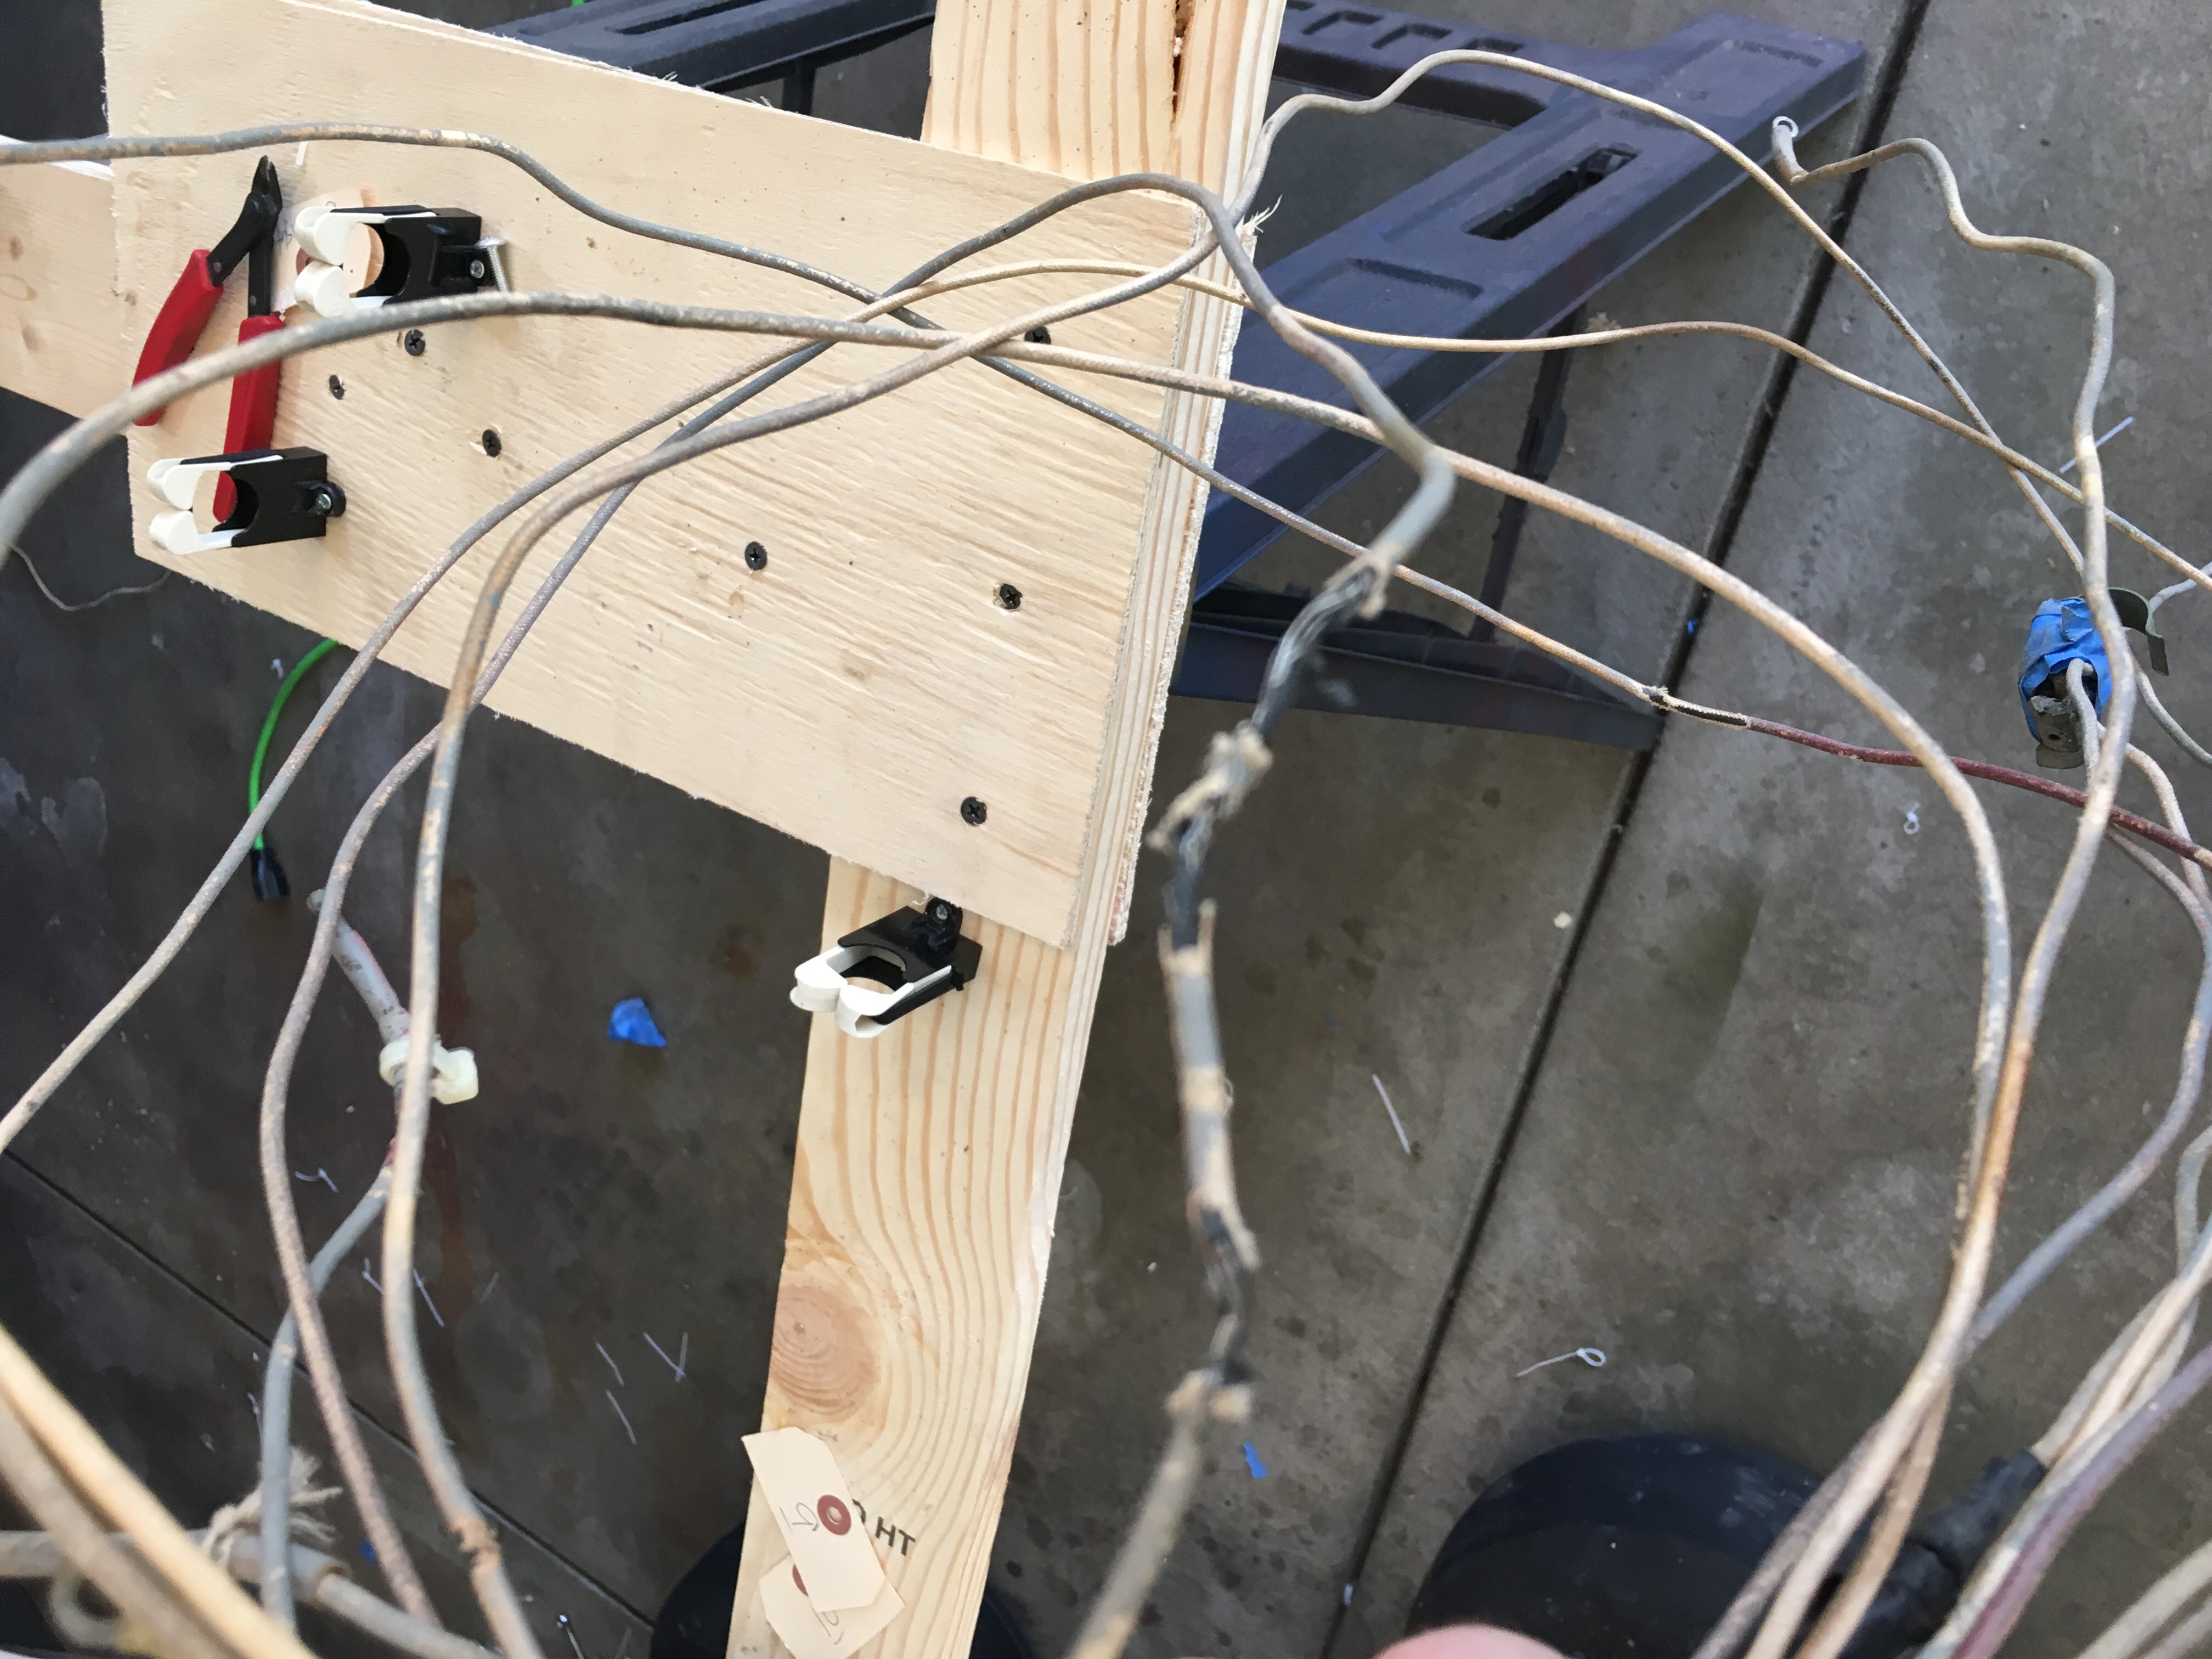
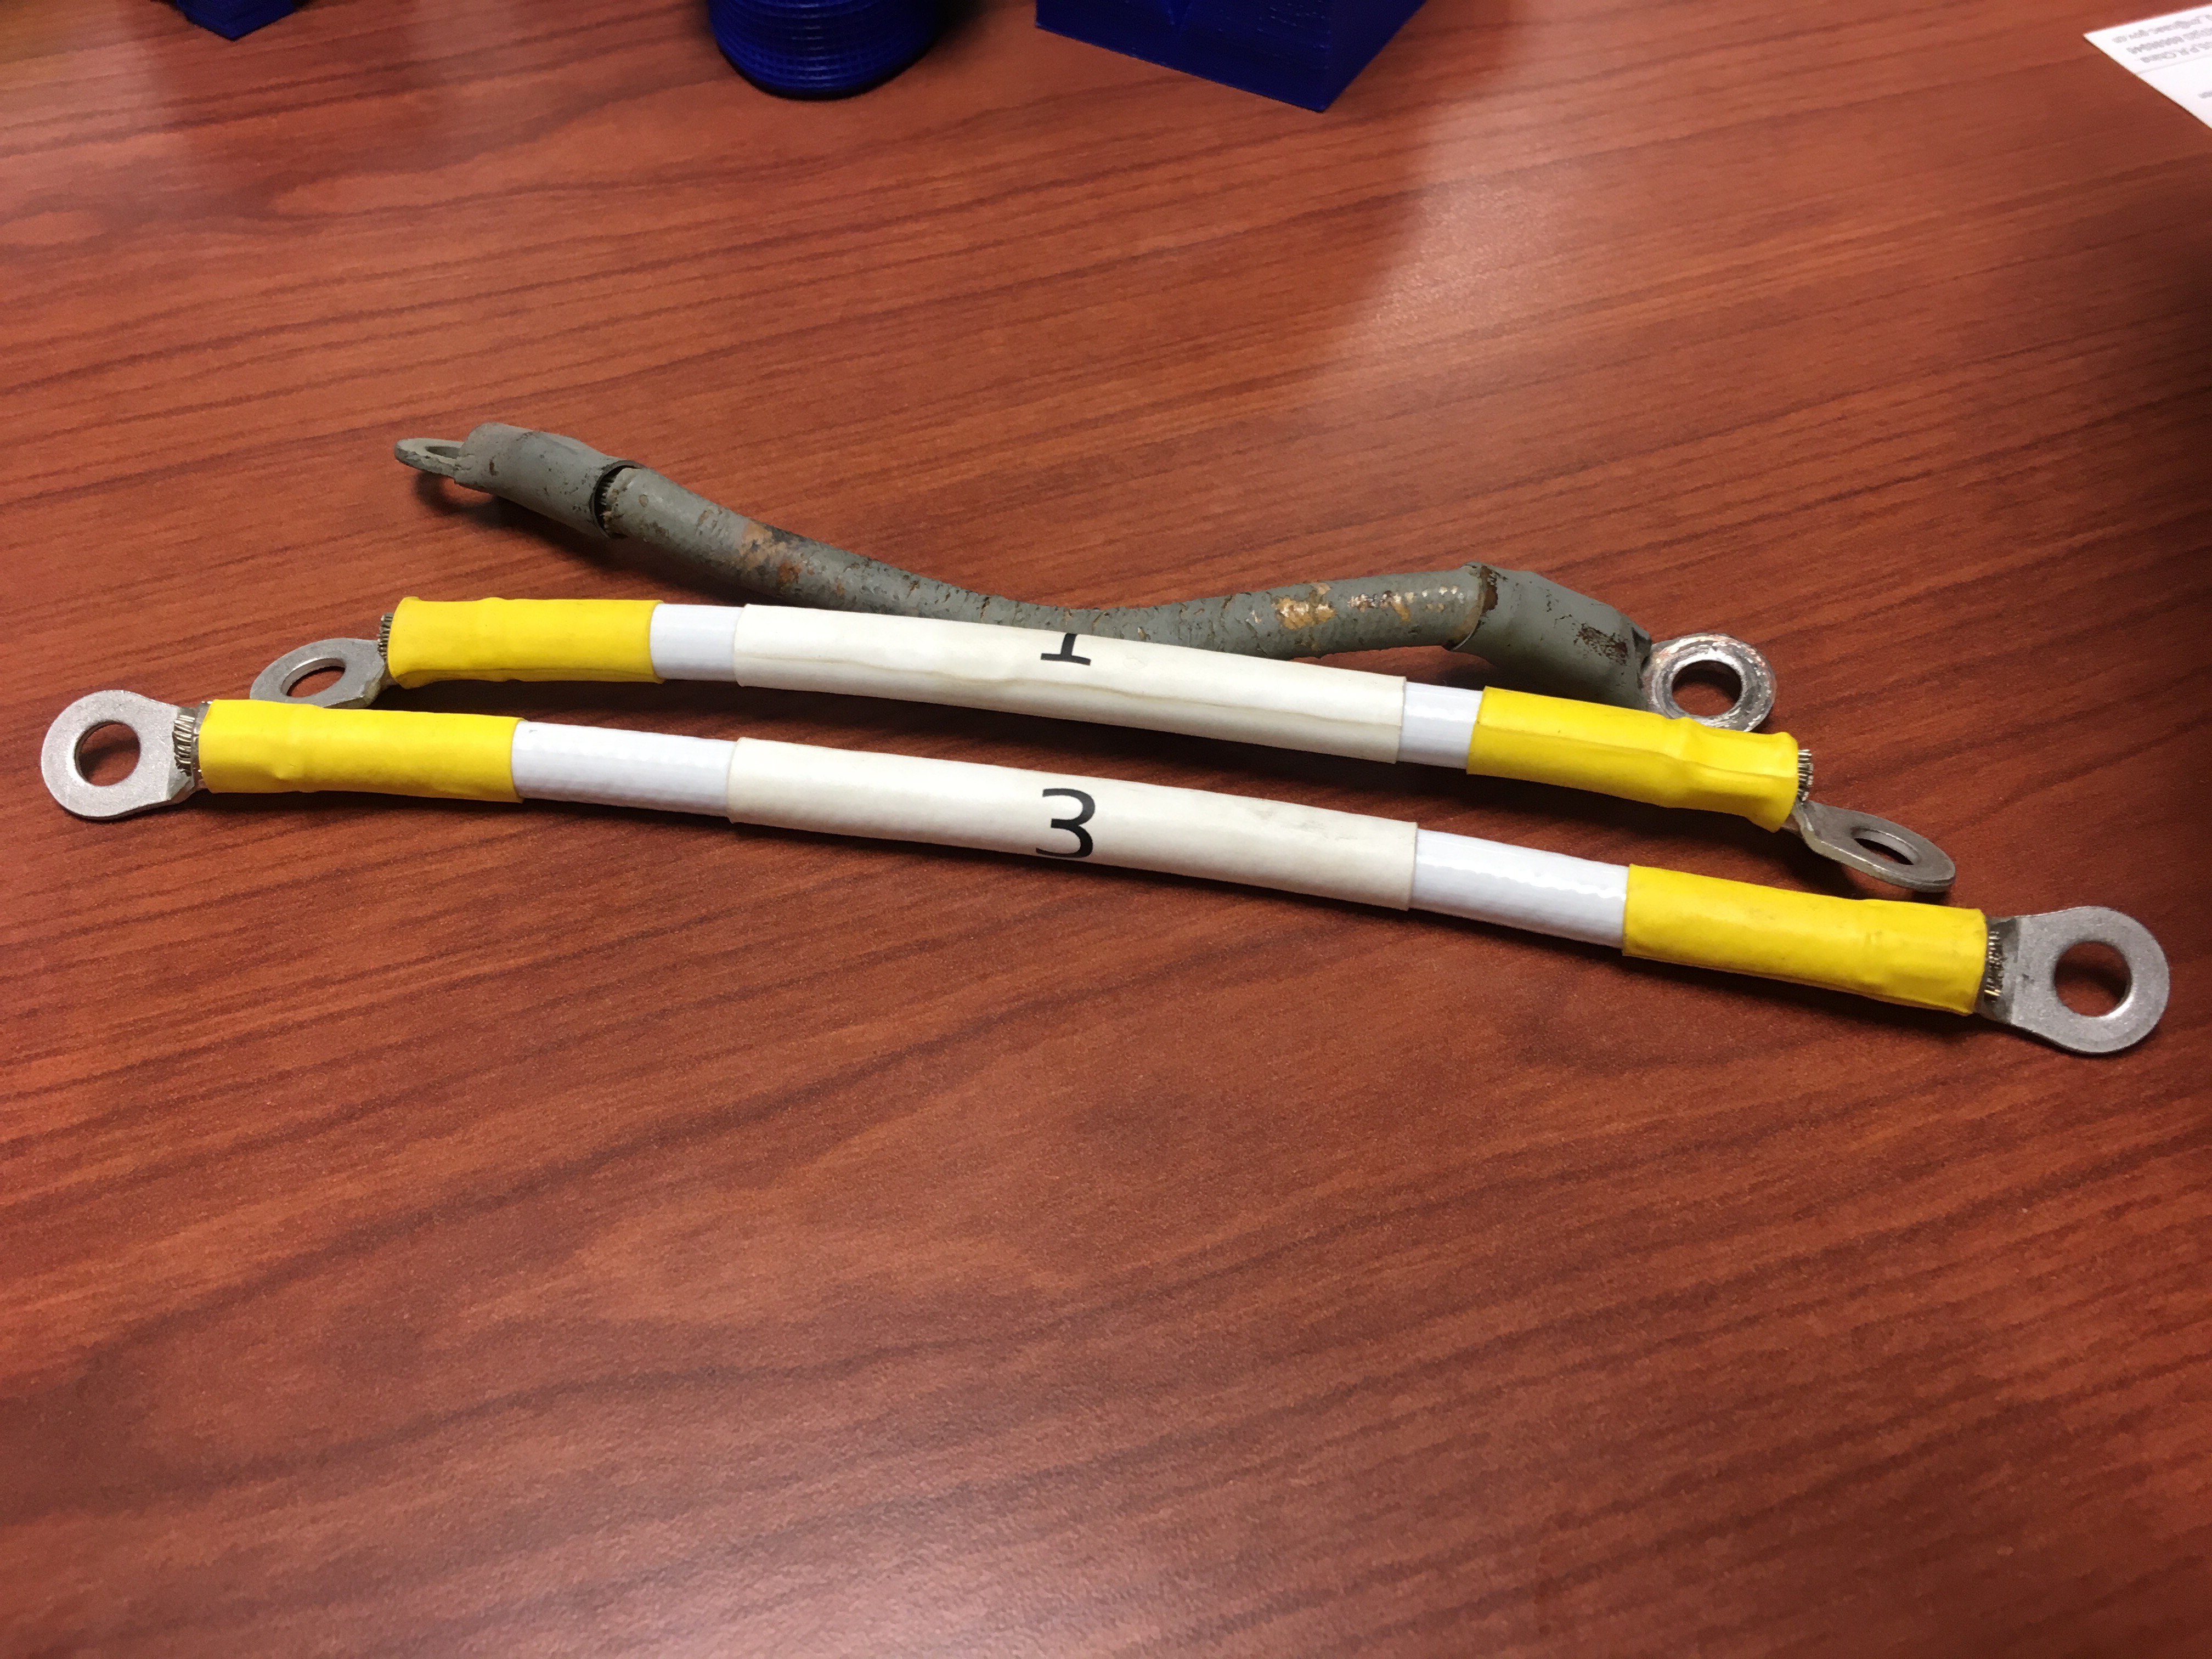
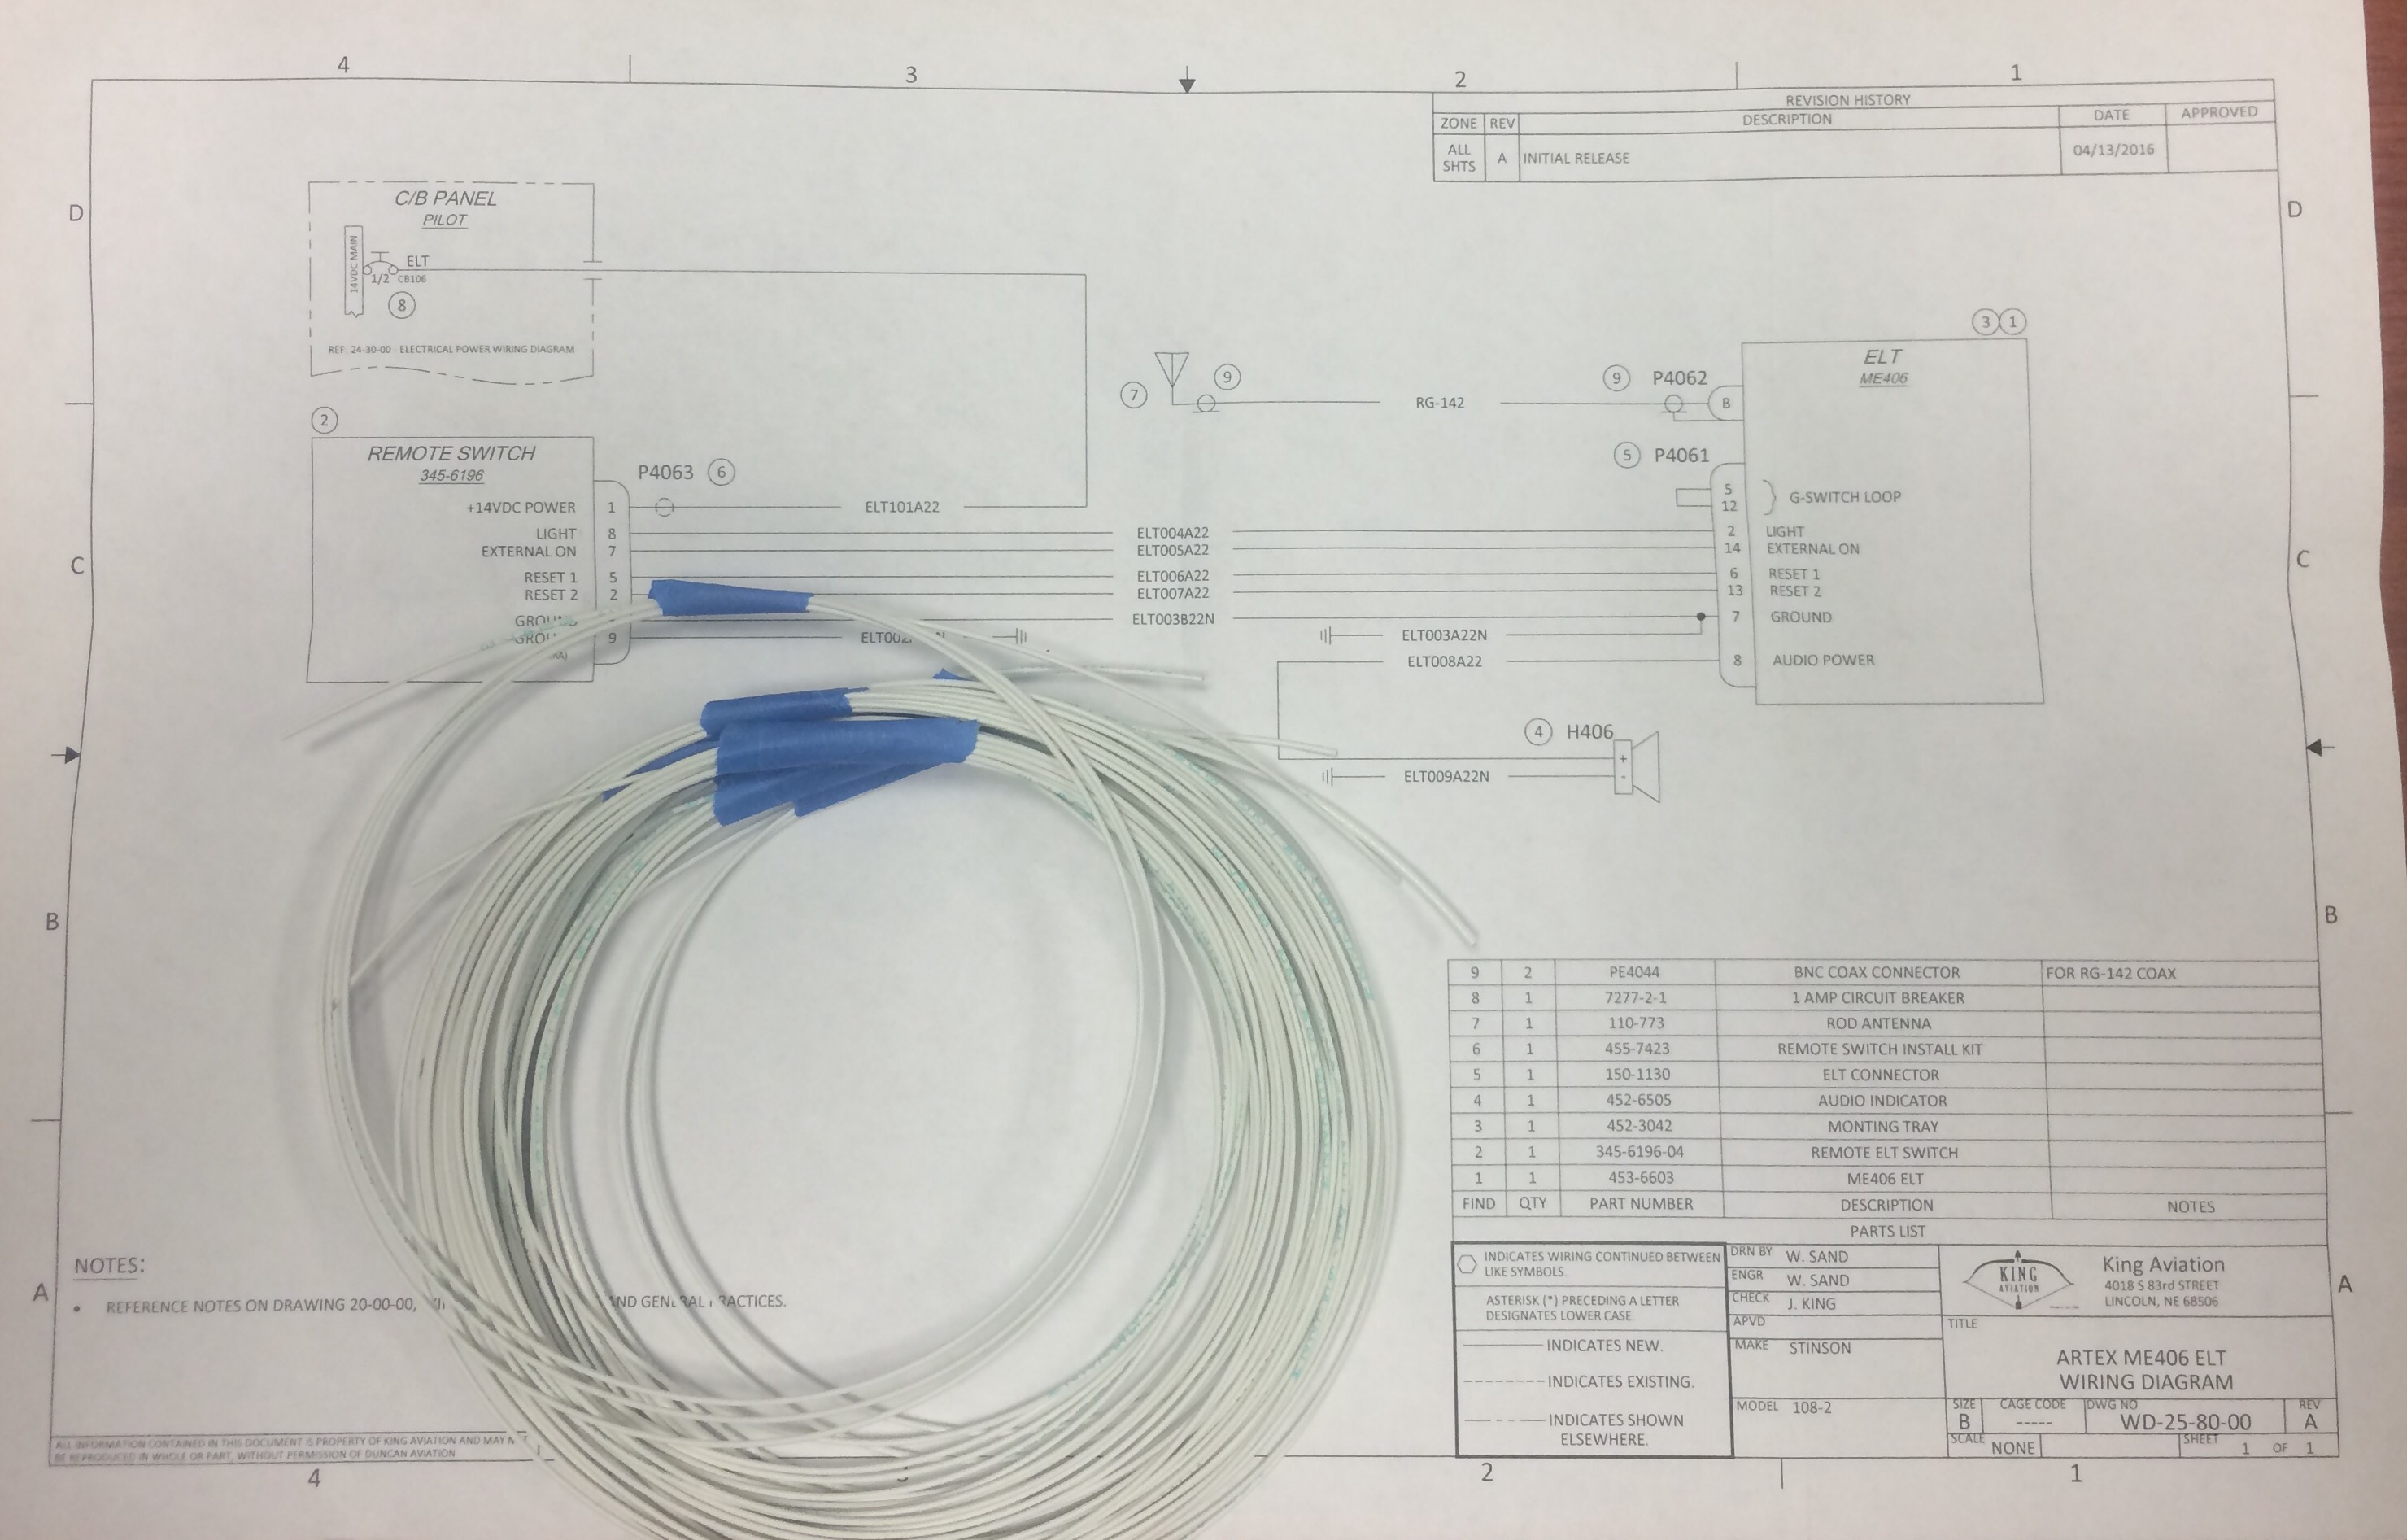
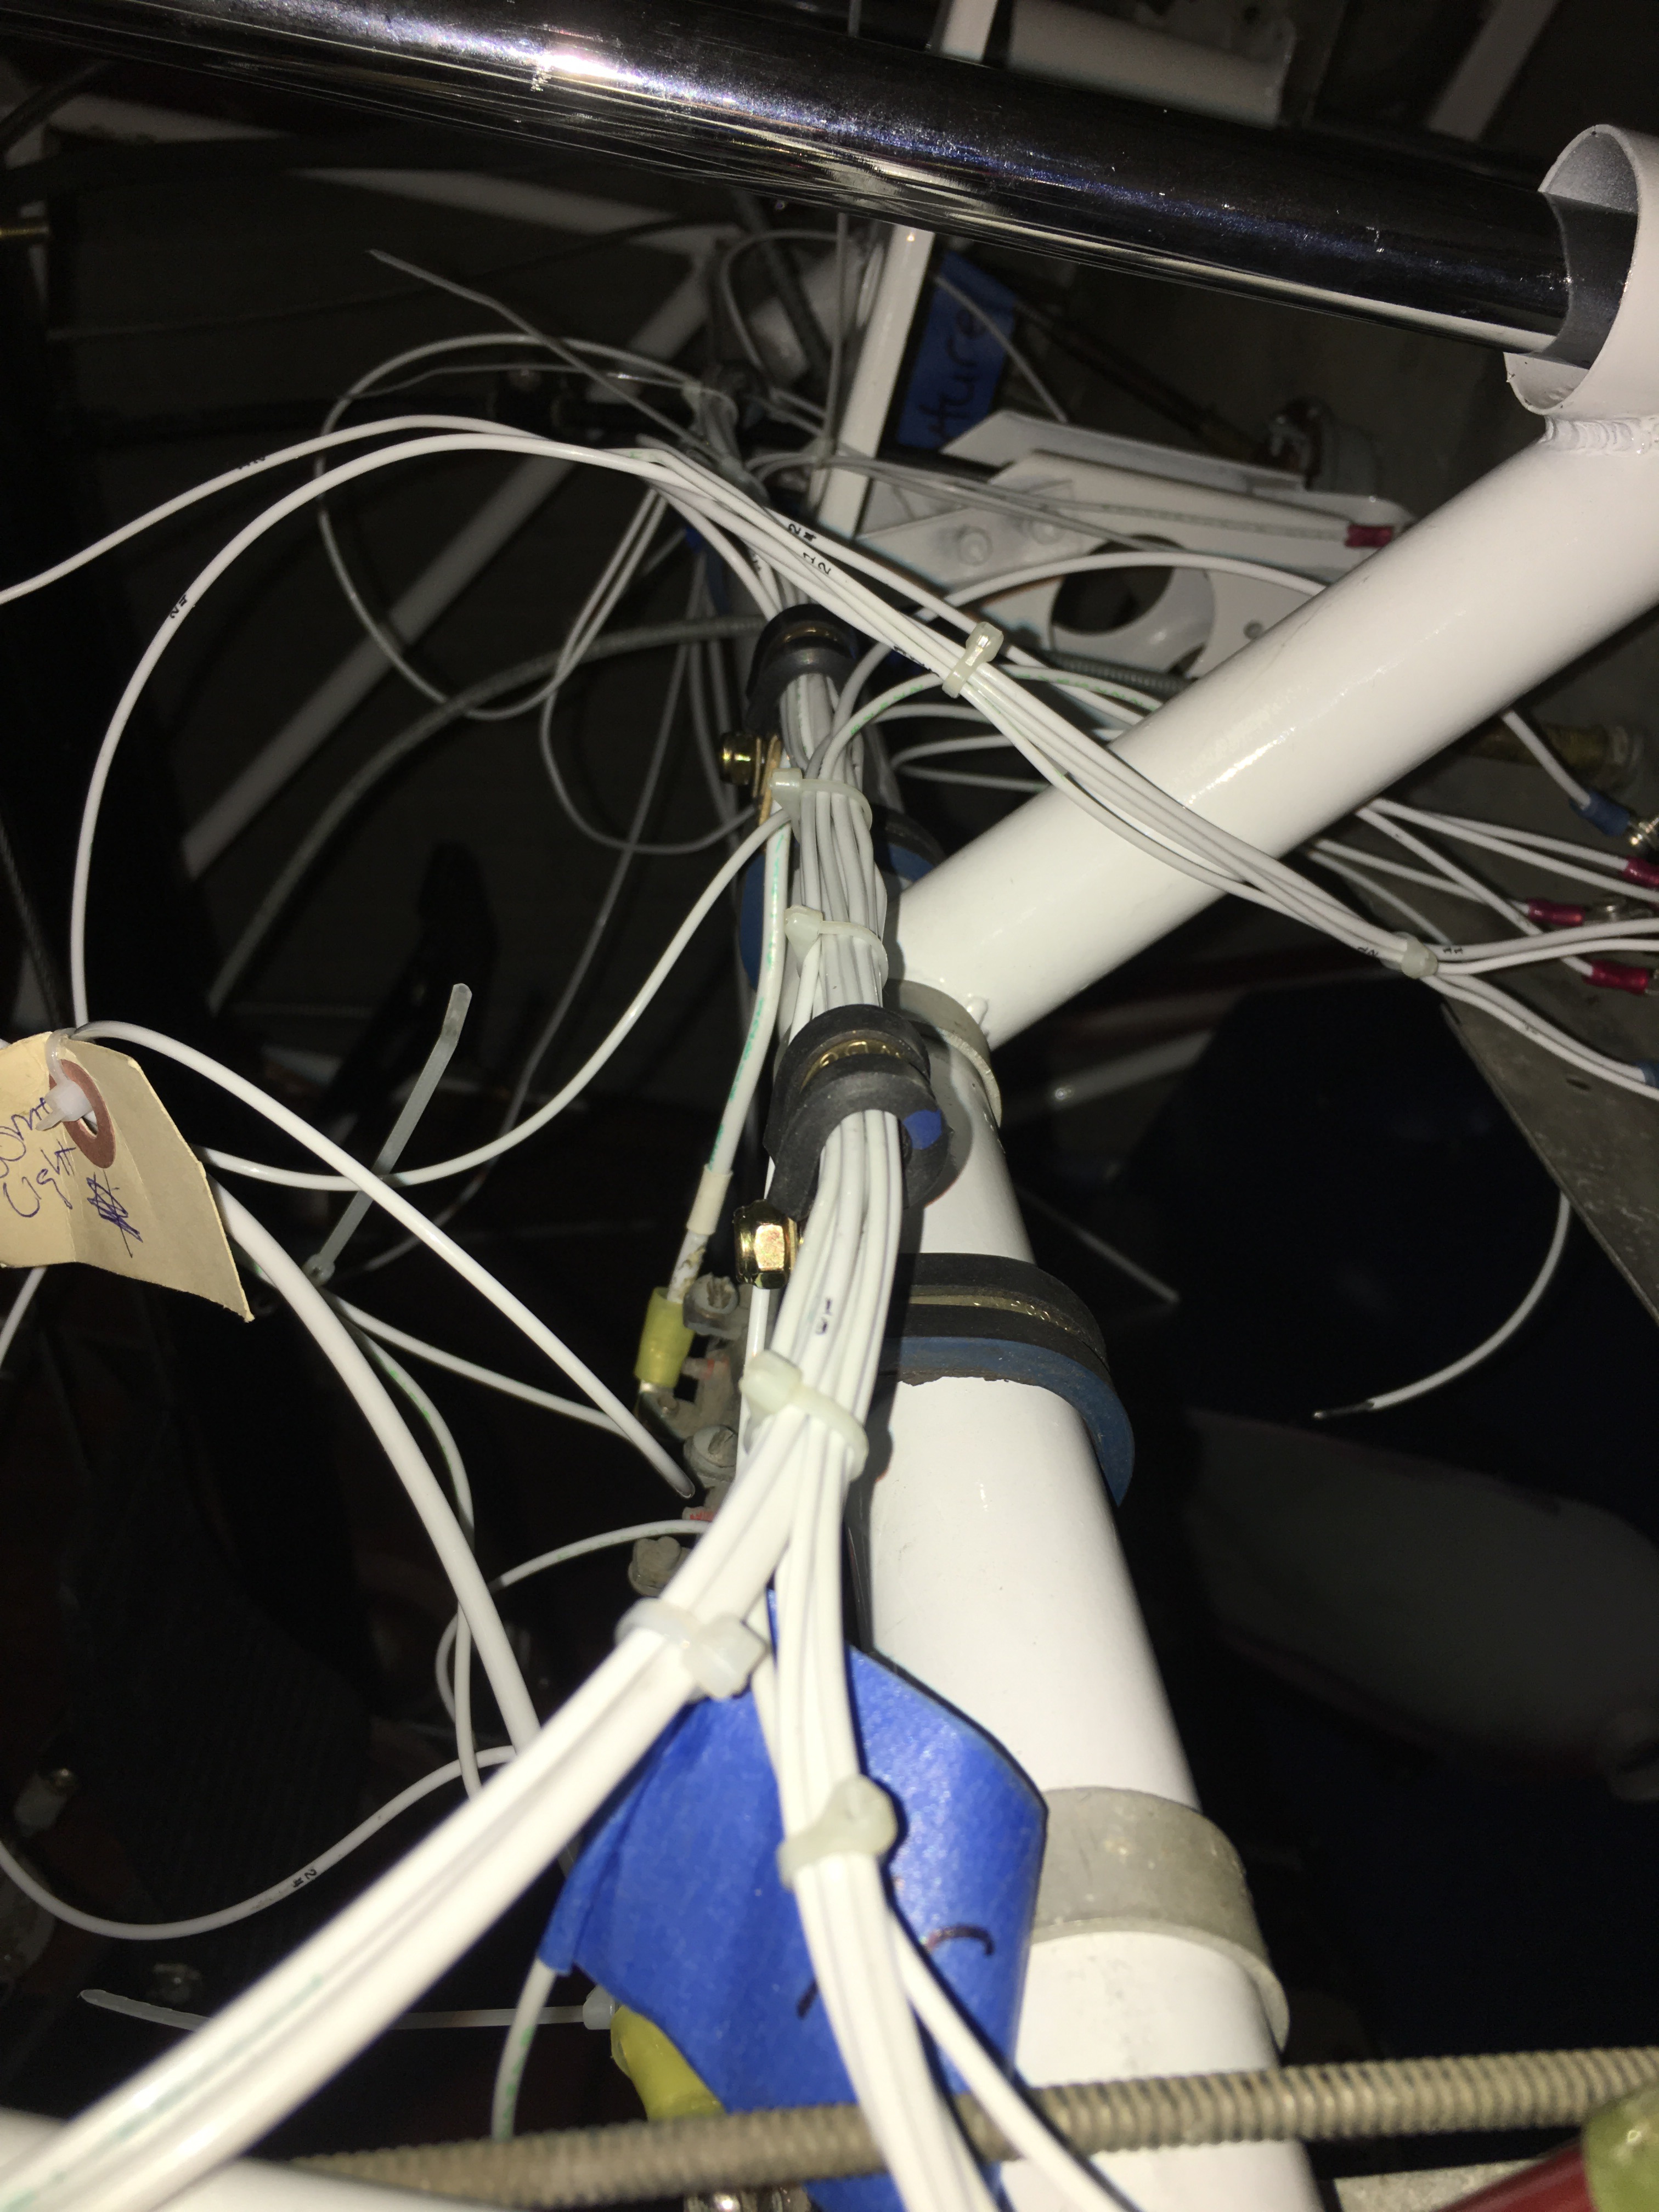
One section of the wiring harness coming together.New wire after marking and cutting to lengthAn Overview of my wiring board. I pulled out the old harness and laid it out on the floor, forming the wiring board to best match the old harness. Pretend the fuselage front is at the top of the photo or board, the cabin area is the section that heads to the right and the bottom is the section that goes to the battery and under the seat, and overhead.My bundle of wires ready to install after marking.Some of the old wiring. You can see all the cuts and insulation rotting.The old wiring harness removed and on the livingroom floor. I’m marking the wire numbers, size, and lengthsAnother wire harness photoI couldn’t wire stamp the larger wires, so I used the heat shrink systemWiring my ELTSorting out the new wires behind the panel. I eventually ran the bundle through the fuel primer mount holes. This was just me sorting them to see how to route them.