Stinson Station Wagon, NC9391K Restoration

Skip to content
  • Home
  • Random Photos
  • Before and After
  • Fritz Womack
  • N9391K Photos
  • Reference Data
  • Wiring
  • Franklin Engine
  • 108-2 Ignition Switch and Magneto Connection
  • Marvel Carburetor MA4-5
  • Part Numbers
  • Flap Hinge Covers
  • Fuel System
  • About Jeff
  • Misc. Useful Information
  • Required Placards

Images

Fritz with the Stinson in 1967
Stored in the hangar for over 40 years.
Iphone 001
Iphone 033
Iphone 047
Iphone 062
Iphone 029
Cleaned and ready for Primer
Iphone 168
Iphone 046
Panel before....
Panel before….
Iphone 075
Sandblasting the fuselage in the back yard.
Iphone 020
Iphone 024
Iphone 029
Iphone 009
Iphone 044
Owner produced replacement flooring.
Before and After floor
Floor fitting
Floor fitting
Floor heating vent
Floor heating vent

Stinson Station Wagon, NC9391K Restoration

The restoration of a 1947 Stinson Station Wagon owned by our grandfather, Fritz Womack.

Skip to content
  • Home
  • Random Photos
  • Before and After
  • Fritz Womack
  • N9391K Photos
  • Reference Data
  • Wiring
  • Franklin Engine
  • 108-2 Ignition Switch and Magneto Connection
  • Marvel Carburetor MA4-5
  • Part Numbers
  • Flap Hinge Covers
  • Fuel System
  • About Jeff
  • Misc. Useful Information
  • Required Placards
January 2021
S M T W T F S
 12
3456789
10111213141516
17181920212223
24252627282930
31  
« Nov   Feb »

Enter your email address to subscribe to this blog and receive notifications of new posts by email.

Join 25 other subscribers

Images

Fritz with the Stinson in 1967
Stored in the hangar for over 40 years.
Loading it up to take it home
Arrived at home.
Arrived at home.
Family members helping to strip the fuselage bare.
Sandblasting the fuselage in the back yard.
Primer applied
Primer applied
Waiting for paint to dry
Ready to take it home.
Priming the rudder
Priming the rudder
Paint applied to the rudder
Elevator half cleaned and ready for primer
Primer applied
Primer applied
Paint applied
Paint applied
Before and After floor
Owner produced replacement flooring.
Floor fitting
Floor fitting
Floor heating vent
Floor heating vent
Cleaned and ready for Primer
Fitting the door
Fitting the door
Painted door
Painted door
Elevator feedthrough
Going back together.
trammeling the wing
trammeling the wing
Panel before....
Panel before….
Original wiring harness
New wiring harness
New wiring harness
Instrument panel
Instrument panel
Wiping down the wing
After rib stitching, first coat of filler.
Paint applied
Paint applied
img_0762
Registration number on the bottom
img_4302
Door panel fitting
Door panel fitting
Door knob fitted
Door knob fitted
Tail wheel
Tail wheel
External door handle
Door fitting
Door fitting
Bottom cowl painted
Bottom cowl painted
Cousin Doug stopped by to check progress
Loaded up for trip to the hangar
Hangar arrival
Hangar arrival
Wings on at the hangar.
Rudder and elevators installed
Fueling up to check for leaks...no leaks.
Fueling up to check for leaks…no leaks.
Pushed out of the hangar to clean the hangar
View from the top.
View from the top.

Month: January 2021

1 Comment Posted on January 8, 2021 Uncategorized

Left aileron continued…

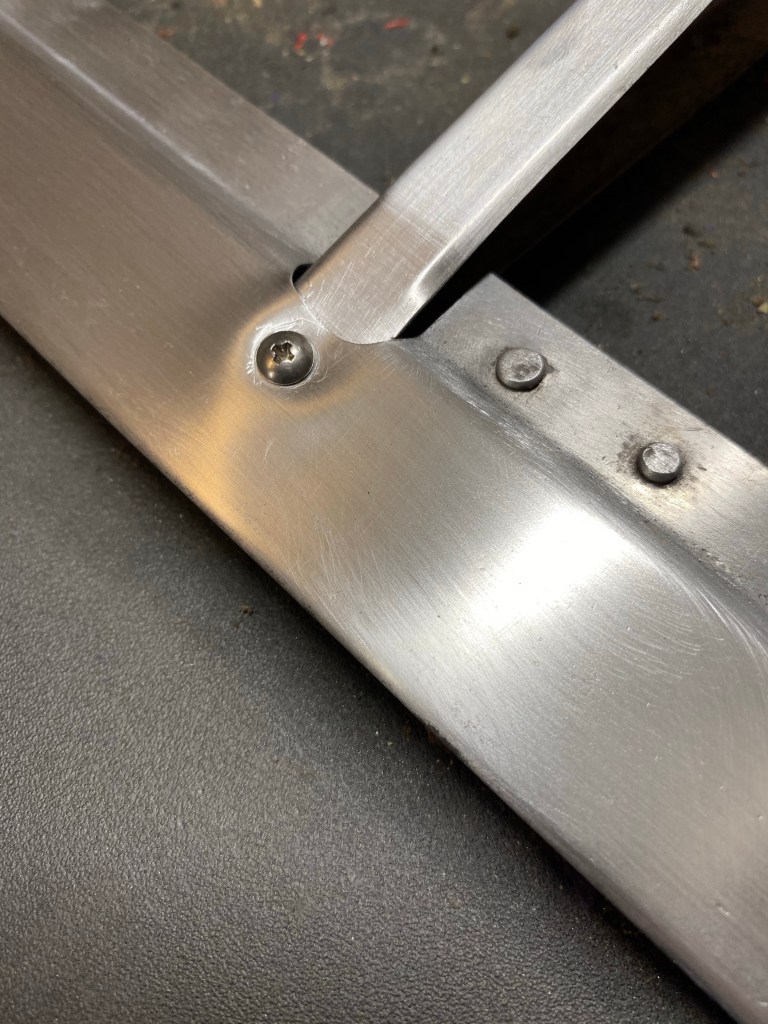
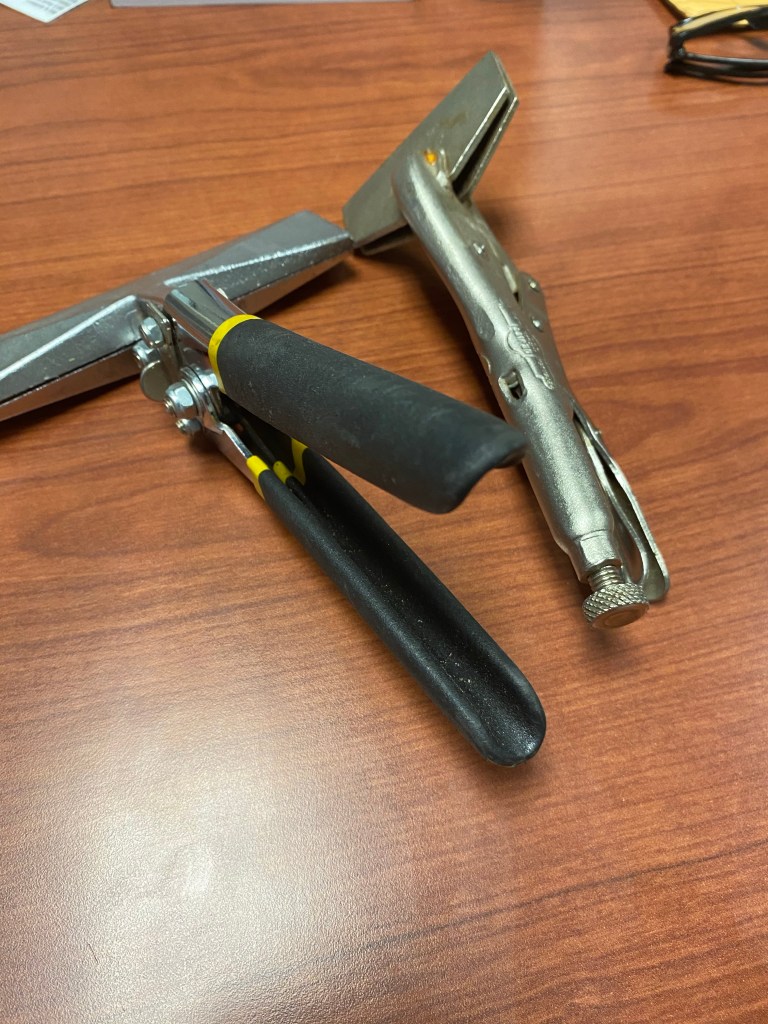
The was a bend in the curve near the tip. I borrowed a pair of sheet metal pliers from a friend at work and fixed the issue.

Before
After
3 Comments Posted on January 4, 2021 Uncategorized

Left Aileron continued…

Cleaning up nicely
Leave a comment Posted on January 4, 2021January 11, 2021 Uncategorized

Poly Brush applied

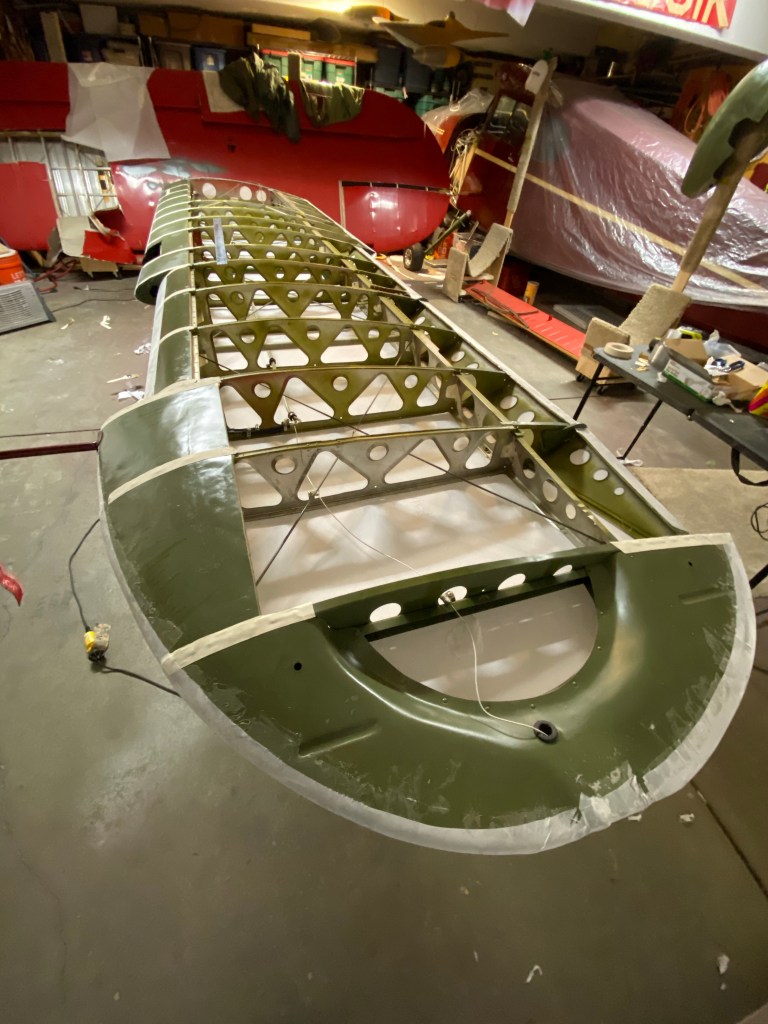
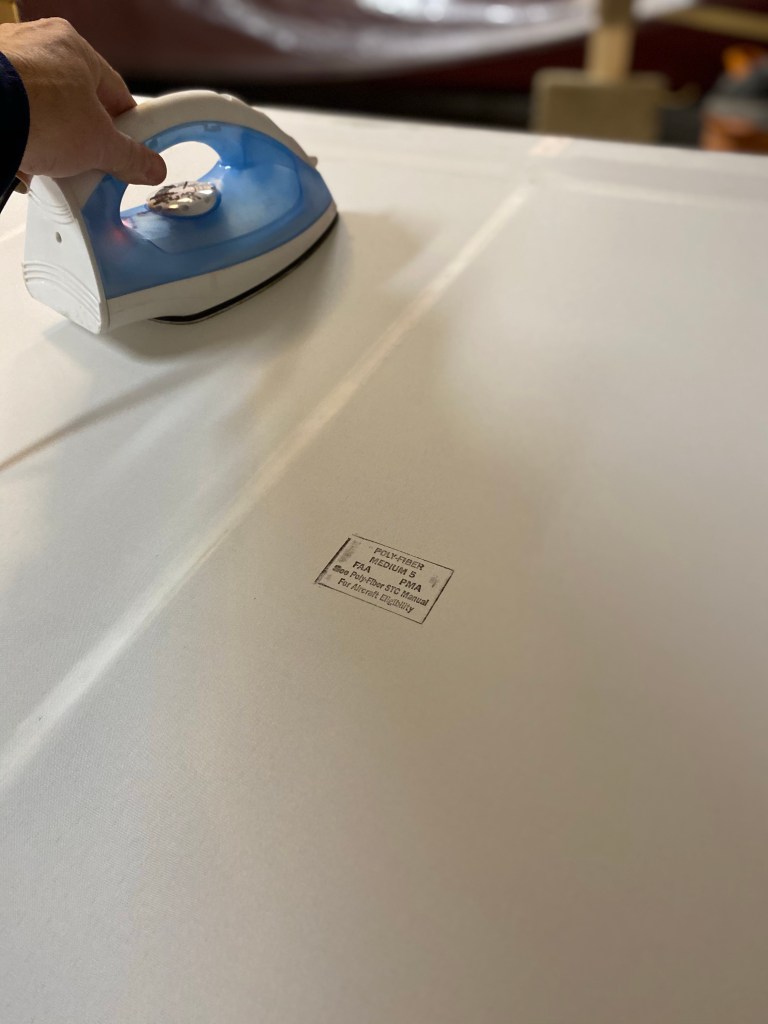
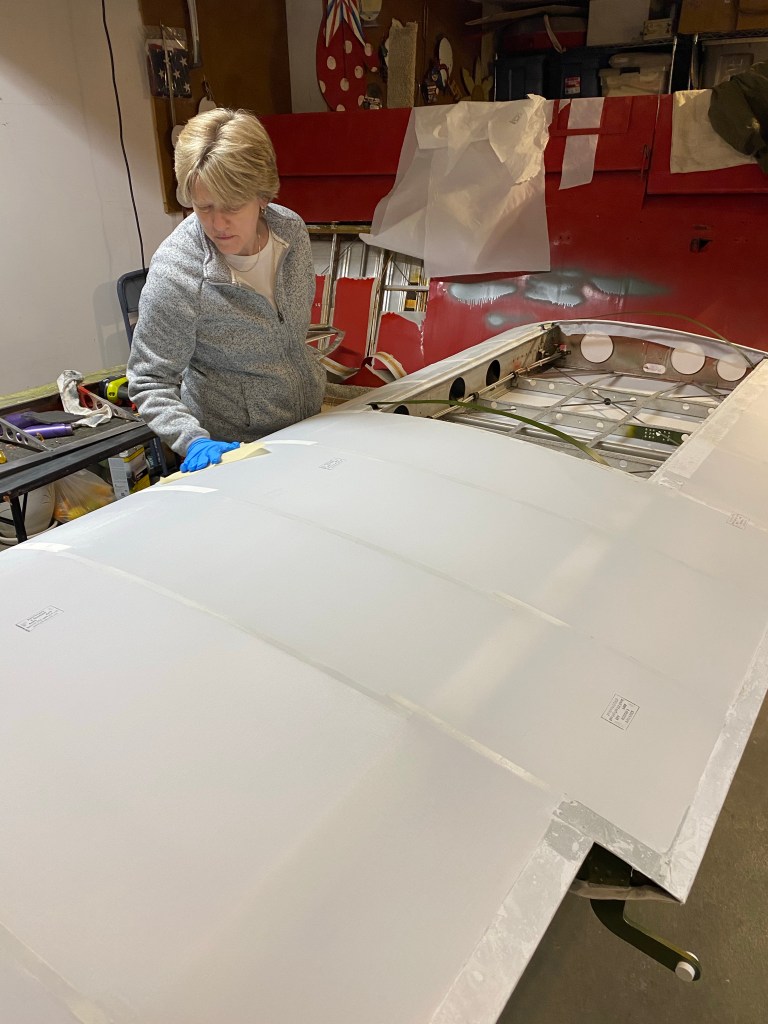
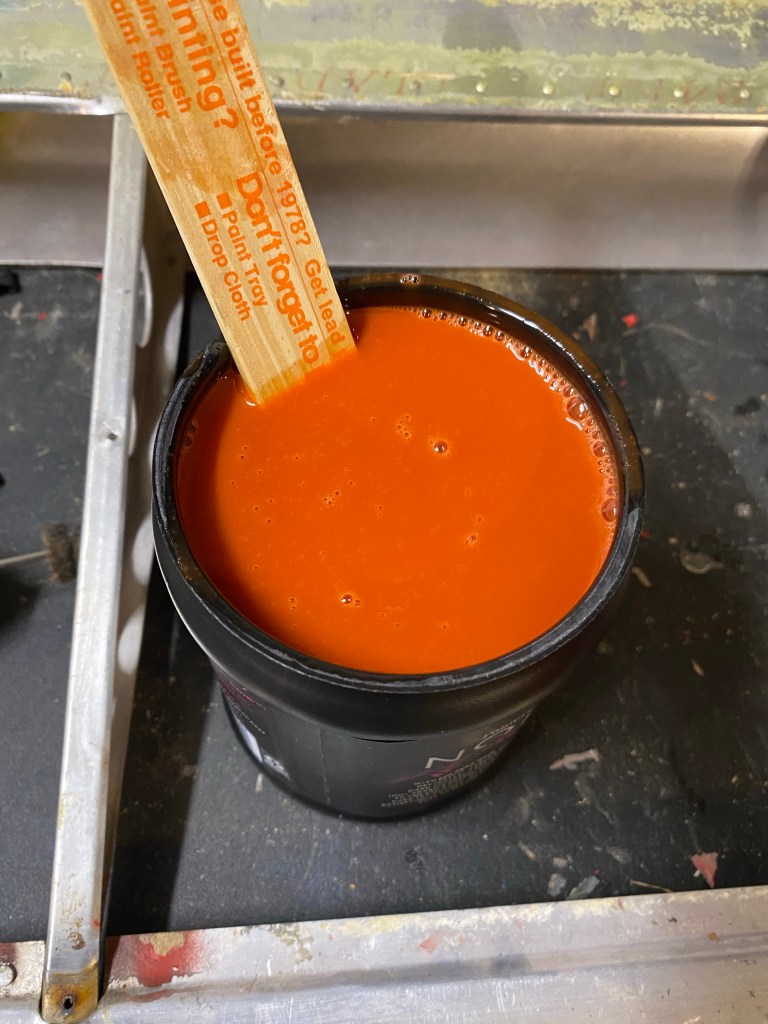
First coat is brushed on after a wipe down with MEK and a tack cloth. Marie pitched in to help with the tack rag.

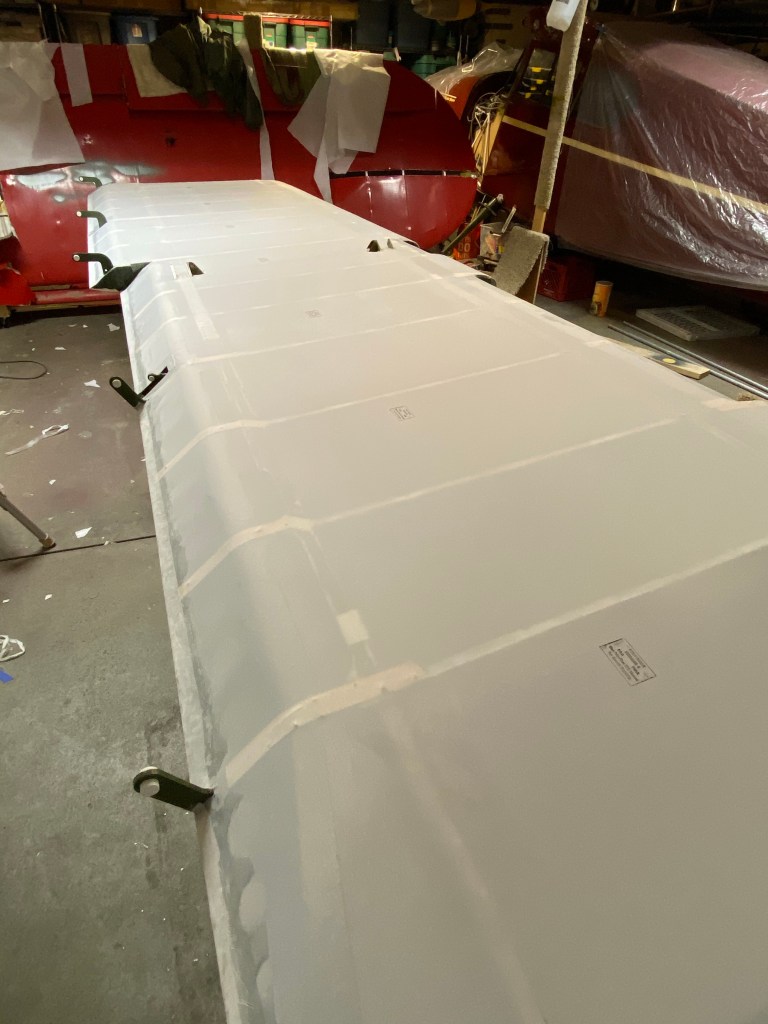
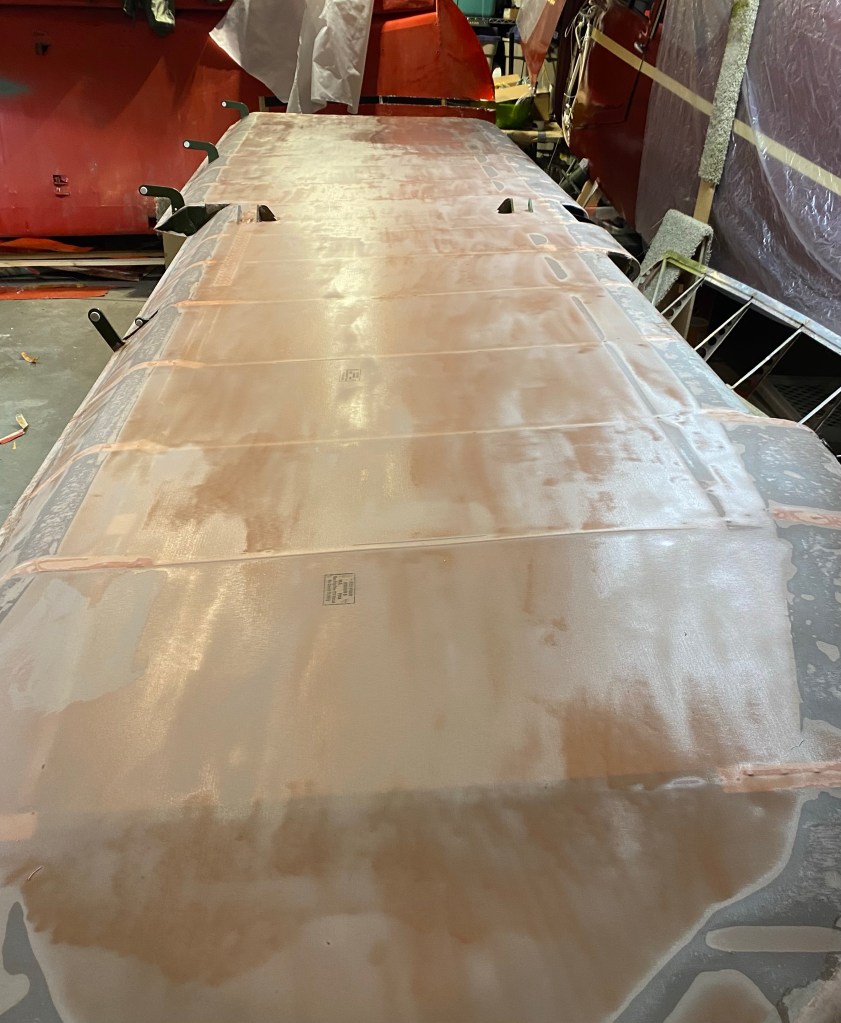
The first coat is brushed on (why it’s called poly BRUSH) and it soaks through the fabric.

Bottom side still drying
Top side, still drying
Poly Brush mixed 3:1 with reducer.
Leave a comment Posted on January 4, 2021January 5, 2021 Uncategorized

Left Aileron

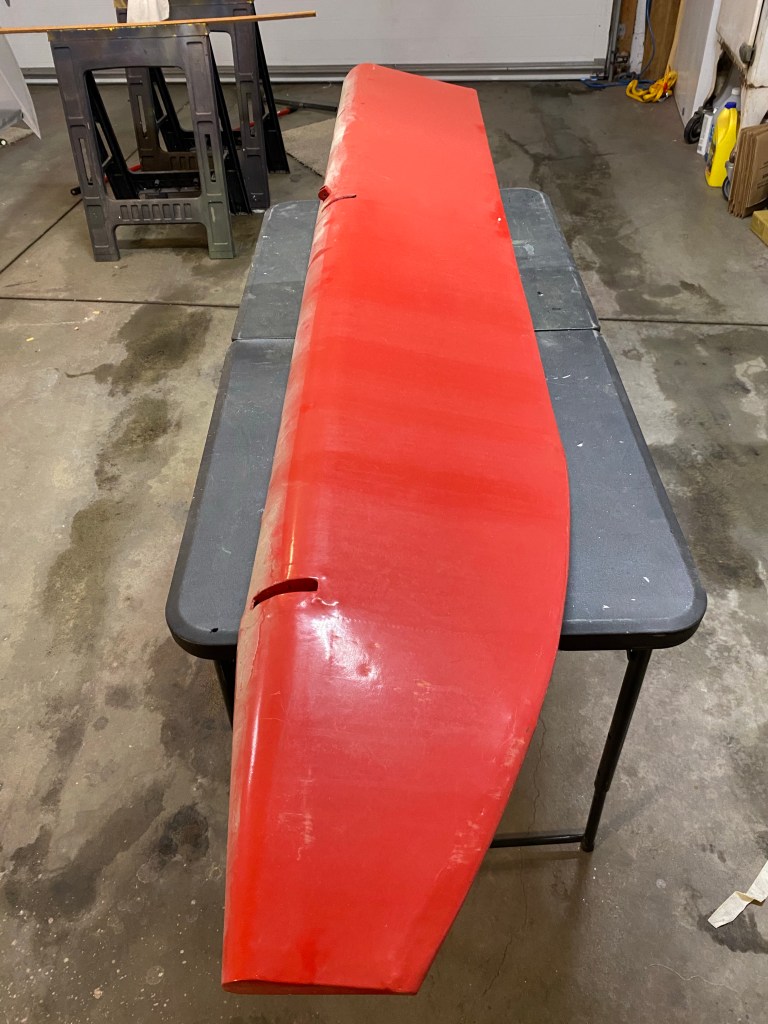
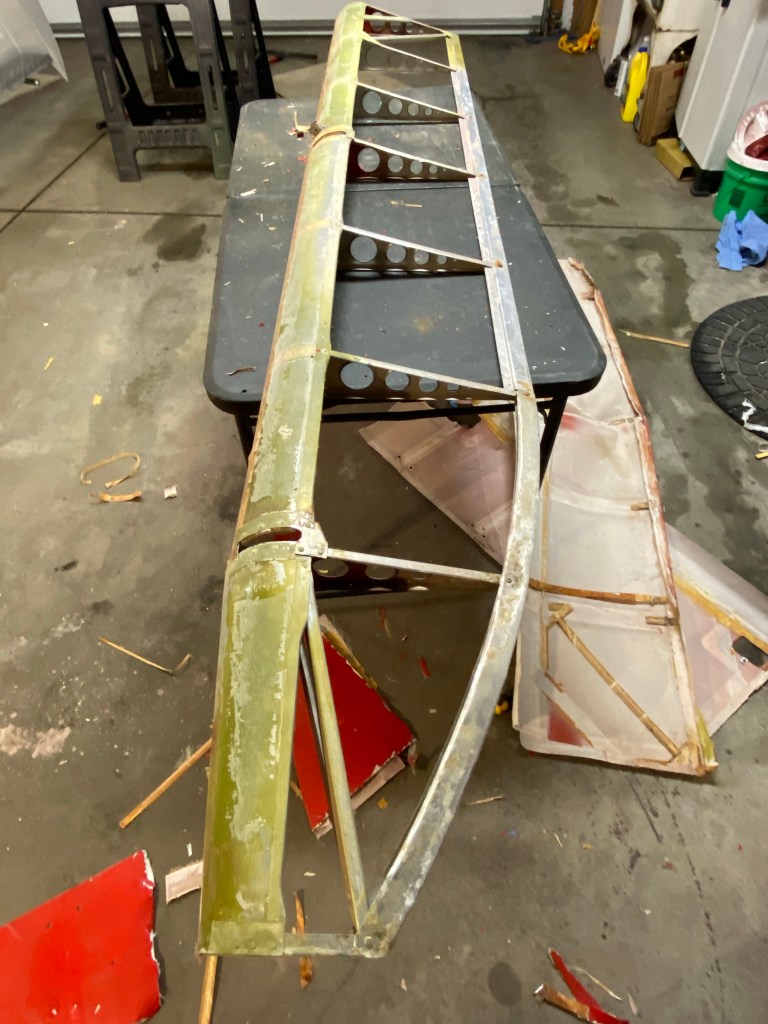
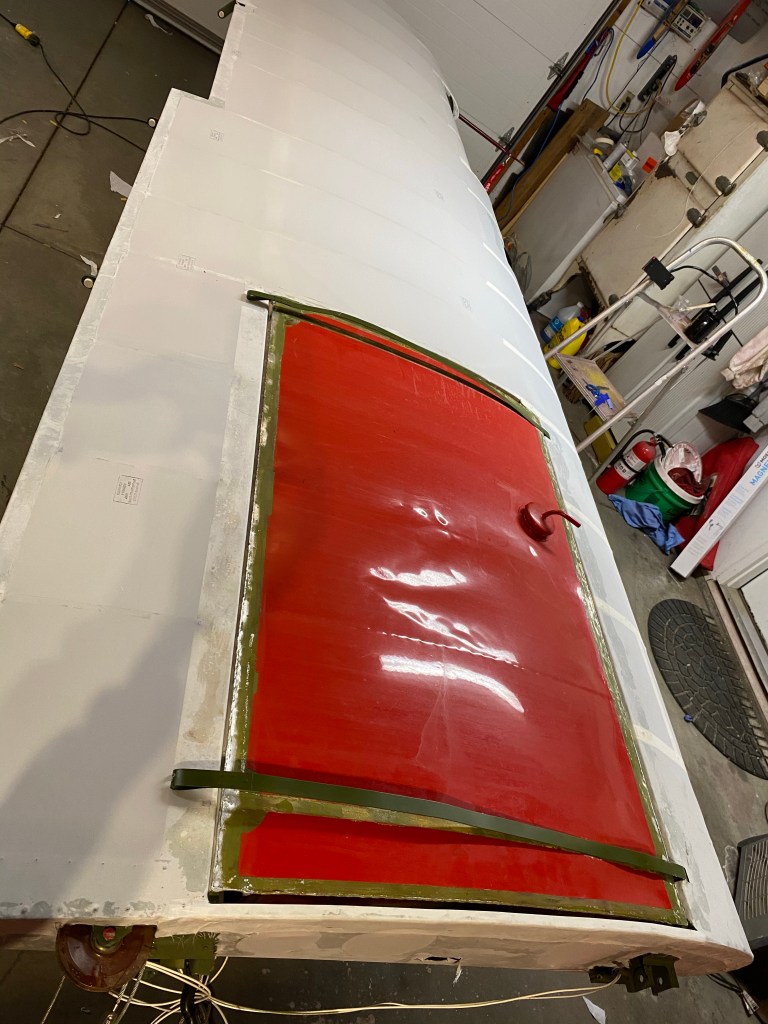
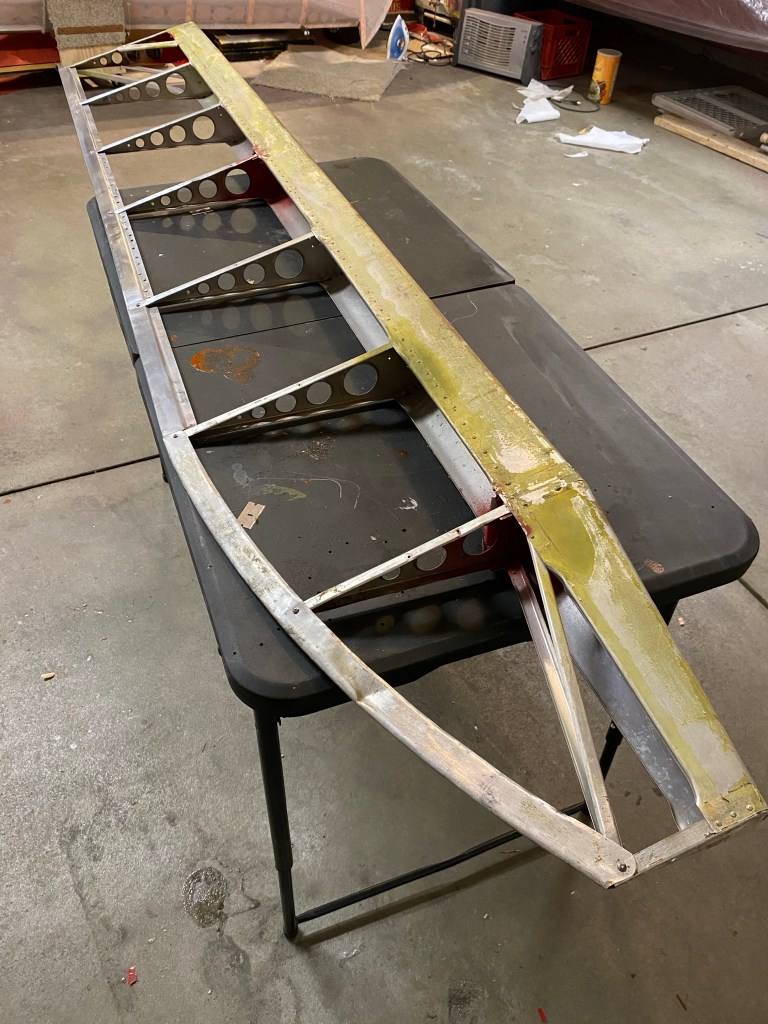
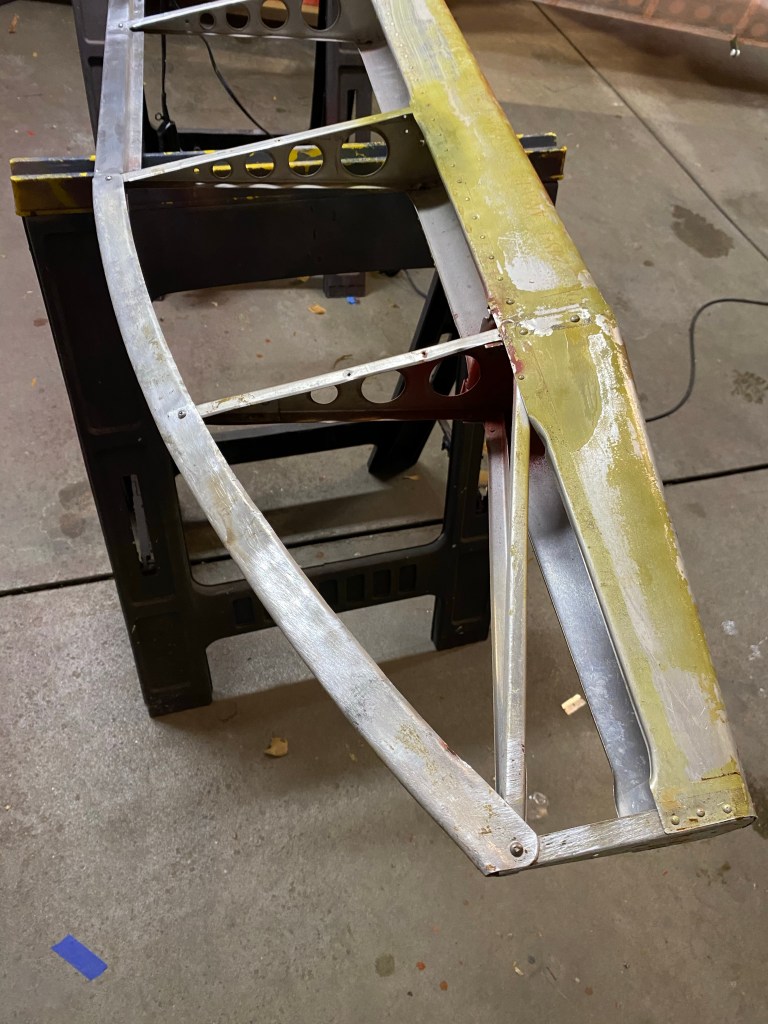
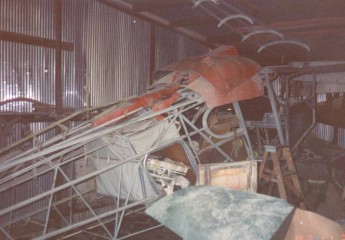
While waiting on my mechanics helper (Marie), I removed the old fabric from the left aileron. Other than just dirty it looks really good.

Before
After

2 Comments Posted on January 3, 2021January 3, 2021 Uncategorized

Wing Covering

I’m ironing at the 350 degree level, the last one.
The bible

Posts navigation

Newer posts →
Blog at WordPress.com.
  • Subscribe Subscribed
    • Stinson Station Wagon, NC9391K Restoration
    • Join 25 other subscribers
    • Already have a WordPress.com account? Log in now.
    • Stinson Station Wagon, NC9391K Restoration
    • Subscribe Subscribed
    • Sign up
    • Log in
    • Report this content
    • View site in Reader
    • Manage subscriptions
    • Collapse this bar
 

Loading Comments...