The bottom panels connected along with the landing wheel fillet assemblies attached and the antennas mounted. Turn all this over and it mounts between the gear and behind the lower engine cowl.
Next is primer and paint.
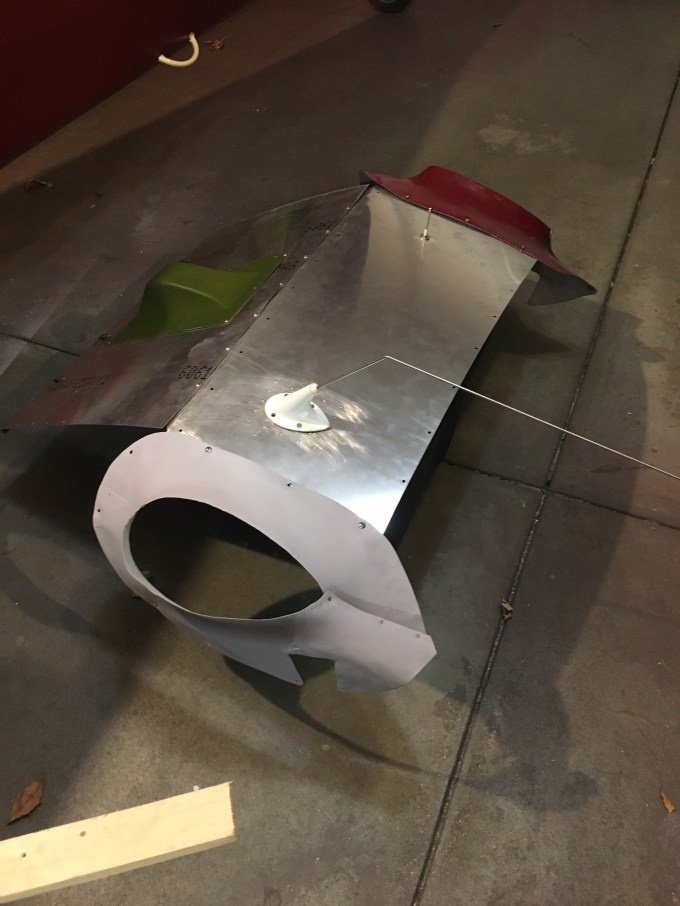
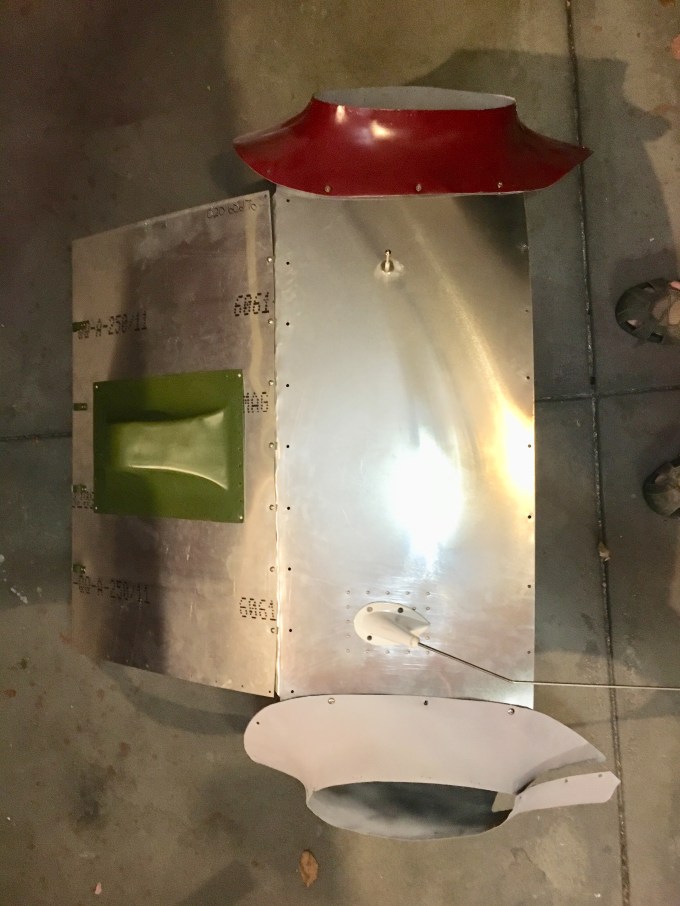

The bottom panels connected along with the landing wheel fillet assemblies attached and the antennas mounted. Turn all this over and it mounts between the gear and behind the lower engine cowl.
Next is primer and paint.
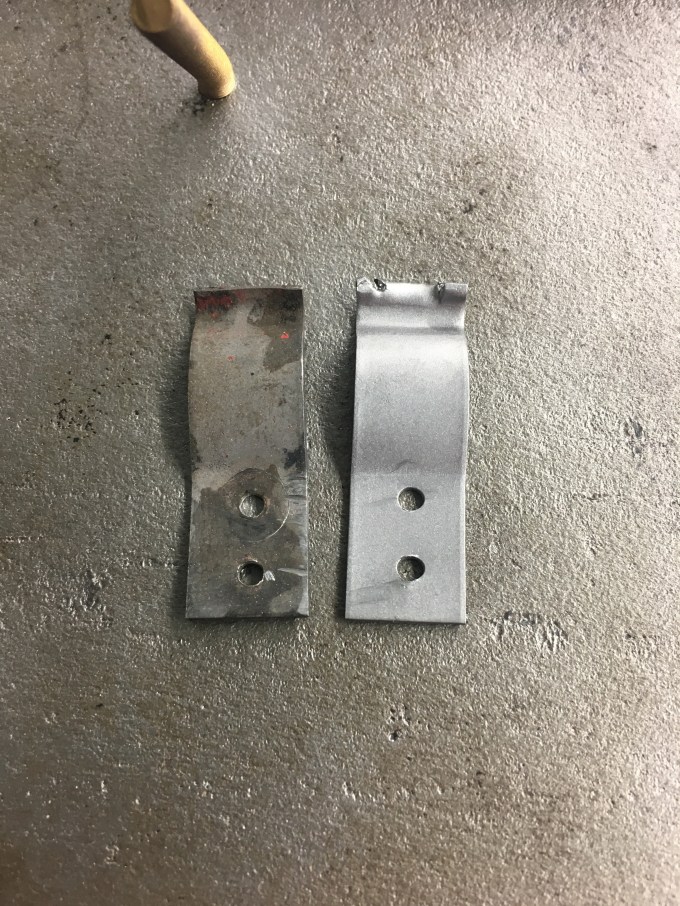
Old and new
Before and after blasting

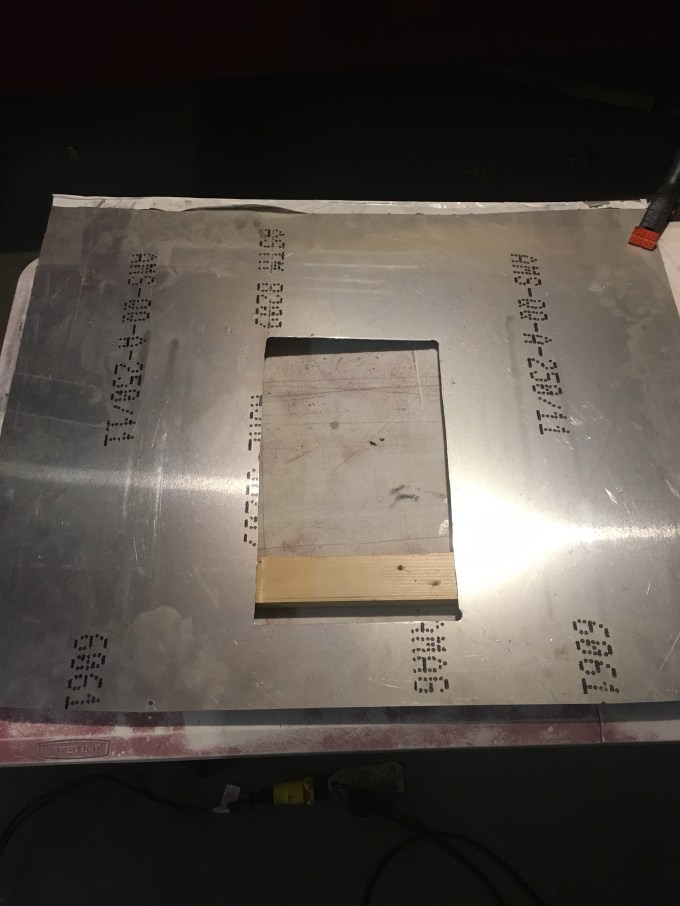
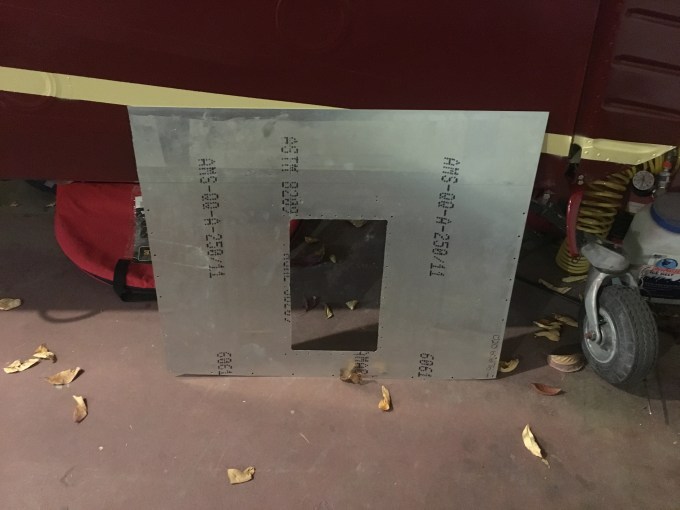
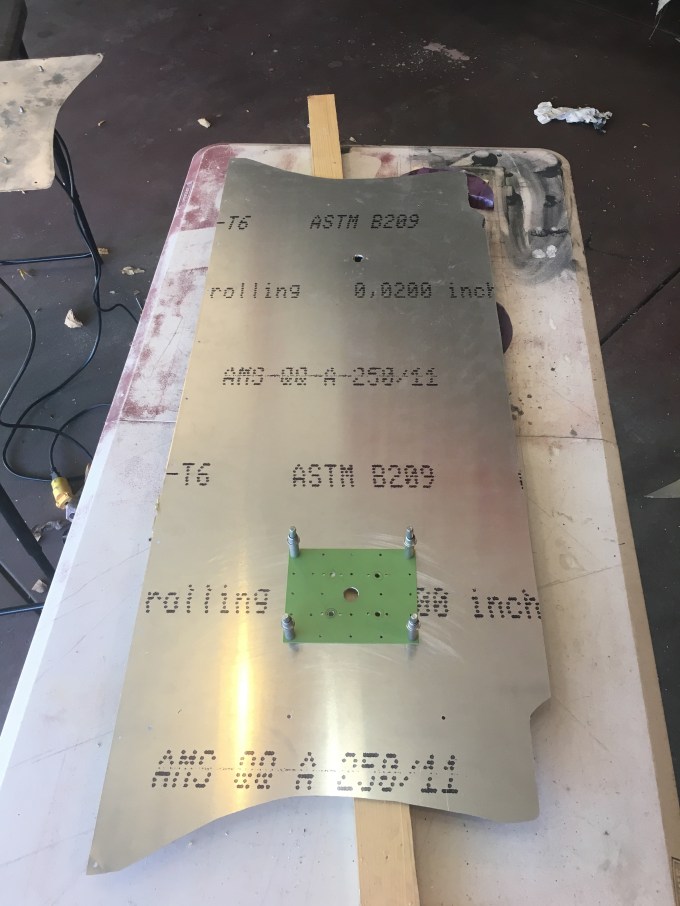
New panel
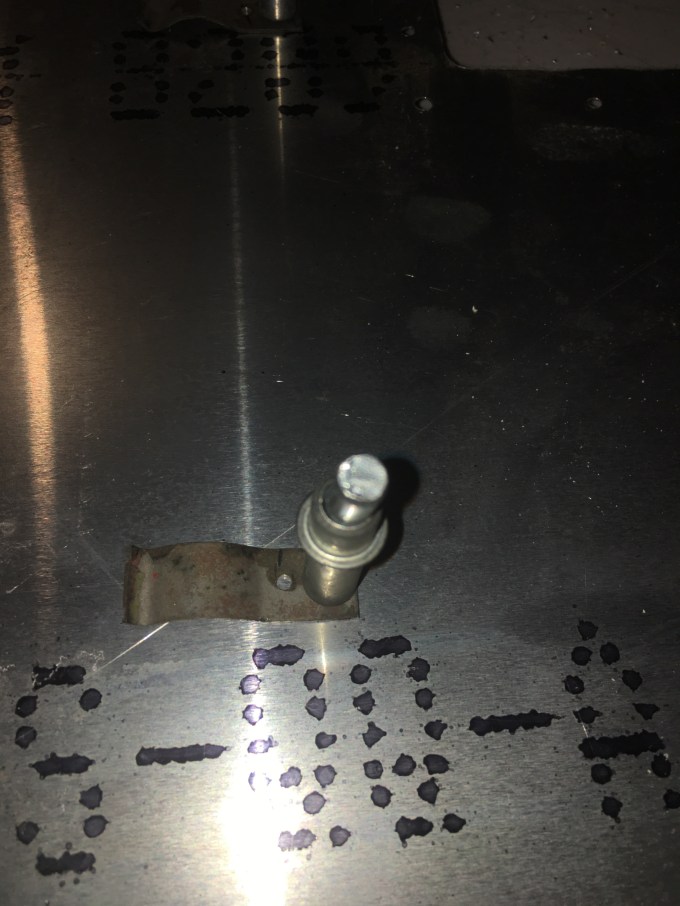
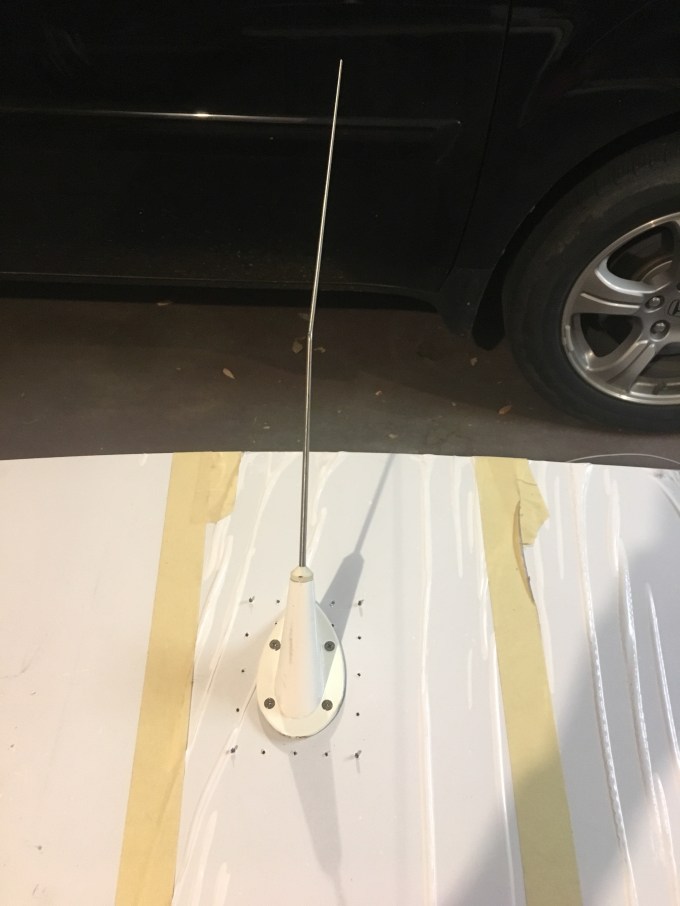
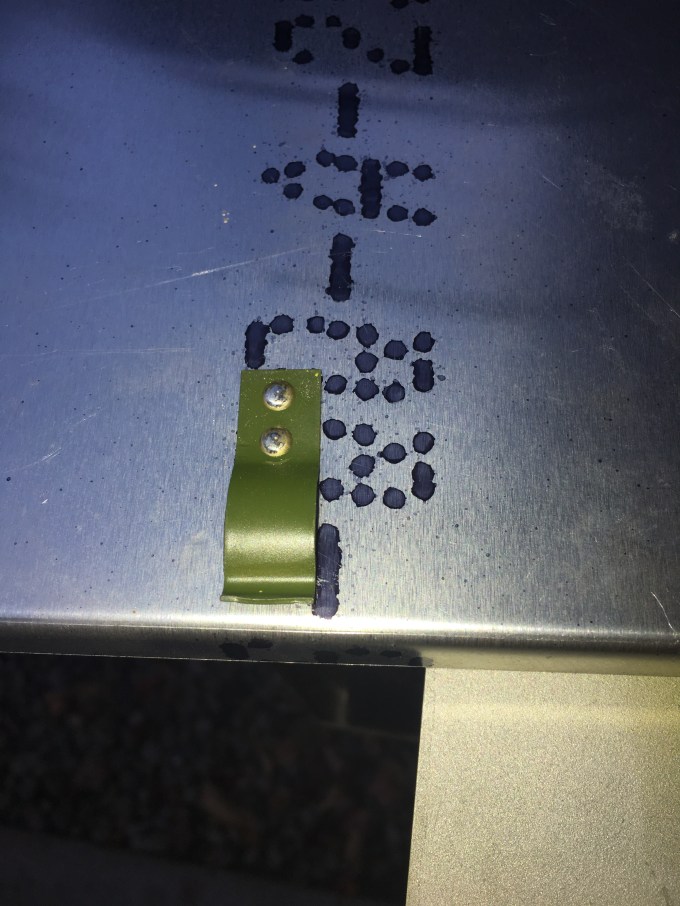
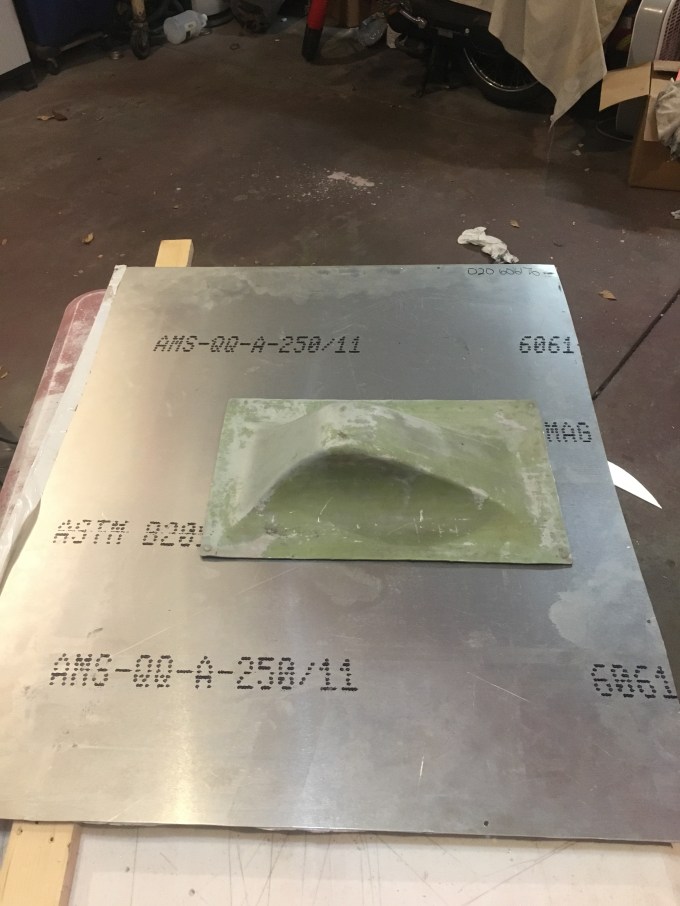
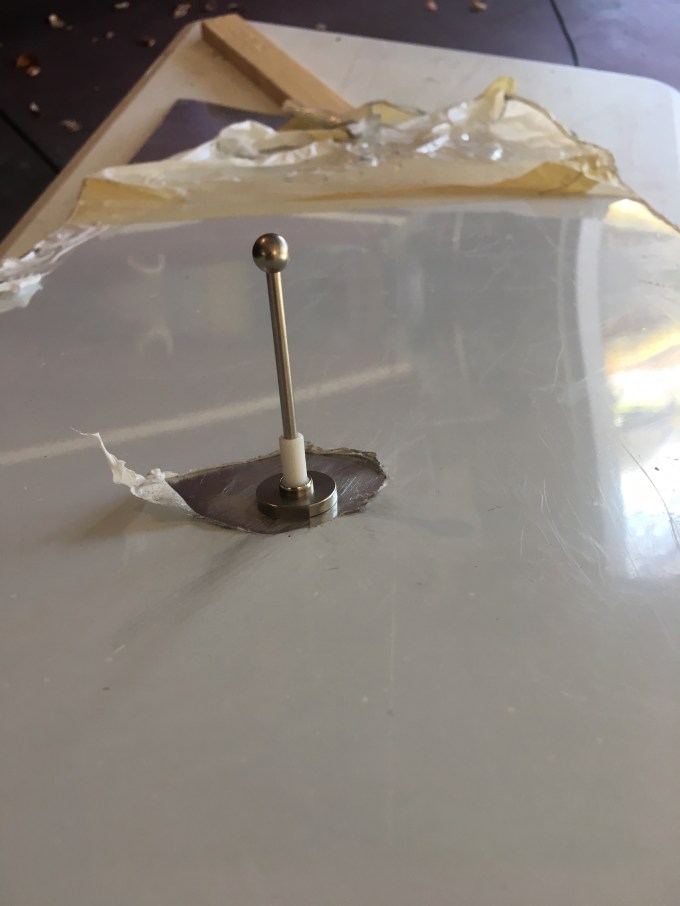
Comm antenna fitting
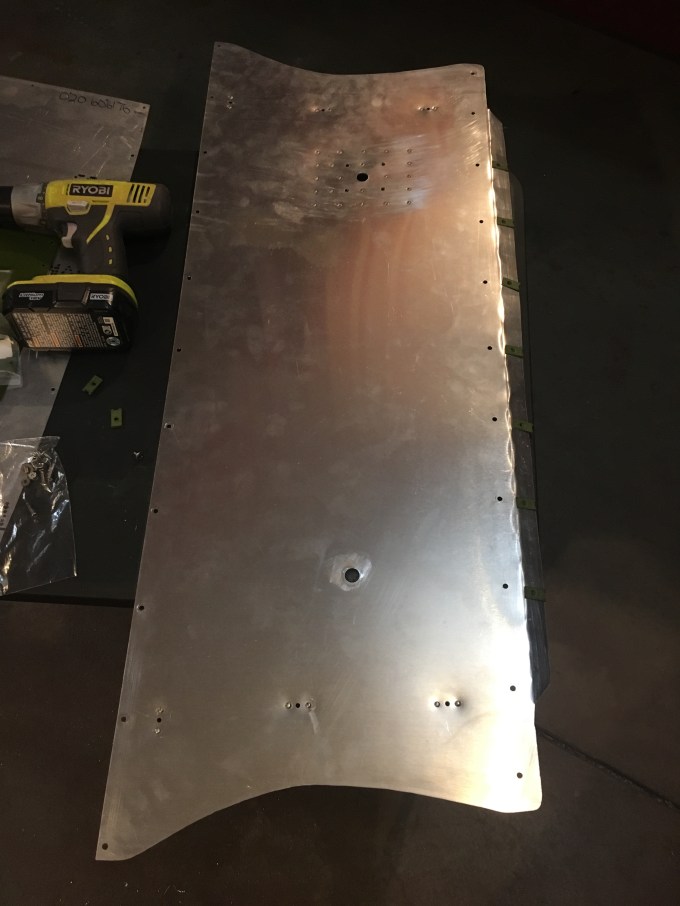
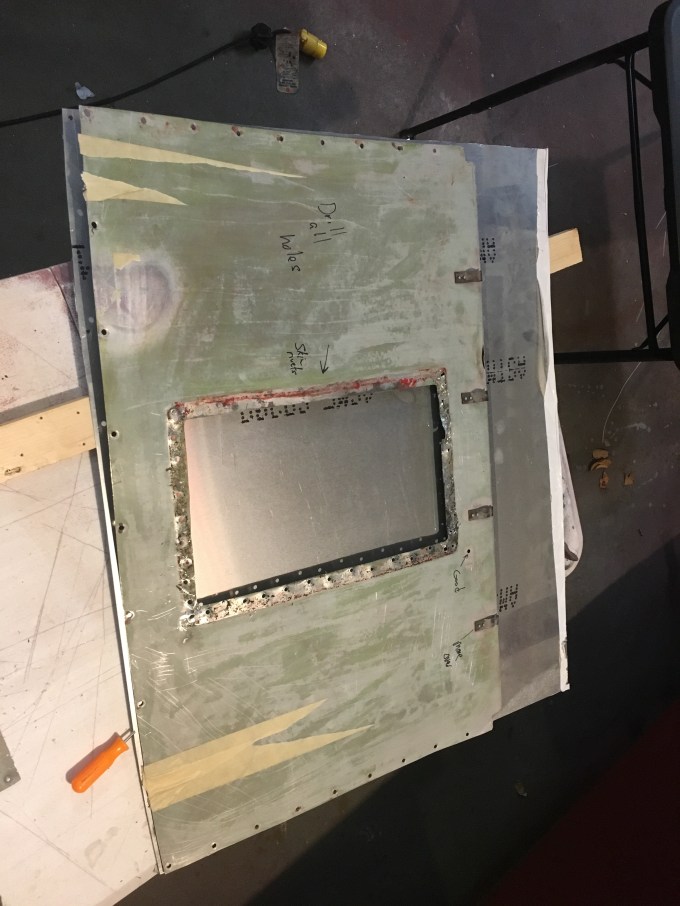
The new panel after cutting and drilling most of the holes.
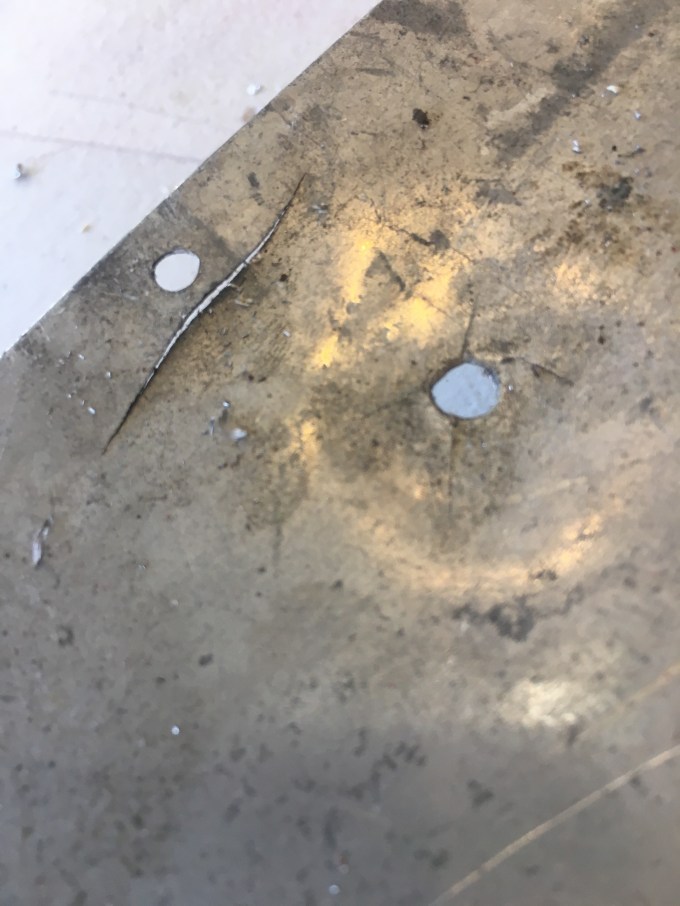
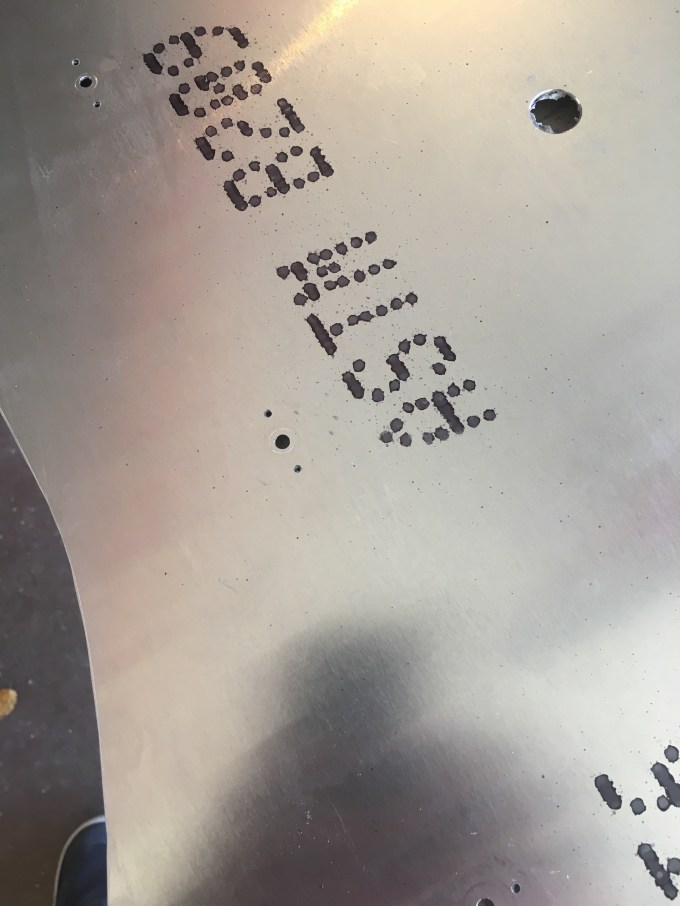
More old panel photos.
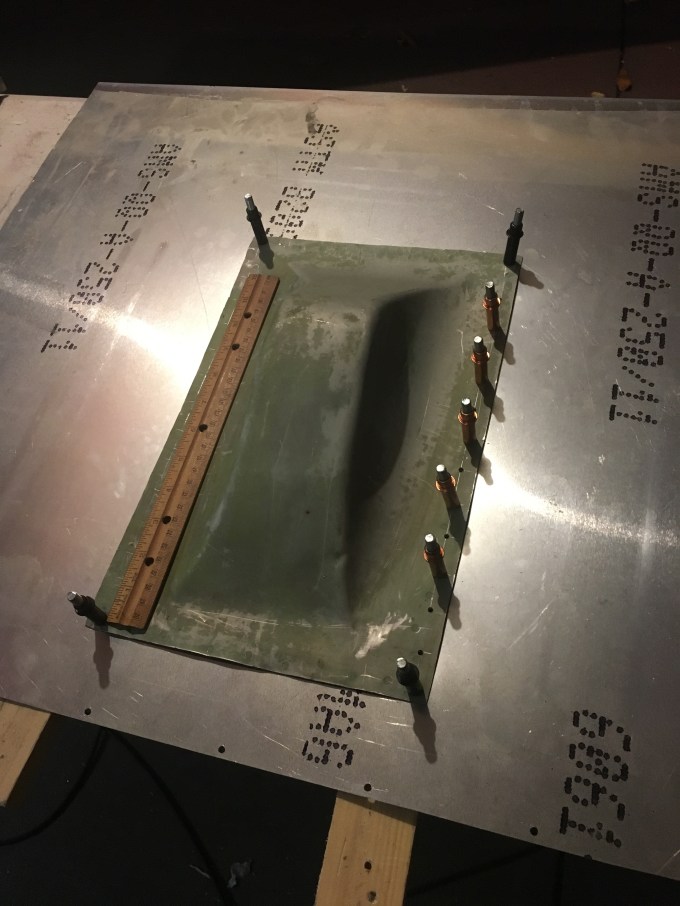
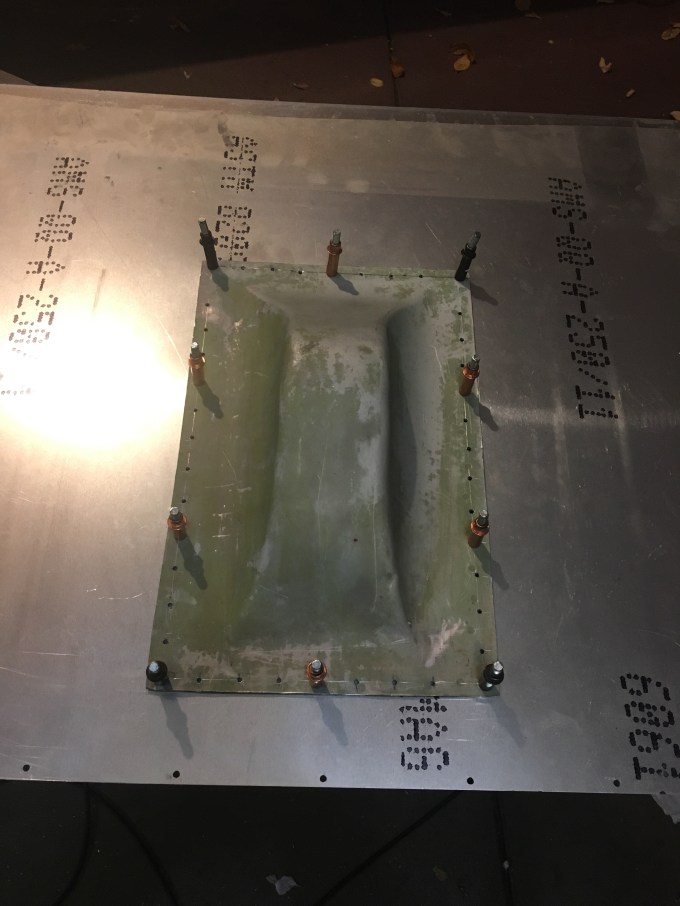
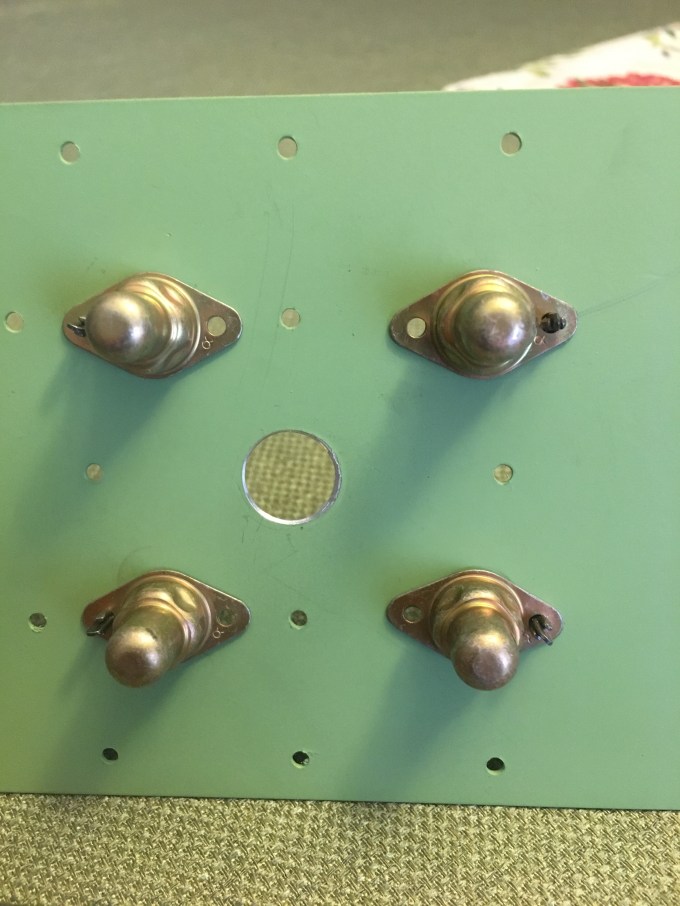
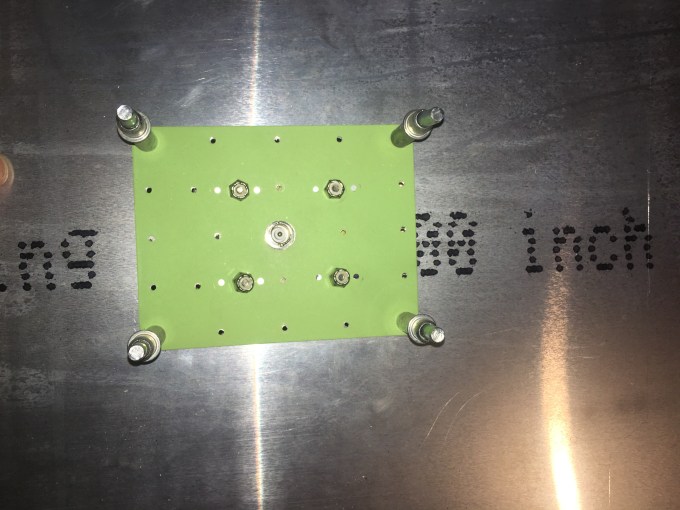
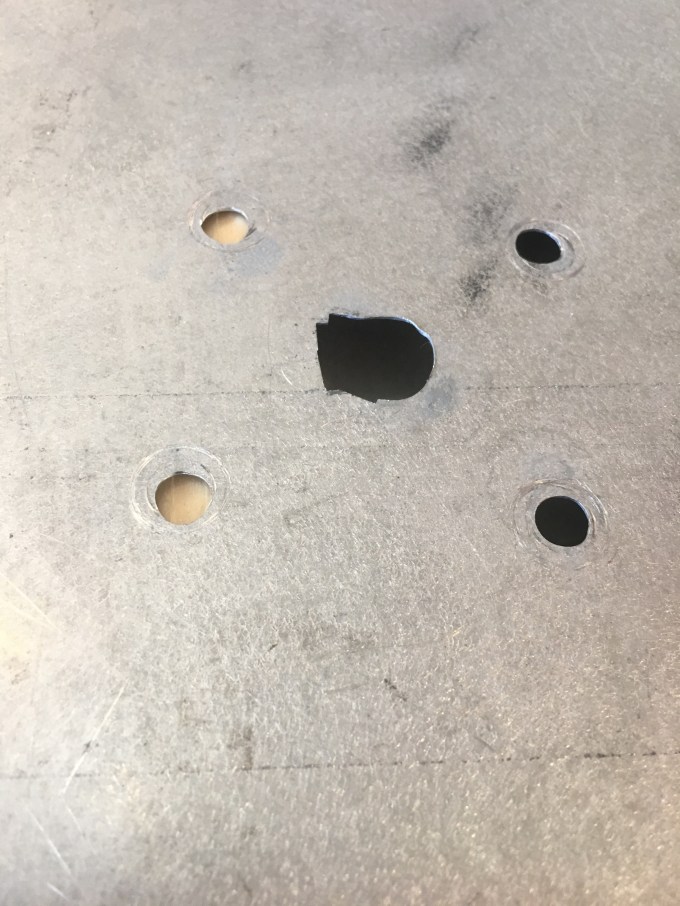
Holes for the nutplates
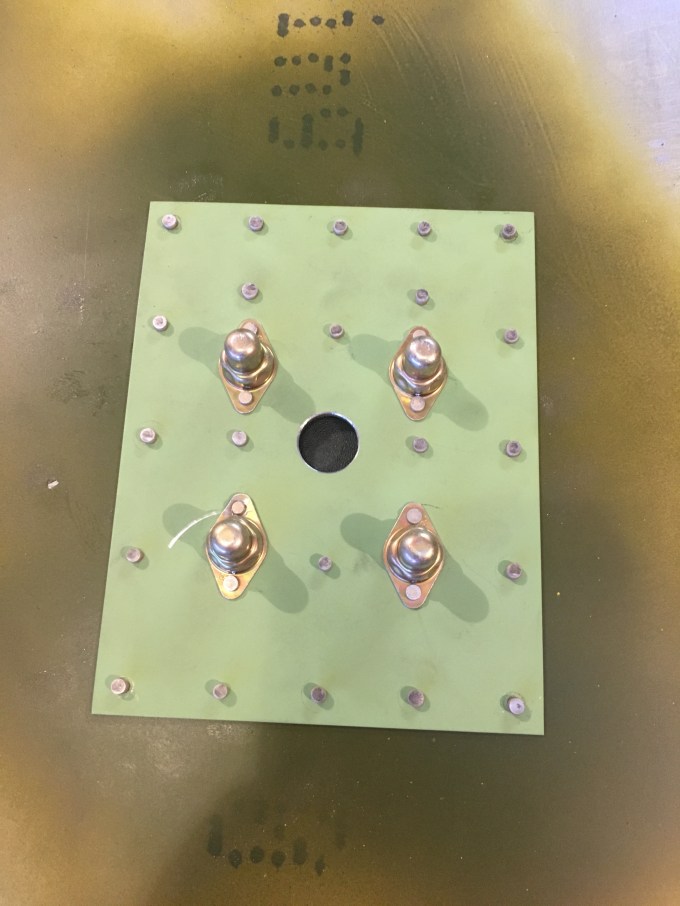
Nutplate and doubler in place.
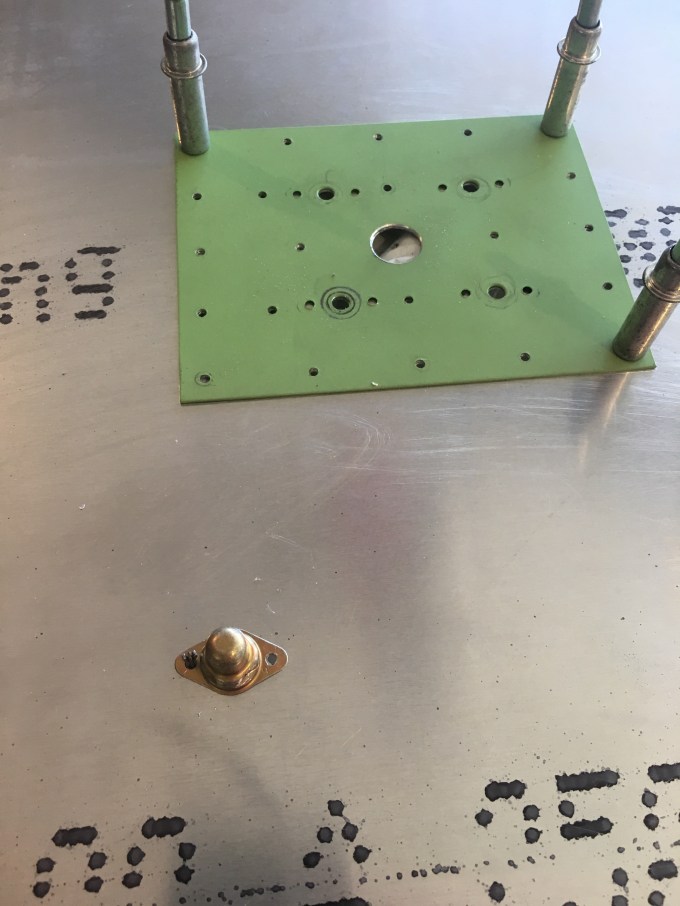
Transponder antenna fitting

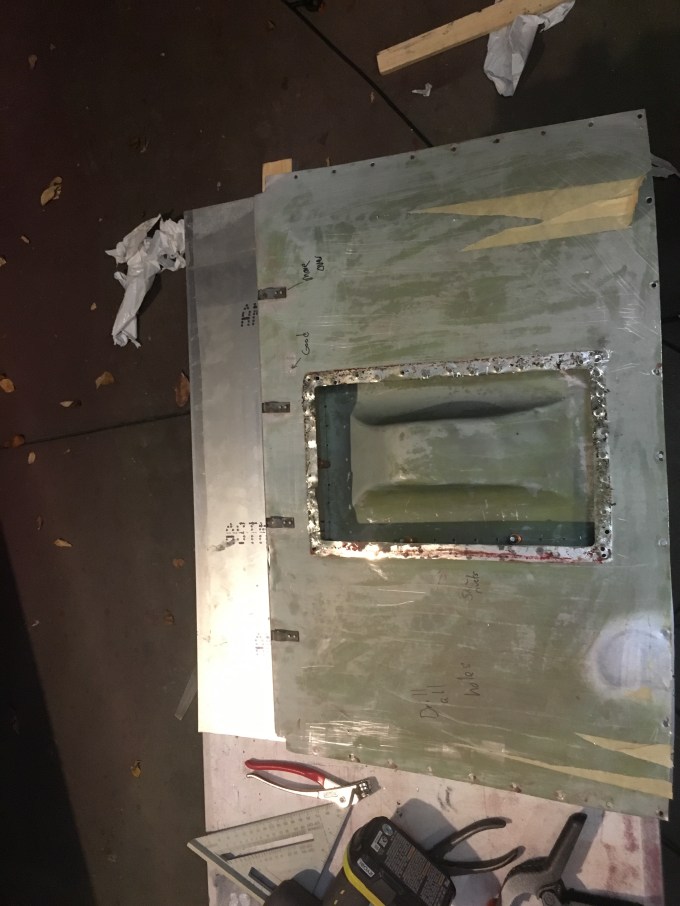
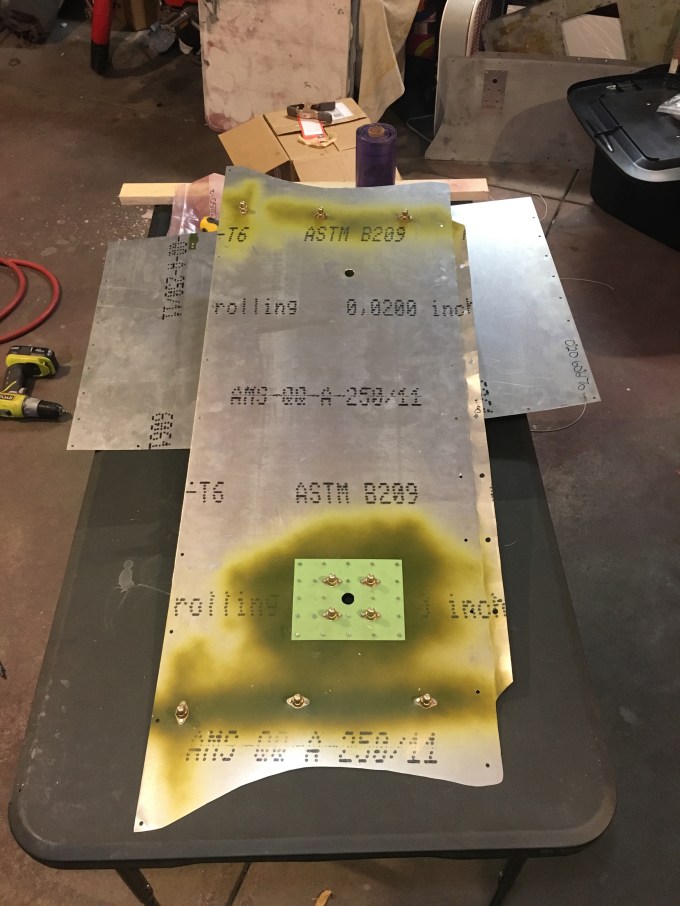
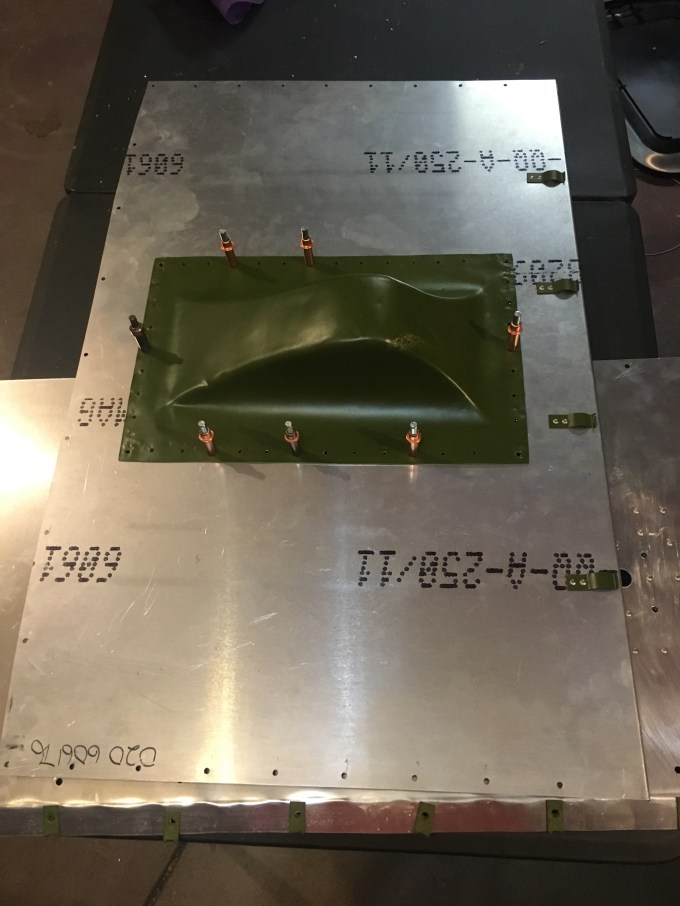
The second underside panel buildup
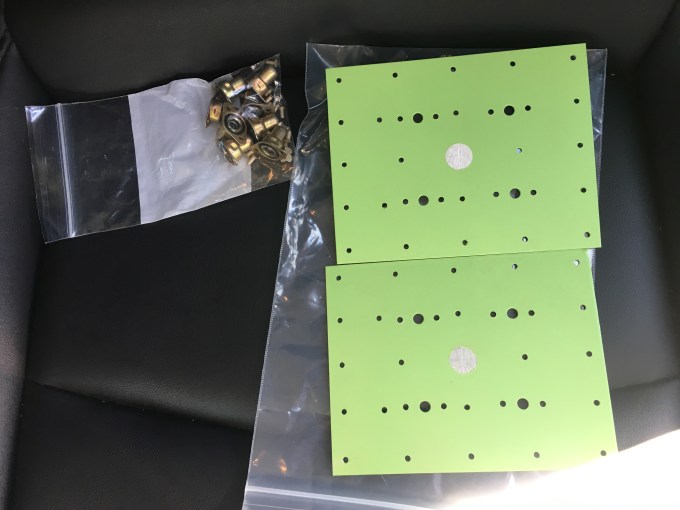
Getting ready to install the antennas and needed to make some doublers. Norm in our Houston shop is an expert at this so he made a set for me while I was there this week. These stiffen the thinner aluminum outer panel where the antennas mount to the fuselage. I still have some rivets to install and a couple holes to drill yet.
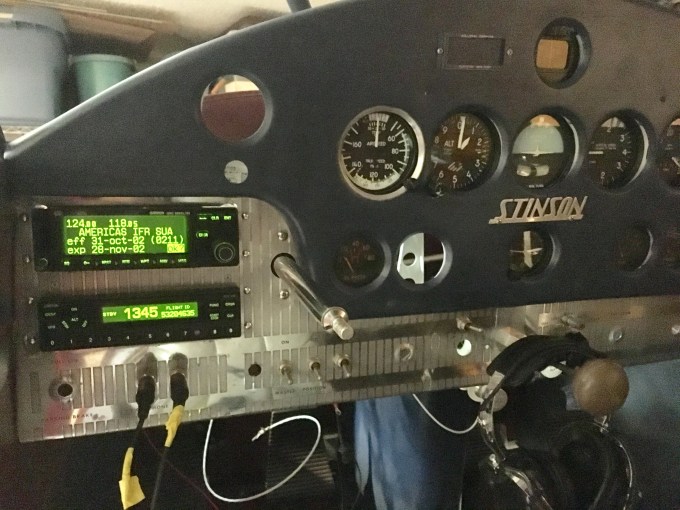
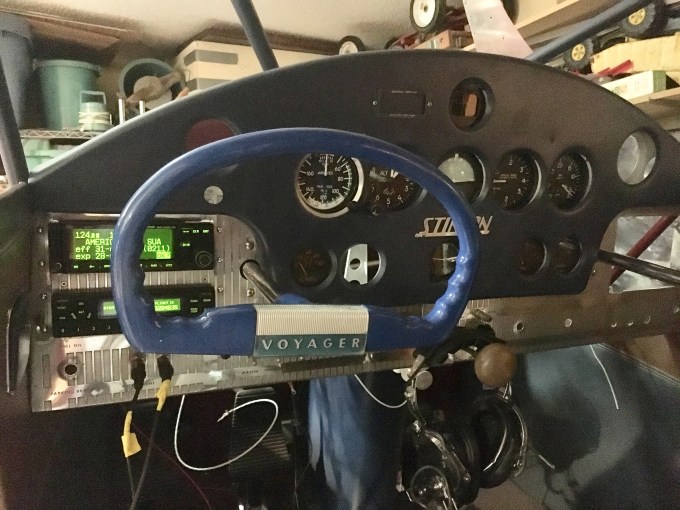
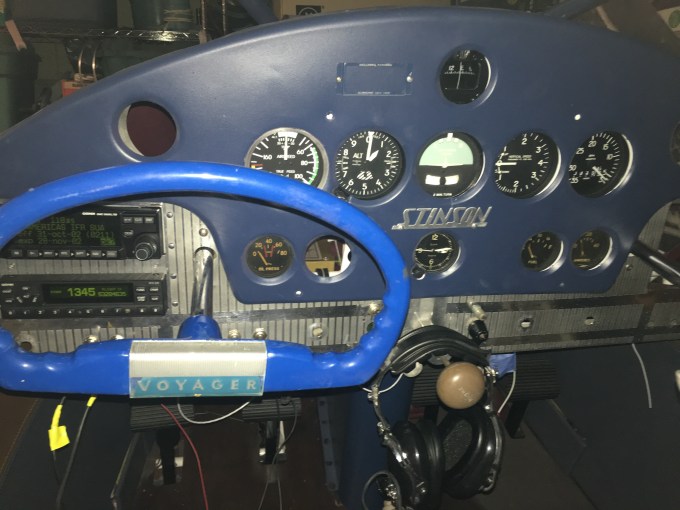
The transponder and COMM antennas are mounted. The main panel is back in. The panel is coming back together.
Except now come the antenna installs. GPS, Comm, Transponder, and ELT.
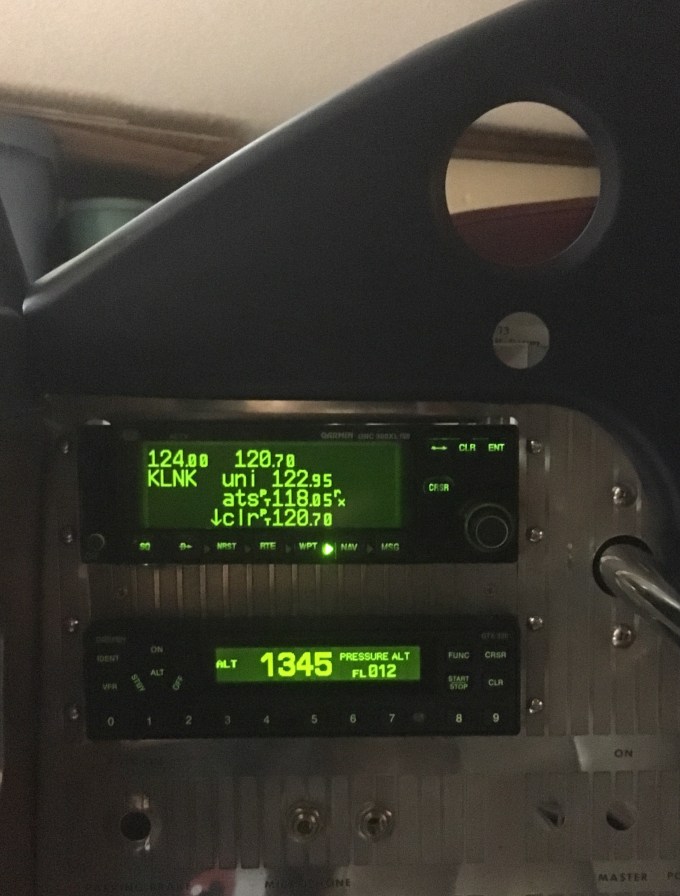
I know you can’t tell much from the photo, but if you look closely at the transponder it now shows pressure altitude on the screen. This means my blind encoder is installed and operating correctly. It shows a pressure altitude or flight level of 1200′ which is correct.
In the radio it shows departure frequency for LNK airport and I can hear them talking and airplanes responding so all is well. And the gps still shows me in the correct location.
Tomorrow this all goes into the airplane and gets connected.
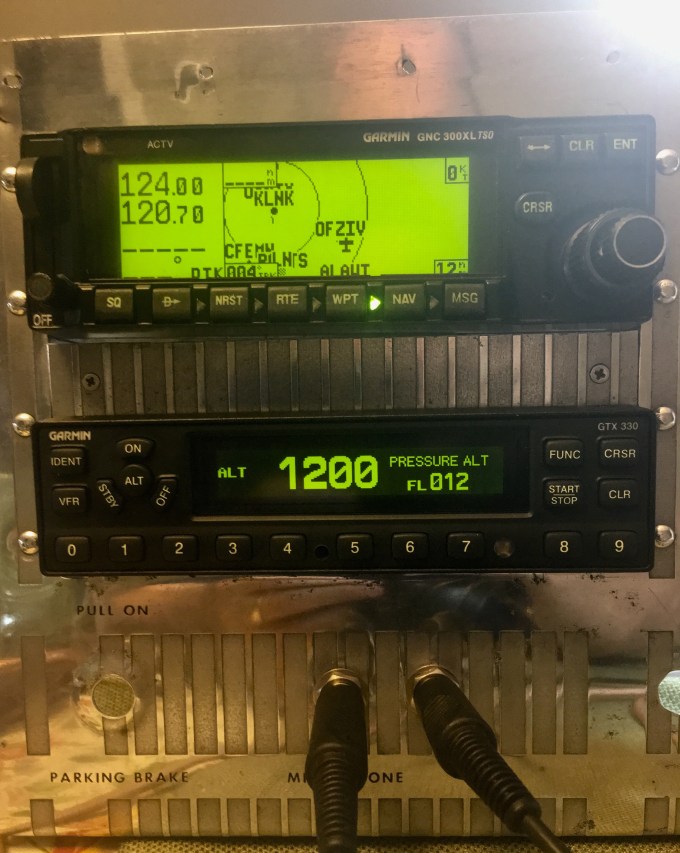
Transponder and COMM/GPS both powered up in the panel. Next is the blind encoder and the headphone/mic. Should have that done tomorrow.
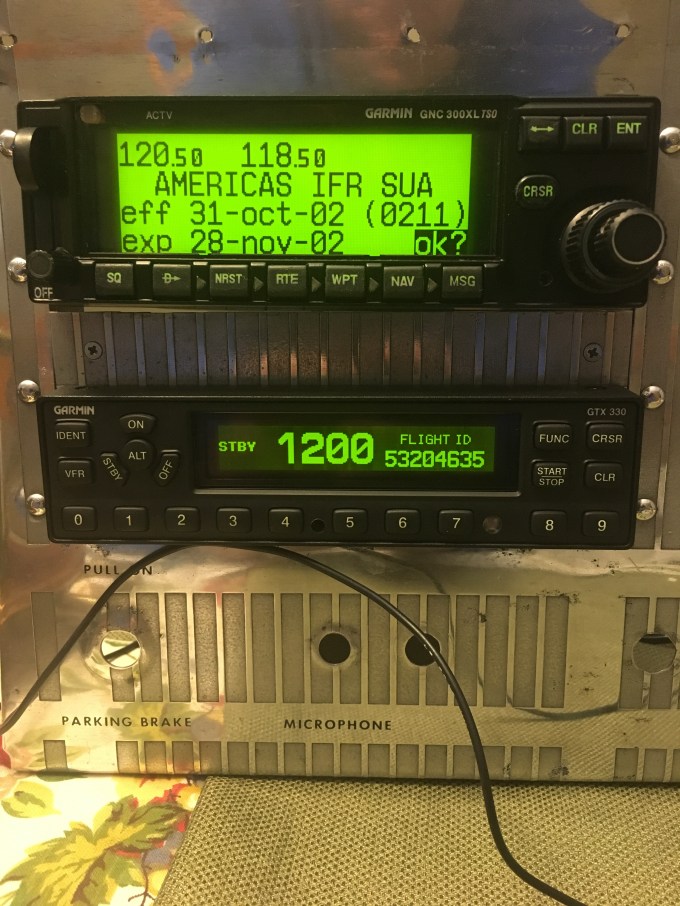
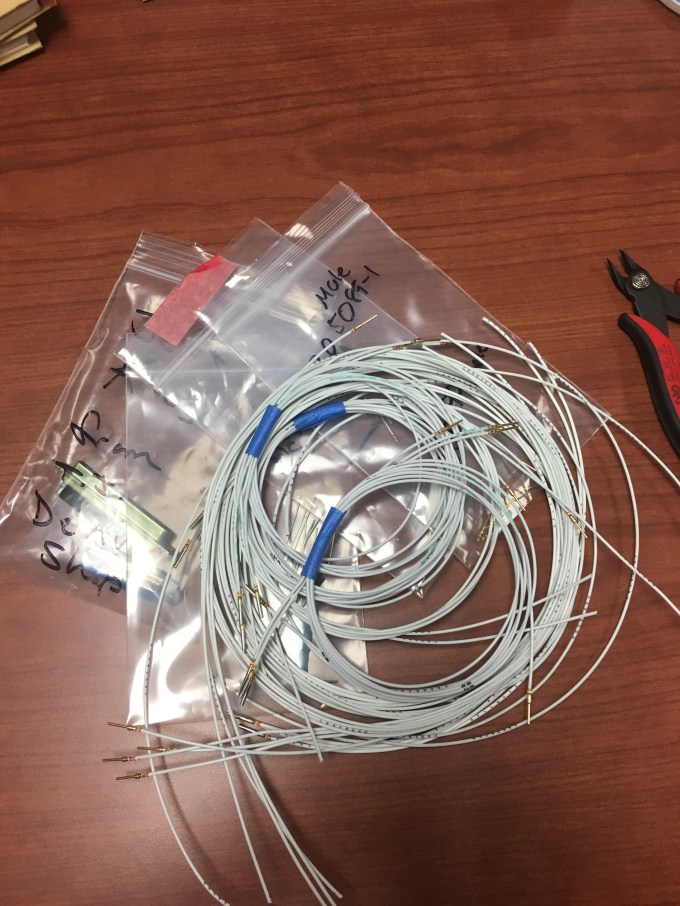
Doesn’t look like much but it’ll keep me busy over the weekend. Wires for the COMM/GPS, Transponder, and altitude encoder.